The Edible Demo Garden at IVC Organic Farm & Garden
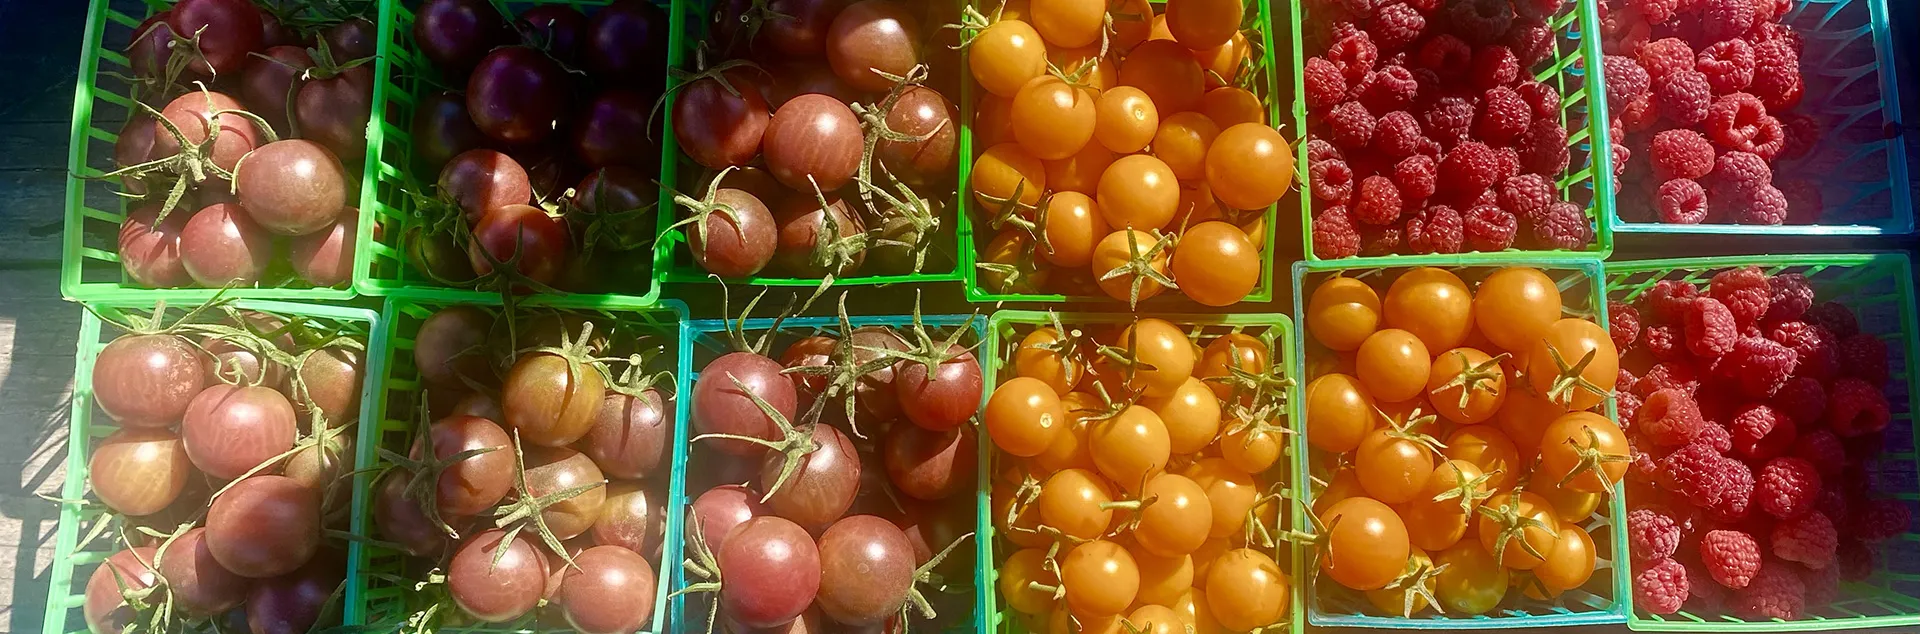
The 2100 sq ft Edible Demonstration Garden at Indian Valley Organic Farm and Garden (IVOFG) in Novato was designed and installed by UC Marin Master Gardeners in 2016 and is a hands-on teaching tool for UC MMG and the public. The garden showcases sustainable agricultural practices while growing over 100 varieties of vegetables, flowers, fruit and herbs using a variety of growing situations that are options for Marin gardeners.
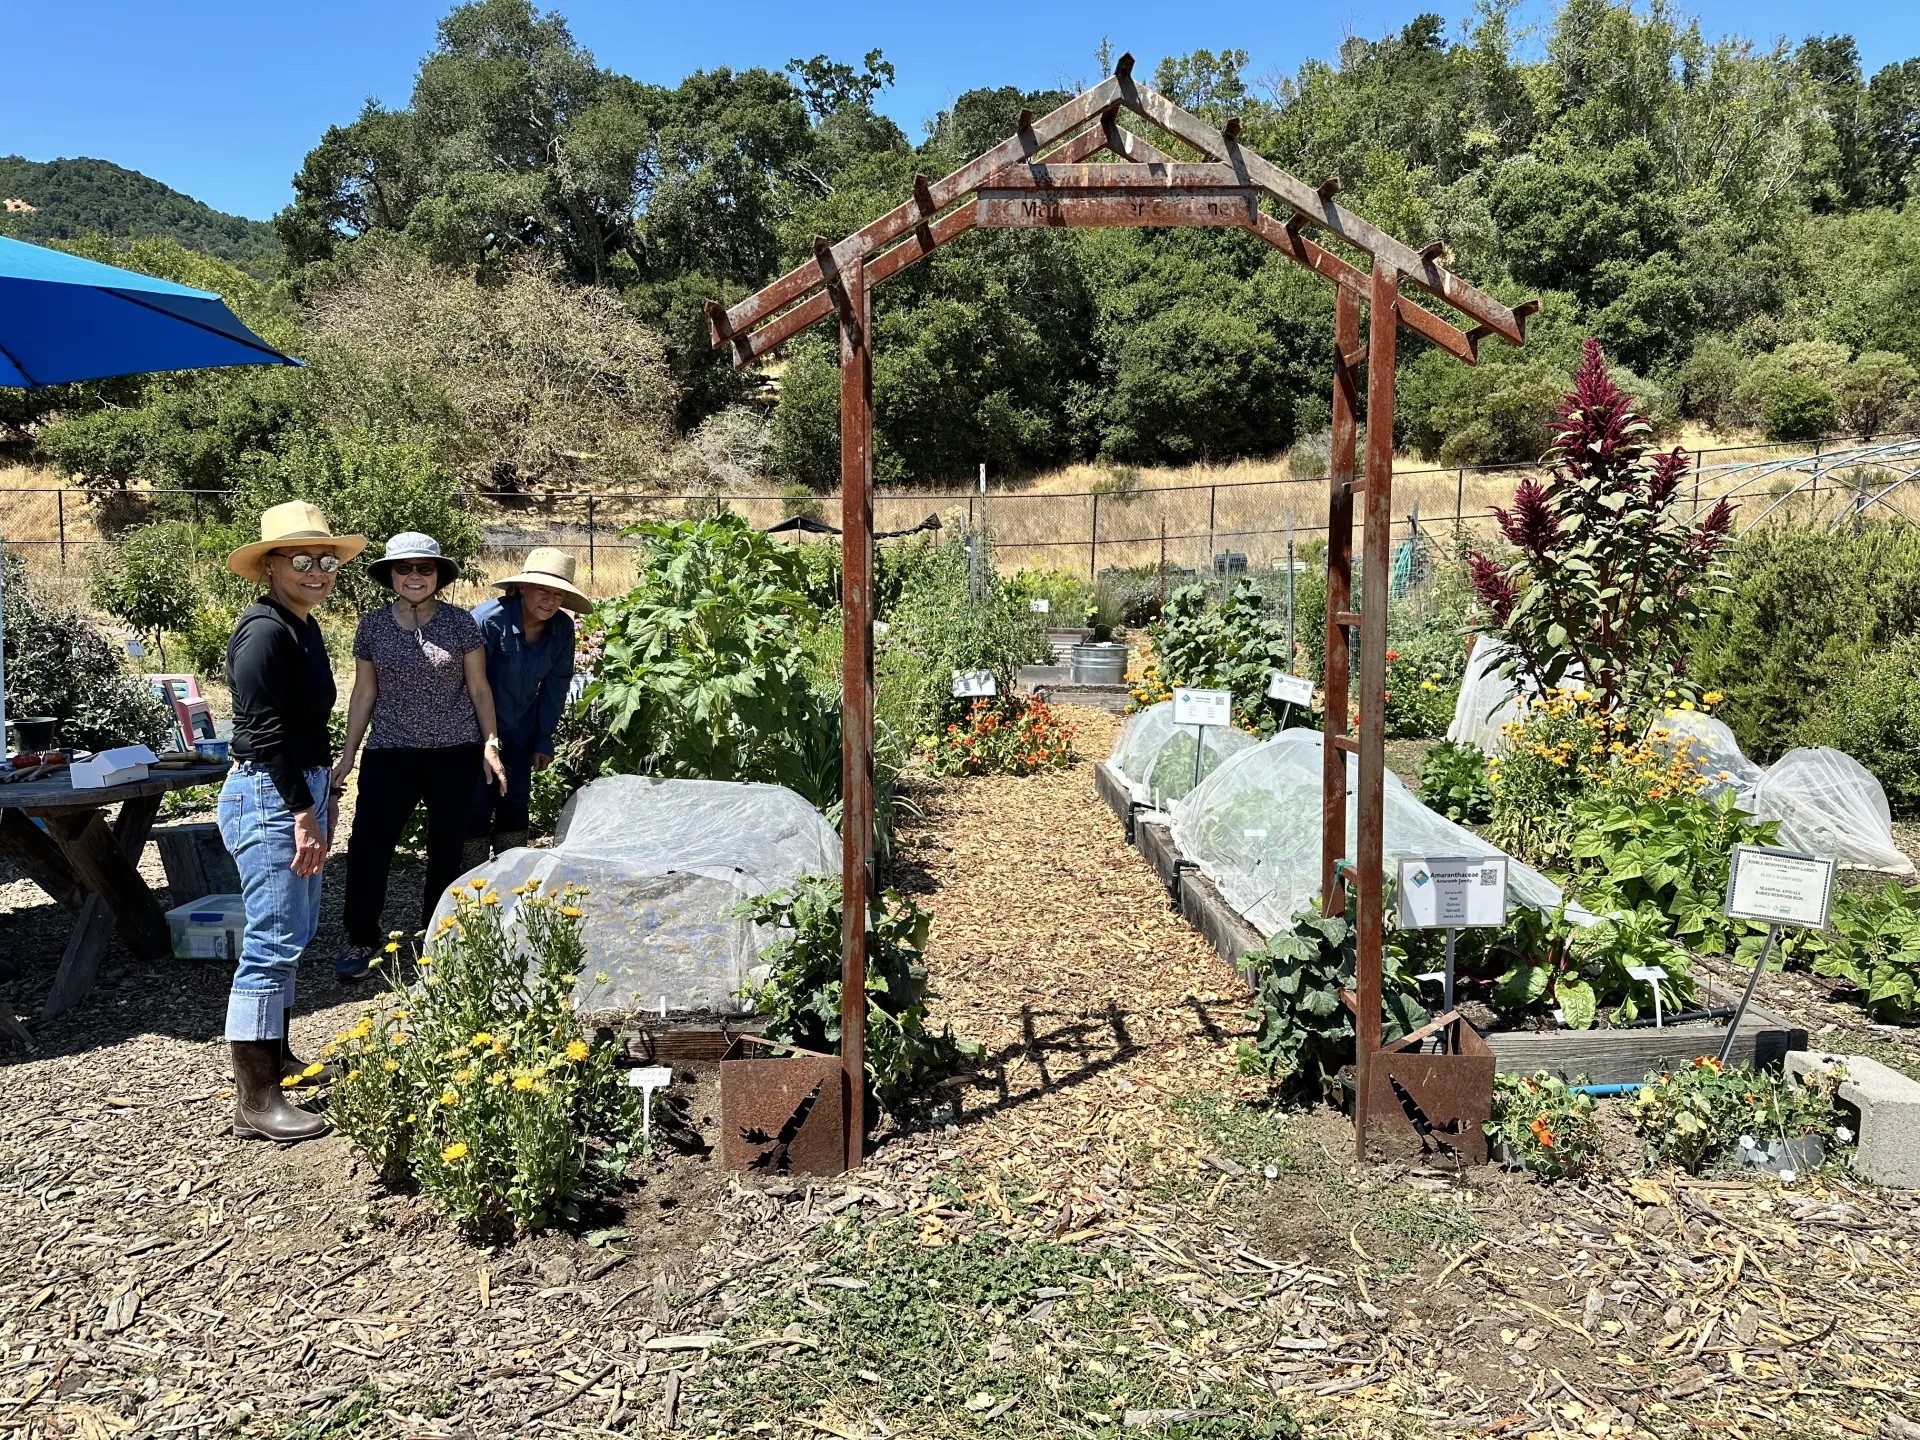
Visit the garden Drop in any Friday of the month between 9am-11am. We will give you a tour and answer any gardening questions. Closed toe shoes or boots and long pants are recommended due to active rattle snakes.
Please note that the garden may be closed due to holidays or weather. Email for schedule confirmation.
Guided group tours Private educational tours and training are available to groups. To schedule a private tour, contact us at EdibleDemoGarden@MarinMG.org
Buy our sustainably-grown, organic produce at the Farm Stand All produce grown in the garden meets the Marin Organic Certified Agriculture (MOCA) requirements and is sold at the IVOFG farm stand or included in the farm's CSA boxes. The farm stand is open Saturdays 10am - 1pm July through October.
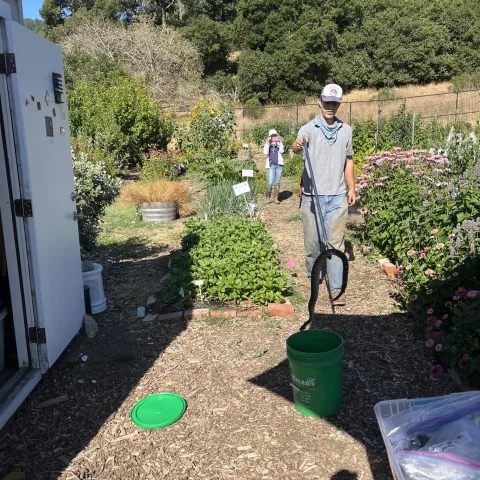
While the main focus of the EDG (Edible Demonstration Garden) is growing edibles and sharing that knowledge with the public, we cannot forget the health and safety of our gardeners.Rattlesnakes have been particularly active this year with daily sightings all over the farm and in the EDG. Protective…
At the EDG Row 1 and 2 are closest to the hedge that is home to rabbits, squirrels, quail and numerous other creatures that love to devour our crops. Our tried and true methods for protecting our tender seedlings with hardware mesh on the bottom and protective netting on the top have been regularly defeated…
Lettuce is generally considered to be a cool-season annual, but with a little advanced planning and some judicious plant selection, Marin gardeners can enjoy home-grown lettuce throughout the year. Our temperate climate makes it possible to modify the growing conditions for lettuce and enable the plants to…
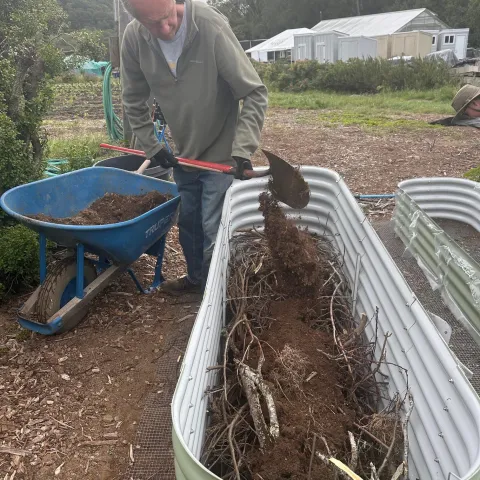
July 2025: Vole Invasion Protecting the growing plants from hungry critters is an ongoing challenge in the Edible Demo Garden. Wire mesh is used extensively under planting beds and around the straw bales to discourage gophers. Yards of protective netting keep the birds and rabbits from eating young…
This past month EDG volunteers created a small “patio” in the garden to demonstrate how edibles can be successfully grown in limited space. Too often gardeners are discouraged from growing edibles, believing that it takes a large back yard with room for long rows of plants. However, with the…
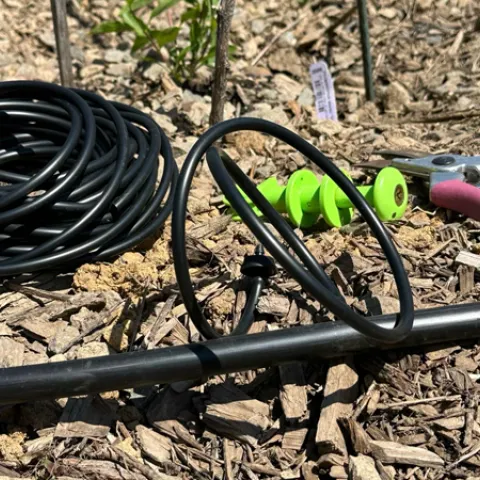
When the winter rains end, it’s time for gardeners to focus on providing spring and summer edibles with the water they need to grow and produce. While hand watering may be the simplest way to adjust watering to the needs of individual plants, it’s not the most efficient means for getting the right…
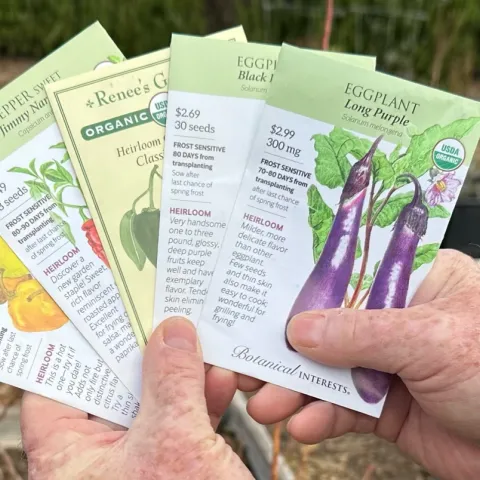
It’s hard to find a gardener who doesn’t love checking out new seed varieties and anticipating the abundant and tasty harvest they promise. The photos and descriptions are tantalizing and the names intriguing. Who wouldn’t be curious about a pumpkin variety called ‘Abominable’, a pepper named ‘Frodo’,…
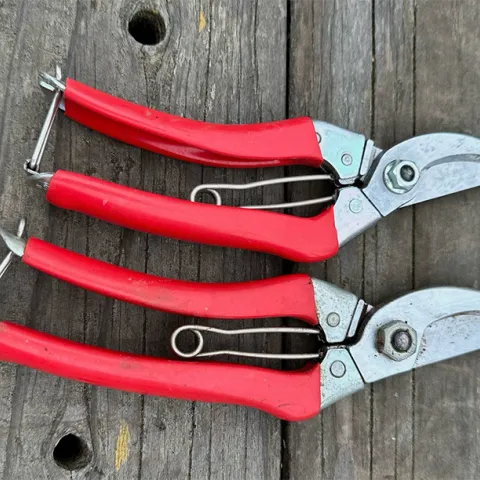
In January, the 2025 Marin Master Gardener training class was welcomed into the Edible Demonstration Garden for a discussion and demonstration on the use and care of garden tools. The right tools make the difference between gardening that is pleasurable and gardening that is a struggle.
Natives are welcome in the Edible Demo Garden. As a joint project with the Native Plant Guild in October 2021, garden volunteers planted a variety of sun-loving, drought-tolerant California natives in a corner of the garden area...
After an especially busy summer and fall harvest season, it was time to consider what to plant next in the Edible Demo Garden. In Marin its possible to grow vegetables year-round, however...