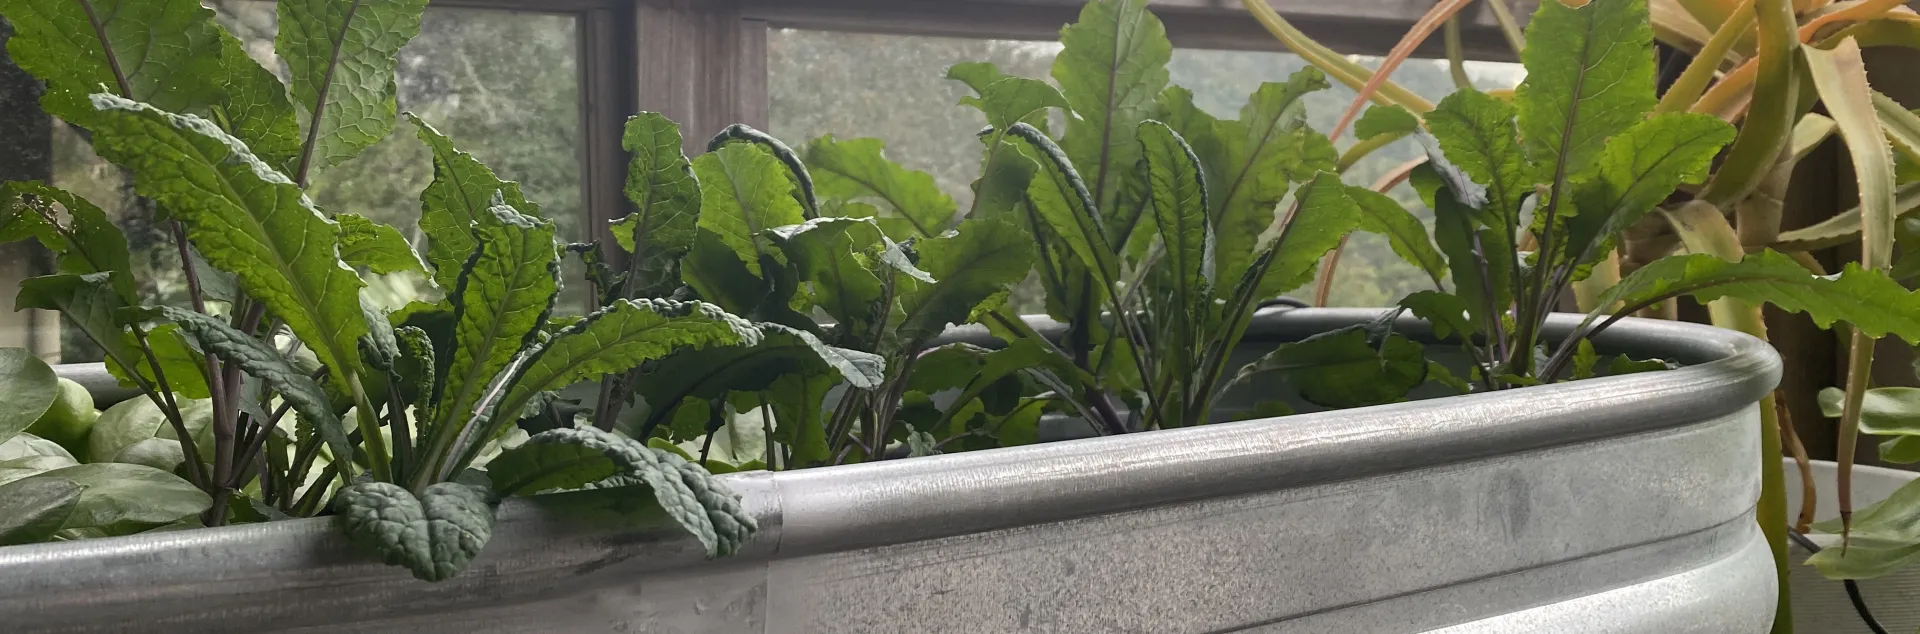
Kale in trough
UC Marin Master Gardeners

Preparing: Beds, Containers, Soil, Irrigation

How to Prepare an Edible Garden

Few areas of the garden benefit from detailed preparation like the edible garden. The two most important components are putting the infrastructure in place (beds and irrigation) and using healthy soil. Although this can take time and work, it's worth making the investment upfront so you can enjoy years of successful growing and harvests.  

Build healthy soil 
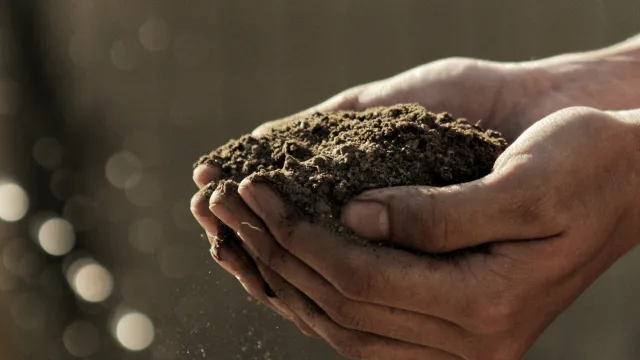
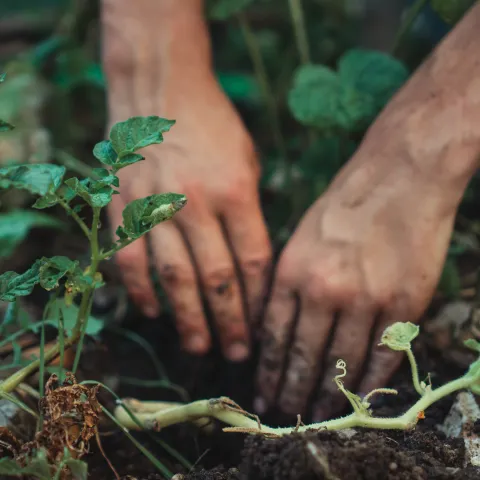
Healthy vegetable garden soil allows water, air, roots, and microorganisms to move easily. Gabriel Jiminez, Unsplash

Whether you choose to plant in the ground or in raised beds or containers, soil is the key to success.  The majority of edible plants grow best in loamy soils, a mixture of clay, sand, silt, and organic matter. Since Marin’s soil is predominately clay, it retains water and nutrients but needs to be amended for improved aeration, drainage, and replacing nutrients that have been used or leached out. 

To grow edibles:
Start with healthy soil that has a pH between 5.5 and 7.5, depending on what different plants need:

  • Acid soil (pH 5.5) – berries
  • Alkaline soil (pH up to 7.5) – asparagus, beans
  • Wide-ranging soil pH – carrots, cucumbers, garlic, parsley, peppers, pumpkins, strawberries, and tomatoes

Evaluate your soil
Simple tests for drainage, texture, pH, and the primary macronutrients – nitrogen, phosphorus, and potassium -- will help you determine what type of planting situation (in-ground or raised beds) would work best. Learn how to evaluate your soil.   

Address soil nutrient problems
Edible plants provide clues when there is too much or too little of one or more of the six macronutrients. Here's how to recognize and address soil nutrient problems in the vegetable garden

HOW TO BUILD SOILS FOR EDIBLES
1. Start with compost: Add 1 to 2 inches of compost twice a year, for example in spring and fall, about two weeks before planting. This replaces nutrients, restores microbiological activity, and maintains soil health.

2. Test and add amendments as needed and according to directions on the product. Add amendments 1 to 2 weeks before planting.

3. Grow cover crops in winter and dig the plants into the soil in spring. 

4. Add a layer of mulch in summer (leaves, rice straw, or another layer of compost) to retain moisture, minimize weeds, and provide habitat for soil organisms that positively affect plant health. 

5. Add organic matter such as compost, leaves, and aged manure. 

6. Consider sheet mulching (also known as sheet composting)This is a process to eliminate lawns and weedy areas while building healthy soil. It is best started in the fall to prepare for a spring garden, but it can be done anytime. Within six months, the sheet-mulched area will have decomposed to about half its height and will be ready to plant.


MAKE YOUR OWN SOIL MIX
The most reliable and cost-efficient soil mix for your garden beds and seed flats may be one you blend at home. Some soil mixes actually contain no “soil” and are instead a blend of amendments. Soil mixes should be light in texture, hold water, drain well, be weed and pest free, and provide proper nutrients for the application. If you purchase potting or soil mix, be sure to do so from a reputable manufacturer that discloses the contents and nutrient value of materials. =

Soil mix for starting seeds 
• 1 part coco peat or peat moss 
• 1 part perlite 
• 1 part vermiculite 
• 1 part potting mix (optional) 
• Shake of local soil 

Soil mix for containers
• Use high-quality potting mix. 
• Do not use garden soil. 
• Water well before planting and let it sit for a day to dampen and settle. 

Soil mix for in-ground and raised beds 
This makes about 1 wheelbarrow. Note: a #10 can is a 3-pound coffee can.
• 15 gallons sifted compost (about 1/2 wheelbarrow) 
• 2 gallons sifted peat moss 
• 2 gallons perlite 
• 2 gallons vermiculite 
• 2 gallons worm castings 
• 1/4 #10 can kelp meal 
• 1/4 #10 can gypsum 
• 1/4 # 10 can bone meal 

Follow these guidelines for beds and paths

To keep your garden accessible and well-organized, use these general guidelines when laying out your planting beds.

Width and length 
• Keep beds a maximum 4 feet wide so you can access them from both sides. 
• If accessible from only one side, limit to 2 to 3 feet wide. 
• Beds/rows may be as long as space and irrigation system allows. 

Depth
• Prepare beds to a minimum depth of 6 inches. 
• 12 inches is better for drainage, aeration, and root development. 

Orientation
• In large gardens there may be advantages for directional orientation of rows and beds, but this is not usually the case in smaller backyard settings. 
• Orient planting beds to suit your personal preference and plant your tallest plants on the northern side. 

Path width
• Keep paths minimum 2 to 3 feet wide to accommodate wheelbarrow, ease of movement, etc.

Care
• Don’t walk on garden beds or they will become compacted and not drain. 


Decide on types of beds
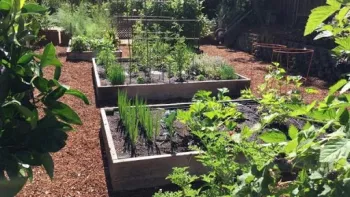
Building raised beds is work, but it offers many long-term benefits. Gael Perrin

In-ground raised beds and rows
• Inexpensive way to create a healthy spot for growing your favorite fruits and vegetables
• Easier and less costly to construct than boxed raised beds
• Easier to turn over
• Offer growing spaces in gardens where boxes do not fit 
• Build in-ground raised beds where there is at least one-foot of soil with no underground limitations  

Boxed raised beds
• Help with tunneling pests, poor drainage, poor soil, and underground rock
• Reduce the possibility of erosion by containing soil
• Warm up earlier in the spring 
• Can be built to heights that limit bending
• Reduce soil compaction
• More expensive to build but are a more permanent option 
• Some types of raised beds are portable

Containers
• Easy and convenient 
• No digging and the container may be placed right outside the kitchen door 
• Terrific for patio gardens, accent plantings and for plants that may be invasive such as mint 
• May be placed on wheels and if tall enough, may be wheelchair accessible 
• Most any container made of a material that holds up well when wet and left outdoors will do 
• Be creative and take a trip to a salvage yard or hardware store for inspiration
• Learn more about growing edibles in containers 
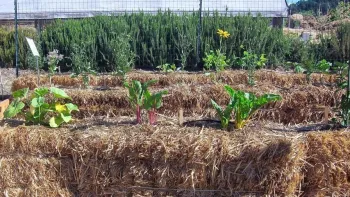
Visit our Edible Demonstration Garden in Novato to learn how to grow edibles in soilless straw bales.

Straw bales: 
While most gardeners grow crops using soil or raised beds, it's possible to grow vegetables without soil using straw bales.

• Readily available material for soilless gardening that will provide compost as a byproduct 
• Allow gardeners to avoid growing in poor soils or locations where plant diseases may already be present
• Requires additional water and fertilizer to prepare them for gardening 
• Have been used as a growing medium for vegetables for at least half a century in Europe
Learn more about growing edibles in straw bales 


Clear and clean your planting site
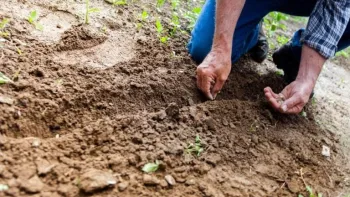
Once cleared and prepared, in-ground raised beds can be effective growing areas. Photo: Benyamin Mellish, Pexels

Once you've selected and assessed your site, evaluated your soil, and know what type of beds you want, you're ready to get going. 

• If you discovered any hazards or limitations above or below the site, (electrical wires, limbs, plumbing, rocks, high water table, easements etc.) begin by addressing these issues. 
• If you are unsure of the location of underground utilities, check with your utility company. 
• If your site is sloping, construct terraces or level planting boxes to minimize runoff and erosion. 
• If your site includes ornamental vegetation that shades garden beds or competes for irrigation, consider removing it. 
• If your site is covered in weeds, remove them when soil is damp and appropriately discard invasive weeds such as Bermuda grass, purslane, morning glory, and Scotch broom. 


Construct planting beds

In-ground raised bed: 
• Remove weeds when soil is damp but not wet 
• Use a digging fork to loosen soil to a depth of 6 inches 
• Spread 2 inches of compost on top 
• Add other organic matter such as straw and dried leaves 
• Evenly scatter amendments such as blood meal, kelp meal, rock phosphate etc., to adjust nutrients as indicated by soil test 
• Alternatively, premix compost with amendments and spread the premixed blend over the raised bed 
• With a shovel or digging fork, blend the compost and amendments into the bed to a depth of 6 inches 
• Mound soil above the height of the ground into rows 30 to 36 inches wide 
• Build rows 2 to 3 feet apart and do not step on the beds 

Boxed above-ground raised beds solve many problems.

Boxed raised beds
• Often made of 2-inch by 6-inch or 2-inch by 12-inch preservative-free redwood or fir
• Boxes are made in a variety of sizes; multiples of 4 are efficient as they reflect the 8-foot standard length of lumber 
• Reinforce corners with 4-inch by 4-inch wooden posts or metal corner brackets
• Install half-inch hardware cloth on the bottom to deter gophers 
• Once in place, fill boxes with potting mix or amended local soil 


Build an irrigation system for edibles
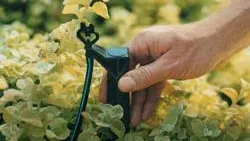
Build flexibility into your edible garden's irrigation system. Photo: Courtesy UC Regents

Irrigation systems in edible gardens need to be flexible because crop locations change from season to season and water requirements differ based on what's growing and whether plants are grown from seeds or starts. It's tedious and time-consuming to change drip emitter locations every season. Overhead or micro-sprayers are good for starting seeds, but not always a good choice for established plants such as tomatoes, which don't appreciate wet foliage. In addition, it is important that the gardener can easily amend beds without having to navigate around irrigation tubing, emitters, etc.

HOW TO BUILD A FLEXIBLE DRIP IRRIGATION SYSTEM for an edible garden bed:

Follow these instructions to create an irrigation system that allows you to irrigate your edible crops with drip (for starts and established plants) or spray (for seeds). Because this system only connects to ONE point, it can be "lifted" to allow unimpeded access to the bed for amending soil. 

1. Identify one point of connection (to water) for a garden bed. 

2. Starting and ending at that one point of connection, build a perimeter 'loop" using 5/8-inch irrigation tubing. It should outline the bed and only be "connected" at the one place. 

3. Run 1/4-inch or 5/8-inch emitter lines from one end of the perimeter tubing to the other, 6 to 8 inches apart. Be sure to tap into the perimeter line at both ends. This should allow you to plant anywhere in the bed and access drip irrigation. 

4. Install adjustable micro-spray risers to the perimeter tubing so that it's possible to "spray" the entire bed if necessary OR turn one or more off when not needed. (This is helpful when starting seeds outdoors.)

Rules of thumb for irrigating edible crops: 
• Use a drip system if possible. 
• Begin the season with a garden bed moist to a minimum of 12 inches deep. 
• Check moisture content of soil with your finger several times per week.
• Water when the top 1 to 2 inches of soil is dry. 
• Avoid wet/dry cycles and keep your garden consistently moist. 
• Occasionally check 8 to 12 inches deep to ensure that the deeper soil is also moist. 
• Irrigate early in the day. 
• Observe plants for feedback. Yellowing of lower leaves provide evidence of over watering. Wilting and browning at edges indicates under-watering.
• When hand watering, apply water directly to the bed until the soil “shines” for 10-15 seconds.
• Plants need approximately 1 gallon of water per week in peak heat so if you are hand watering 3 times a week, apply about 1/3 of a gallon per plant per watering.
• Shallow rooted plants such as lettuce and other greens may require frequent shallow watering while plants with deeper roots, such as tomatoes, may be irrigated less often. 
Learn more about irrigation


BACK TO EDIBLES
> What Edible Gardens Need
> Best Choices for Marin
> How to Prepare
> How to Plant
> Edibles in Containers
> Planting Calendar
> Grow & Care Sheets for Vegetables, Herbs & Fruits
> Tips & Techniques
> How to Maintain
> Fruit Trees
> Top 20 Edible Garden Problems
> Cover Crops & Soil Enhancements in the Off-season
> Conserving Water

•••••••••

Visit our EDIBLE DEMO GARDEN at IVC Organic Farm & Garden
 

May 2022: No Digging Needed to Grow Potatoes

Primary Image
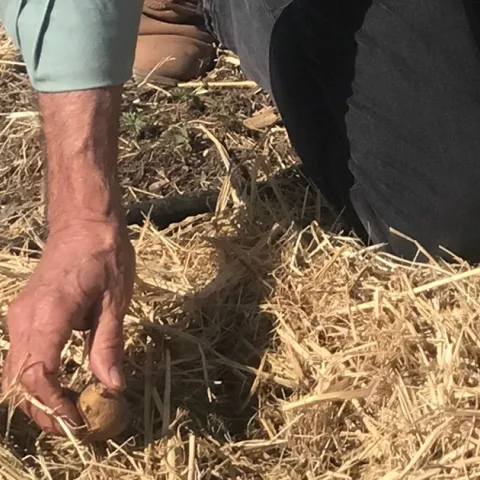
Seed potatoes are nestled into the straw at planting time. Photo: Marty Nelson
Body

Seed potatoes_cropped
Growing potatoes in straw may seem like a crazy idea but the success of this method in the Edible Demonstration Garden suggests that this no-dig approach could be an option for home gardeners. It can be especially appealing when working with rocky clay soil. Based on the results of last year’s straw bed potato trial, a new crop was planted in the Edible Garden at the end of March. Potatoes take 90 to 120 days to mature, so spring is the best time to plant for a fall harvest.

Choosing which potatoes to plant

Whether planting in soil or straw, it’s important to start with seed potatoes that are certified free of pests and diseases. Among the number of factors to consider when choosing which potato varieties to plant are time to maturity, garden size, and determinate versus indeterminate growth type. Determinate varieties mature earlier, require less space, and generally produce smaller tubers. Indeterminate varieties are slower growing, but the yield is higher and the potatoes larger. The four varieties selected for this year’s potato patch are all in the early maturing determinate category:

  • potato leaves_cropped
    Russet Norkotah – brown skinned and oblong, a good potato for baking
  • Yukon Gold – gold skin and flesh, very popular for multiple uses
  • Dark Red Norland – red skin and white flesh, tasty boiled and in salads
  • Huckleberry Gold – purple skin and white flesh, a new low glycemic variety
The straw planting method
  1. Prepare the planting bed – Although the potatoes will be growing in straw, the soil underneath needs to be weed free and drain well. Adding compost can help with this. In the Edible Garden, the prepared soil was covered with a layer of straw and drip lines were laid on top.
  2. Plant the seed potatoes – Seed potatoes are planted whole, if small, or cut in pieces if larger. Each piece should have at least one eye, which is where the sprout will develop. If pieces are cut, it’s good to allow them to age a few days before planting to reduce the chance of decay. Space the seed potatoes 6-12 inches apart. In the Edible Garden the potatoes were nestled into the straw along the drip lines and then covered with more straw
  3. Keep the straw moist but not wet – The roots growing in the straw can dry out quickly if the moisture content in not maintained but too much moisture can cause rotting. When green leaves appear, add more layers of straw around them to keep the roots covered. Potato tubers exposed to sunlight will turn green and be inedible.
  4. Harvest after the vines have yellowed and begun to die – It’s hard not to peek, but potatoes need undisturbed time to mature. The appearance of blossoms indicates that growth is also occurring underneath the straw layers. Some gardeners pinch off the flowers to favor tuber growth. It’s at harvest time that the straw bed method can be fully appreciated. There’s no need to go digging into the soil to find potatoes, accidently damaging them in the process. The potatoes come out cleanly from the straw with little effort. Then, it’s “bon appetit”!

Find more tips for growing potatoes on our Edible Grow Sheet on potatoes.

UC Marin Master Gardeners
Primary Image
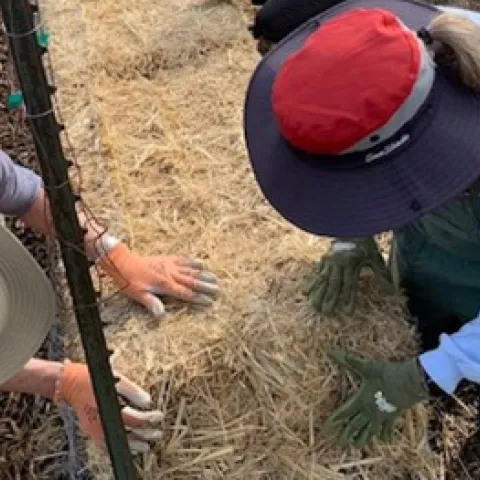
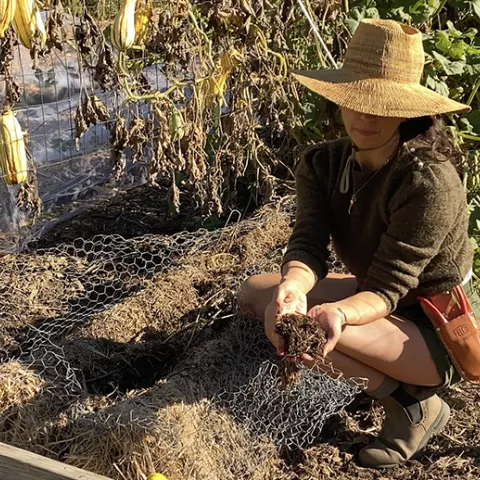
Chicken wire is wrapped around the straw bales to hold them together and keep out gophers. Raoul Stepakoff
UC Marin Master Gardeners: Article

April 2022: Ready, Set, Spring Forward!

March 24, 2022
With the onset of spring, the pace of activity in the Edible Demonstration Garden has picked up. Its time for planning the edibles to grow this spring and summer, preparing the garden beds, and sowing the seeds...
View Article
Primary Image
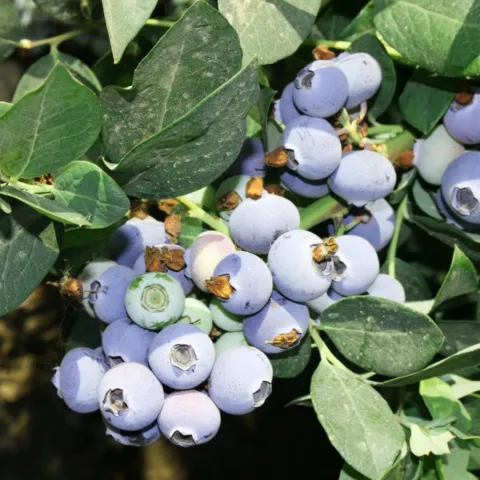
Choose low chill hour varieties for Marin. Brenda Dawson
UC Marin Master Gardeners: Article

March 2022: Growing Blueberries

March 1, 2022
Blueberries are the focus of the newest demo garden project. Blueberries grow on long-lived and attractive shrubs and are both delicious and nutritious. They can be an ideal addition to an edible garden or to a home landscape if their growing conditions are met.
View Article
Primary Image
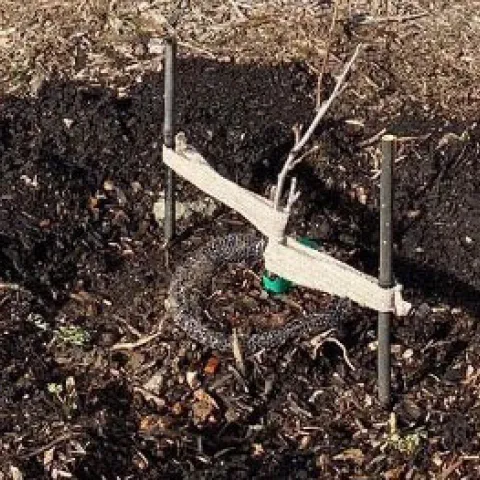
Planting a bare root tree. Photo by Joan Kozlowski
UC Marin Master Gardeners: Article

February 2022: Getting Bare Root Fruit Trees Off to a Good Start

January 31, 2022
The addition of new fruit trees added excitement to an otherwise routine month of garden maintenance. An enthusiastic group of Master Gardeners planted six organically sourced fruit trees along the garden perimeter in line with the existing plum and pear trees...
View Article

January 2022: Choosing Bare Root Fruit Trees

Primary Image
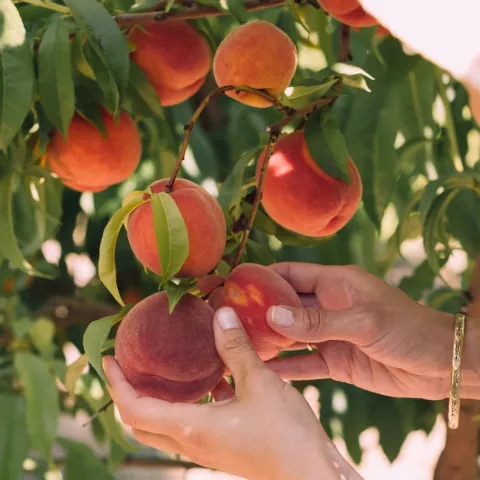
Christian Koepke, Unsplash
Body

peaches christiann-koepke-Dwj_hJom_Sc-unsplash
December was a slow time in the garden.  We added a few plants like leeks and arugula but our workdays were limited due to the regular rain that came through our county.  No one is complaining though, since our drought conditions have eased somewhat.  Although we must all still be vigilant about water conservation, we revisited our idea to expand our small fruit tree orchard.

December and January are the best months to purchase bare root trees.  The supply is much better and you will have more choices.  So what does the home gardener need to consider before purchasing a fruit tree?


Climate Considerations: Chill Hours

The successful growing of deciduous tree fruits (not citrus) requires that you know how many cumulative chill hours (temperatures between 32°F and 45°F) that your area gets in the winter season. Each kind of fruit tree requires a specific number of chill hours in order to break dormancy and begin growing again in spring.

See the table below for specific hours for some popular fruits.

Type of FruitApprox. chill hours needed to break dormancyEquiv. time if continuously exposed to <45°F
Apple1200-15007-9 weeks
Apricot700-10004-6 weeks
Cherry (sweet)1100-13006-8 weeks
Figa few hours---
Olive200-3008-13 days
Peach/Nectarine650-8504-5 weeks
Pear1200-15007-9 weeks
Persimmon<1004 days
Plum European800-11005-6 weeks
Plum, Japanese700-10004-6 weeks
Pomegranate200-3008-13 days
Quince300-4002-3 weeks

*  Table adapted from UC's The California Backyard Orchard

There are also low chill varieties (usually less than 300 hours) that have been developed for apples, apricots, pears, peaches, and plums.

In general, Northern California gets about 800-1500 chill hours each winter.  Any good bare root nursery should be able to advise you about the suitability of a particular fruit tree that you want to purchase for the area where you live. 


Environmental Considerations

Light:  at the very least, 6-8 hours of sunlight daily

Space:  the right sized tree for the right space

Note: dwarf trees bear fruit earlier, but are more fussy, requiring more frequent irrigation, careful pruning, and better soil fertility.  You can grow a smaller tree just by pruning it properly when planting it and regularly pruning it to keep it small. 

Pollination Requirements:  self-fruitful (pollinates among its own flowers) or self-sterile (requires pollen from another variety)

Water Source:  an irrigation system is best but you can also water by hand


Fruit Tree Maintenance Requirements

Yearly Pruning:  both in winter and in summer

Fruit Thinning:  required to grow larger sized fruit

Common Diseases of particular fruit trees:

Pear trees: fire blight
Plum trees: plum aphid
Peach & Nectarine trees: peach leaf curl


With this knowledge in your pocket, you are ready to do some after holidays shopping at your local nursery.  Don’t let the maintenance requirements discourage you from starting your own small orchard.  Do like our team does; research and learn as you grow.  A good source for all of your questions is the UC Davis California Backyard Orchard at https://homeorchard.ucanr.edu/

Also, check out our information on:
How to plant a bare root tree
How to grow fruit trees 


UC Marin Master Gardeners
Primary Image
UC Marin Master Gardener Stephanie Scarpullo gathering composted straw from our straw bales. L Stiles
UC Marin Master Gardeners: Article

December 2021: Composting & Testing Your Soil

December 2, 2021
November and December are clean up times in the garden, as well as assessing the state of our garden after growing all of those heavy feeder summer vegetables...
View Article
Primary Image
Charlotte Harrison, Unsplash
UC Marin Master Gardeners: Article

November 2021: Integrating Native Plants in Your Edible Garden

October 29, 2021
In October the EDG team, with inspiration and planning by members of the MMG Native Plant Guild, added a native plant area to our edibles garden. This small garden was installed around a vernal pool that is at the back of our garden.
View Article
Primary Image
Zoe Schaeffer, Unsplash
UC Marin Master Gardeners: Article

October 2021: Seedling Transplanting Tips

October 21, 2021
At the Edible Demonstration Garden this month, we have been following best practices for seeding our winter garden plants in the greenhouse. These practices were outlined in last months article. This month, we will begin moving some of these seedlings into the garden.
View Article
Primary Image
Seeds germinating
UC Marin Master Gardeners: Article

September 2021: Growing Your Own Plant Starts

August 26, 2021
The end of the summer is approaching and some of our plants are producing heavy harvests, particularly our summer squash, which are growing in straw bales. (See our new YouTube video on Straw Bale Gardening.)...
View Article
Primary Image
planting tomatoes
UC Marin Master Gardeners: Article

August 2021: Growing Tomatoes and Physiological Problems

August 22, 2021
What are those brown areas on the tomatoes and whats causing the plants leaves to roll up? Often the cause is physiological, which is a fancy way of saying the symptoms are caused by environmental stresses and not by pests or disease.
View Article