How to Prepare an Edible Garden
Few areas of the garden benefit from detailed preparation like the edible garden. The two most important components are putting the infrastructure in place (beds and irrigation) and using healthy soil. Although this can take time and work, it's worth making the investment upfront so you can enjoy years of successful growing and harvests.
Build healthy soil
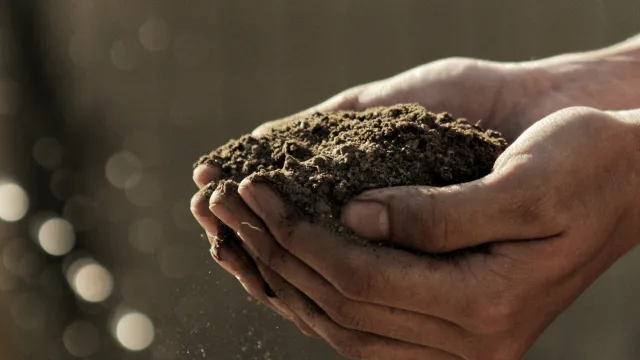
Whether you choose to plant in the ground or in raised beds or containers, soil is the key to success. The majority of edible plants grow best in loamy soils, a mixture of clay, sand, silt, and organic matter. Since Marin’s soil is predominately clay, it retains water and nutrients but needs to be amended for improved aeration, drainage, and replacing nutrients that have been used or leached out.
To grow edibles:
Start with healthy soil that has a pH between 5.5 and 7.5, depending on what different plants need:
- Acid soil (pH 5.5) – berries
- Alkaline soil (pH up to 7.5) – asparagus, beans
- Wide-ranging soil pH – carrots, cucumbers, garlic, parsley, peppers, pumpkins, strawberries, and tomatoes
Evaluate your soil
Simple tests for drainage, texture, pH, and the primary macronutrients – nitrogen, phosphorus, and potassium -- will help you determine what type of planting situation (in-ground or raised beds) would work best. Learn how to evaluate your soil.
Address soil nutrient problems
Edible plants provide clues when there is too much or too little of one or more of the six macronutrients. Here's how to recognize and address soil nutrient problems in the vegetable garden.
| HOW TO BUILD SOILS FOR EDIBLES 1. Start with compost: Add 1 to 2 inches of compost twice a year, for example in spring and fall, about two weeks before planting. This replaces nutrients, restores microbiological activity, and maintains soil health. 2. Test and add amendments as needed and according to directions on the product. Add amendments 1 to 2 weeks before planting. 3. Grow cover crops in winter and dig the plants into the soil in spring. 4. Add a layer of mulch in summer (leaves, rice straw, or another layer of compost) to retain moisture, minimize weeds, and provide habitat for soil organisms that positively affect plant health. 5. Add organic matter such as compost, leaves, and aged manure. 6. Consider sheet mulching (also known as sheet composting) – This is a process to eliminate lawns and weedy areas while building healthy soil. It is best started in the fall to prepare for a spring garden, but it can be done anytime. Within six months, the sheet-mulched area will have decomposed to about half its height and will be ready to plant. |
MAKE YOUR OWN SOIL MIX Soil mix for starting seeds Soil mix for containers Soil mix for in-ground and raised beds |
Follow these guidelines for beds and paths
To keep your garden accessible and well-organized, use these general guidelines when laying out your planting beds.
Width and length
• Keep beds a maximum 4 feet wide so you can access them from both sides.
• If accessible from only one side, limit to 2 to 3 feet wide.
• Beds/rows may be as long as space and irrigation system allows.
Depth
• Prepare beds to a minimum depth of 6 inches.
• 12 inches is better for drainage, aeration, and root development.
Orientation
• In large gardens there may be advantages for directional orientation of rows and beds, but this is not usually the case in smaller backyard settings.
• Orient planting beds to suit your personal preference and plant your tallest plants on the northern side.
Path width
• Keep paths minimum 2 to 3 feet wide to accommodate wheelbarrow, ease of movement, etc.
Care
• Don’t walk on garden beds or they will become compacted and not drain.
Decide on types of beds
In-ground raised beds and rows:
• Inexpensive way to create a healthy spot for growing your favorite fruits and vegetables
• Easier and less costly to construct than boxed raised beds
• Easier to turn over
• Offer growing spaces in gardens where boxes do not fit
• Build in-ground raised beds where there is at least one-foot of soil with no underground limitations
Boxed raised beds:
• Help with tunneling pests, poor drainage, poor soil, and underground rock
• Reduce the possibility of erosion by containing soil
• Warm up earlier in the spring
• Can be built to heights that limit bending
• Reduce soil compaction
• More expensive to build but are a more permanent option
• Some types of raised beds are portable
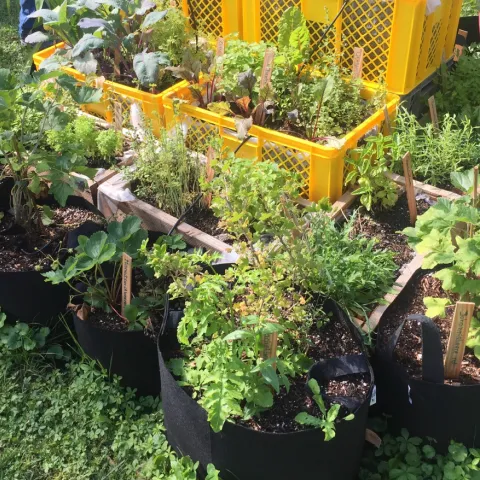
Containers:
• Easy and convenient
• No digging and the container may be placed right outside the kitchen door
• Terrific for patio gardens, accent plantings and for plants that may be invasive such as mint
• May be placed on wheels and if tall enough, may be wheelchair accessible
• Most any container made of a material that holds up well when wet and left outdoors will do
• Be creative and take a trip to a salvage yard or hardware store for inspiration
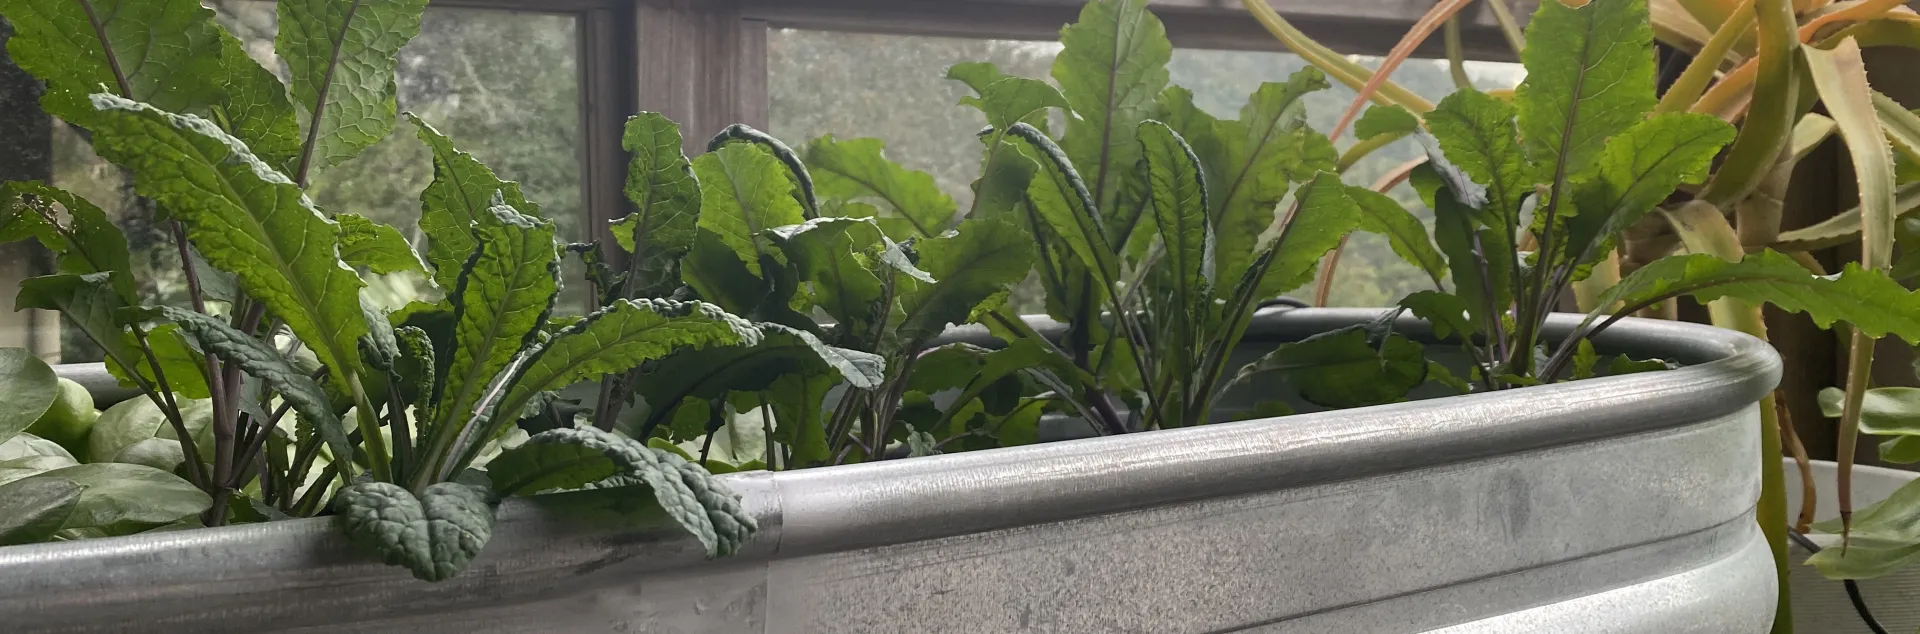
• Learn more about growing edibles in containers
Straw bales:
While most gardeners grow crops using soil or raised beds, it's possible to grow vegetables without soil using straw bales.
• Readily available material for soilless gardening that will provide compost as a byproduct
• Allow gardeners to avoid growing in poor soils or locations where plant diseases may already be present
• Requires additional water and fertilizer to prepare them for gardening
• Have been used as a growing medium for vegetables for at least half a century in Europe
• Learn more about growing edibles in straw bales
Clear and clean your planting site
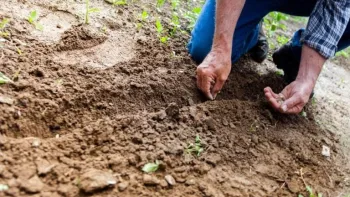
Once you've selected and assessed your site, evaluated your soil, and know what type of beds you want, you're ready to get going.
• If you discovered any hazards or limitations above or below the site, (electrical wires, limbs, plumbing, rocks, high water table, easements etc.) begin by addressing these issues.
• If you are unsure of the location of underground utilities, check with your utility company.
• If your site is sloping, construct terraces or level planting boxes to minimize runoff and erosion.
• If your site includes ornamental vegetation that shades garden beds or competes for irrigation, consider removing it.
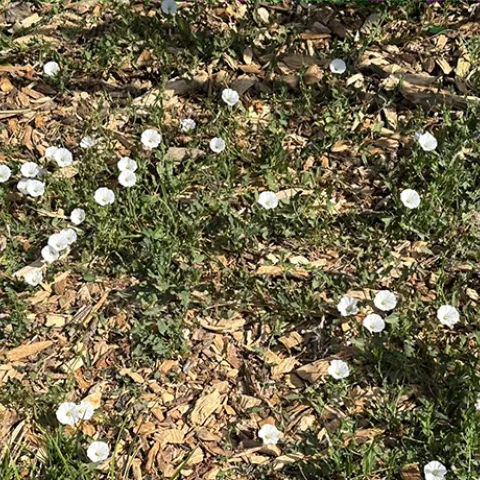
• If your site is covered in weeds, remove them when soil is damp and appropriately discard invasive weeds such as Bermuda grass, purslane, morning glory, and Scotch broom.
Construct planting beds
In-ground raised bed:
• Remove weeds when soil is damp but not wet
• Use a digging fork to loosen soil to a depth of 6 inches
• Spread 2 inches of compost on top
• Add other organic matter such as straw and dried leaves
• Evenly scatter amendments such as blood meal, kelp meal, rock phosphate etc., to adjust nutrients as indicated by soil test
• Alternatively, premix compost with amendments and spread the premixed blend over the raised bed
• With a shovel or digging fork, blend the compost and amendments into the bed to a depth of 6 inches
• Mound soil above the height of the ground into rows 30 to 36 inches wide
• Build rows 2 to 3 feet apart and do not step on the beds
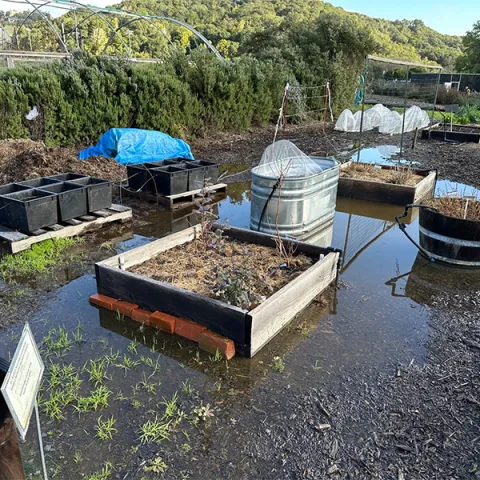
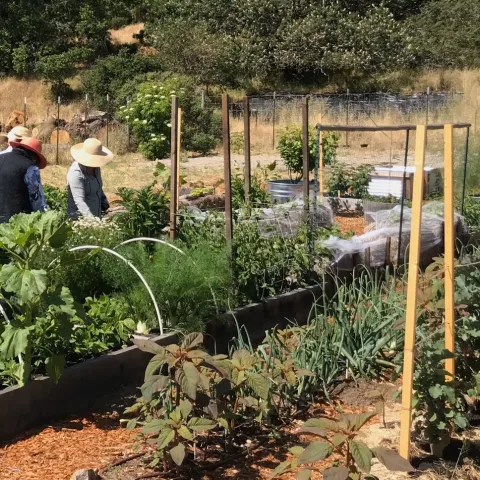
Boxed above-ground raised beds solve many problems.
Boxed raised beds
• Often made of 2-inch by 6-inch or 2-inch by 12-inch preservative-free redwood or fir
• Boxes are made in a variety of sizes; multiples of 4 are efficient as they reflect the 8-foot standard length of lumber
• Reinforce corners with 4-inch by 4-inch wooden posts or metal corner brackets
• Install half-inch hardware cloth on the bottom to deter gophers
• Once in place, fill boxes with potting mix or amended local soil
Build an irrigation system for edibles
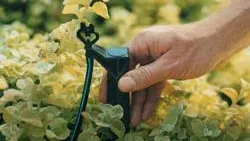
Irrigation systems in edible gardens need to be flexible because crop locations change from season to season and water requirements differ based on what's growing and whether plants are grown from seeds or starts. It's tedious and time-consuming to change drip emitter locations every season. Overhead or micro-sprayers are good for starting seeds, but not always a good choice for established plants such as tomatoes, which don't appreciate wet foliage. In addition, it is important that the gardener can easily amend beds without having to navigate around irrigation tubing, emitters, etc.
HOW TO BUILD A FLEXIBLE DRIP IRRIGATION SYSTEM for an edible garden bed: Follow these instructions to create an irrigation system that allows you to irrigate your edible crops with drip (for starts and established plants) or spray (for seeds). Because this system only connects to ONE point, it can be "lifted" to allow unimpeded access to the bed for amending soil. 1. Identify one point of connection (to water) for a garden bed. 2. Starting and ending at that one point of connection, build a perimeter 'loop" using 5/8-inch irrigation tubing. It should outline the bed and only be "connected" at the one place. 3. Run 1/4-inch or 5/8-inch emitter lines from one end of the perimeter tubing to the other, 6 to 8 inches apart. Be sure to tap into the perimeter line at both ends. This should allow you to plant anywhere in the bed and access drip irrigation. 4. Install adjustable micro-spray risers to the perimeter tubing so that it's possible to "spray" the entire bed if necessary OR turn one or more off when not needed. (This is helpful when starting seeds outdoors.) |
Rules of thumb for irrigating edible crops:
• Use a drip system if possible.
• Begin the season with a garden bed moist to a minimum of 12 inches deep.
• Check moisture content of soil with your finger several times per week.
• Water when the top 1 to 2 inches of soil is dry.
• Avoid wet/dry cycles and keep your garden consistently moist.
• Occasionally check 8 to 12 inches deep to ensure that the deeper soil is also moist.
• Irrigate early in the day.
• Observe plants for feedback. Yellowing of lower leaves provide evidence of over watering. Wilting and browning at edges indicates under-watering.
• When hand watering, apply water directly to the bed until the soil “shines” for 10-15 seconds.
• Plants need approximately 1 gallon of water per week in peak heat so if you are hand watering 3 times a week, apply about 1/3 of a gallon per plant per watering.
• Shallow rooted plants such as lettuce and other greens may require frequent shallow watering while plants with deeper roots, such as tomatoes, may be irrigated less often.
• Learn more about irrigation.
BACK TO EDIBLES
> What Edible Gardens Need
> Best Choices for Marin
> How to Prepare
> How to Plant
> Edibles in Containers
> Planting Calendar
> Grow & Care Sheets for Vegetables, Herbs & Fruits
> Tips & Techniques
> How to Maintain
> Fruit Trees
> Top 20 Edible Garden Problems
> Cover Crops & Soil Enhancements in the Off-season
> Conserving Water
•••••••••
Visit our EDIBLE DEMO GARDEN at IVC Organic Farm & Garden