How to Maintain an Edible Garden

Once the fruit trees, berries, herbs and vegetables are planted, the magic begins. Even seasoned gardeners marvel at how the seed becomes the plant that produces a vegetable that appears on a plate. But abundant growth and harvest don’t "just happen." To have a successful edible garden, a gardener must be a midwife, a caregiver, and a coaxer. Here's how to care for your edible garden.
Ongoing maintenance
• Spend time in the vegetable garden. Become an astute observer. Look for signs of trouble, such as wilting or eaten leaves or stunted growth.
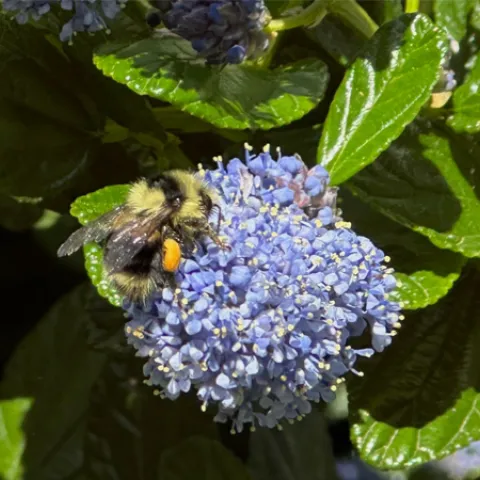
• Monitor for pests.
• Monitor for disease.
• Check soil for moisture.
• Keep vertical plants supported.
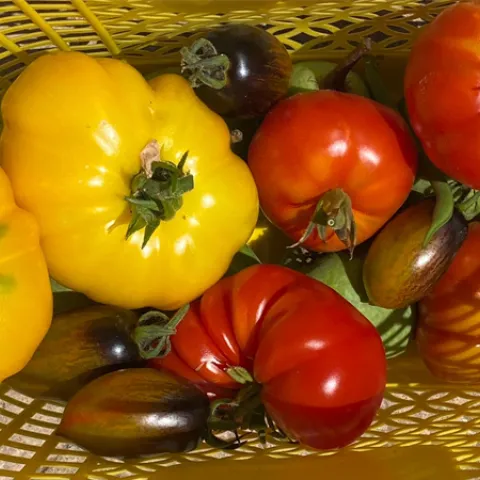
• Taste for ripeness and harvest when just right.
• Pull weeds.
• Replenish mulch.
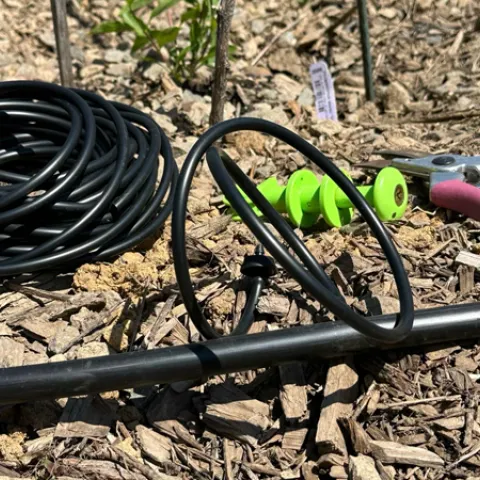
• Check irrigation and adjust as the season progresses.
• Add plant waste to the compost pile.
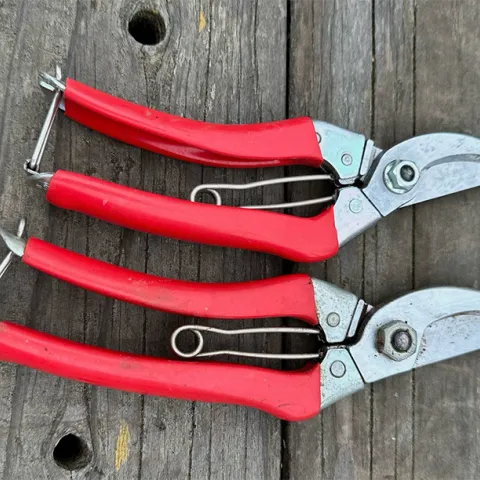
• Prune fruit trees.
Recommended: keep a garden journal to chronicle your successes and learning moments.
Monthly reminders
Use this Edible Garden Monthly Planting and Maintenance Schedule to keep your garden in tip top shape all year.
> MONTHLY PLANTING & MAINTENANCE
BACK TO EDIBLES
> What Edible Gardens Need
> Best Choices for Marin
> How to Prepare
> How to Plant
> Edibles in Containers
> Planting Calendar
> Grow & Care Sheets for Vegetables, Herbs & Fruits
> Tips & Techniques
> How to Maintain
> Fruit Trees
> Top 20 Edible Garden Problems
> Cover Crops & Soil Enhancements in the Off-season
> Conserving Water
•••••••••
Visit our EDIBLE DEMO GARDEN at IVC Organic Farm & Garden
June 2025: Patio Gardening


This past month EDG volunteers created a small “patio” in the garden to demonstrate how edibles can be successfully grown in limited space. Too often gardeners are discouraged from growing edibles, believing that it takes a large back yard with room for long rows of plants. However, with the imaginative use of containers even a small deck, patio, or balcony can be converted into flourishing garden.
What are the basic requirements for growing edibles in small spaces?

Sun – Edibles need 4 to 6 hours of sunlight. Regardless of the size of the growing area, sun exposure is essential. Leafy crops such as lettuce and chard require at least 4 hours of sun per day and fruiting crops like tomatoes, melons, and beans need at least 6 hours of sunlight daily. It’s important to choose the sunniest spot on a deck or patio for an edible garden area.
Water – Container plants need water more often than those grown in the ground. The need to transport water to growing plants with buckets or watering cans can diminish the pleasure in growing edibles. While drip irrigation is ideal, a hose attached to a water source will suffice.
Containers – The possibilities for garden containers are numerous and range from commercial pots, planters, troughs, and bags to the creative repurposing of old pans and buckets, wooden crates, wheelbarrows, and, of course, wine barrels. A used filing cabinet with the drawers removed can make a great container for edibles. In the Demo Garden, a straw bale provides a patio container for yellow fin squash. Regardless of the type of container, good drainage is important so it may be necessary to drill holes to allow water to flow through easily.

Containers need to be deep enough to provide sufficient space for root growth. Depth requirements vary with the type of crop. Salad greens and some herbs can grow in 6- to 10-inch-deep containers while peas, eggplant, and peppers need at least 14 to 16 inches to develop a strong root system. Tomatoes in containers require a minimum soil depth of 18 inches.
Soil – The potting mix used in containers should be porous and fast draining, yet moisture retentive. A high-quality mix that contains compost and other organic matter is best. Garden soil is too heavy, difficult to keep evenly moist, and can harbor disease. Organic fertilizers should be added in frequent but light amounts as the watering that container plants require leaches nutrients from the soil.
Additional tips for small space edible gardening

Credit: PickPik
Take advantage of vertical space – Trellises and stakes help tall and vining plants to grow upward. Use walls or fences as additional planting space by adding shelves, racks, or hanging baskets. A recycled step ladder is an inexpensive vertical gardening option.
Avoid damage to structures – Use blocks or bricks under containers to prevent rotting wooden decks or stairs. Consider the weight of the soil and container when planting on a balcony.
Protect against animals and pests – Plants in containers are susceptible to the same pests as in-ground plants. Cages or netting might be necessary to protect against birds, squirrels, and other critters.
Don’t forget the pollinators – Adding a few flowering plants to a container garden can help to attract pollinators to the edibles and increase veggie and fruit production.
Click here for more information on growing edibles in containers.
May 2025: Drip Irrigation Troubleshooting


When the winter rains end, it’s time for gardeners to focus on providing spring and summer edibles with the water they need to grow and produce. While hand watering may be the simplest way to adjust watering to the needs of individual plants, it’s not the most efficient means for getting the right amount of water to an entire garden.
Drip irrigation has proven to be the best option for home gardeners. It is particularly suitable for edible gardens because it delivers the water at the soil level and avoids water on the plant leaves which can lead to problems with mold and mildew.

Drip irrigation is also waterwise, reducing loss by evaporation and runoff and maintaining a desirable balance of air and water in the soil through slow application of water to plant roots.
What can go wrong with drip irrigation?
Whether installed by professionals or as a do-it-yourself project, drip irrigation requires routine maintenance. It’s recommended that the lines be checked monthly when the system is operating. It is especially critical when the drip irrigation is first turned on in the spring. Here are some common problems to look for:
- Leaks. The dreaded geyser is a sure sign that there is a break in the line somewhere. It could be a dislodged emitter or a damaged line. Thirsty rodents like to chew on the tubing and lines can be unintentionally broken by shovels and spades.

Finding a wet spot where there is no emitter can signal a problem in the supply line. If the line is buried, it will take some digging to find the leak. This was a recent problem in the Edible Demo Garden. The drip irrigation was installed some time ago and it was unclear which lines led to which bed. The search for this particular leak is still continuing.
- Blocked lines and emitters. Lines may get clogged, and emitters can be plugged by debris, mineral buildup, and algae. Pinched lines, especially the smaller feeder lines, can also be a problem. Periodically walking the circuit and checking flow from the emitters while the system is running is a good way to spot irrigation problems before plants start showing signs of distress.
- Low water pressure. Drip irrigation operates at 15-25 pounds per square inch (psi) which is much lower than sprinkler systems which can require up to 50 psi, and household systems running at 50-80 psi. A pressure regulator is needed to reduce the incoming household pressure to that for which the drip systems are designed. However, pressure in the lines can be lowered further by elevation gain, friction in the tubing, and long line lengths. It is recommended that 1/2” supply lines be limited to 200 feet in a single zone and the number of one gallon per hour emitters per line not exceed 200. If a drip emitter at the end of a line is not delivering sufficient water, it could be a low-pressure problem.
Fixing drip problems

With the right supplies, many common irrigation problems can be easily fixed. An emergency drip repair kit should include spare flow emitters of different sizes, connectors (both straight and elbow), line plugs, end caps, and tubing. It’s also handy to have a tool for cutting tubing, a punch to make holes in 1/2” line, and metal staples for securing the lines. The same supplies are useful when drip lines need to be added for new plants.
Lines can be flushed to remove debris, and clogged emitters can be cleaned or replaced. Small holes in lines can be plugged. Larger damaged sections in lines can be removed and connectors used to join the undamaged sections.
A water pressure test gauge, available at hardware stores, is helpful in determining if the pressure in the drip system is in the right range. Low pressure problems due to overly long lengths of supply line or too many drip emitters might involve changing the drip line layout or adding another zone to the system.
Controlling drip irrigation
Drip systems require control valves to direct water into the system. These are generally automated with an AC or battery powered controller/timer that makes it easy to set irrigation frequency and duration. These devices range from simple timers to more complicated “smart” controllers. All these devices include the option to run the system manually, allowing gardeners to conduct their periodic system maintenance checks.
Click here for more information on irrigation systems.


