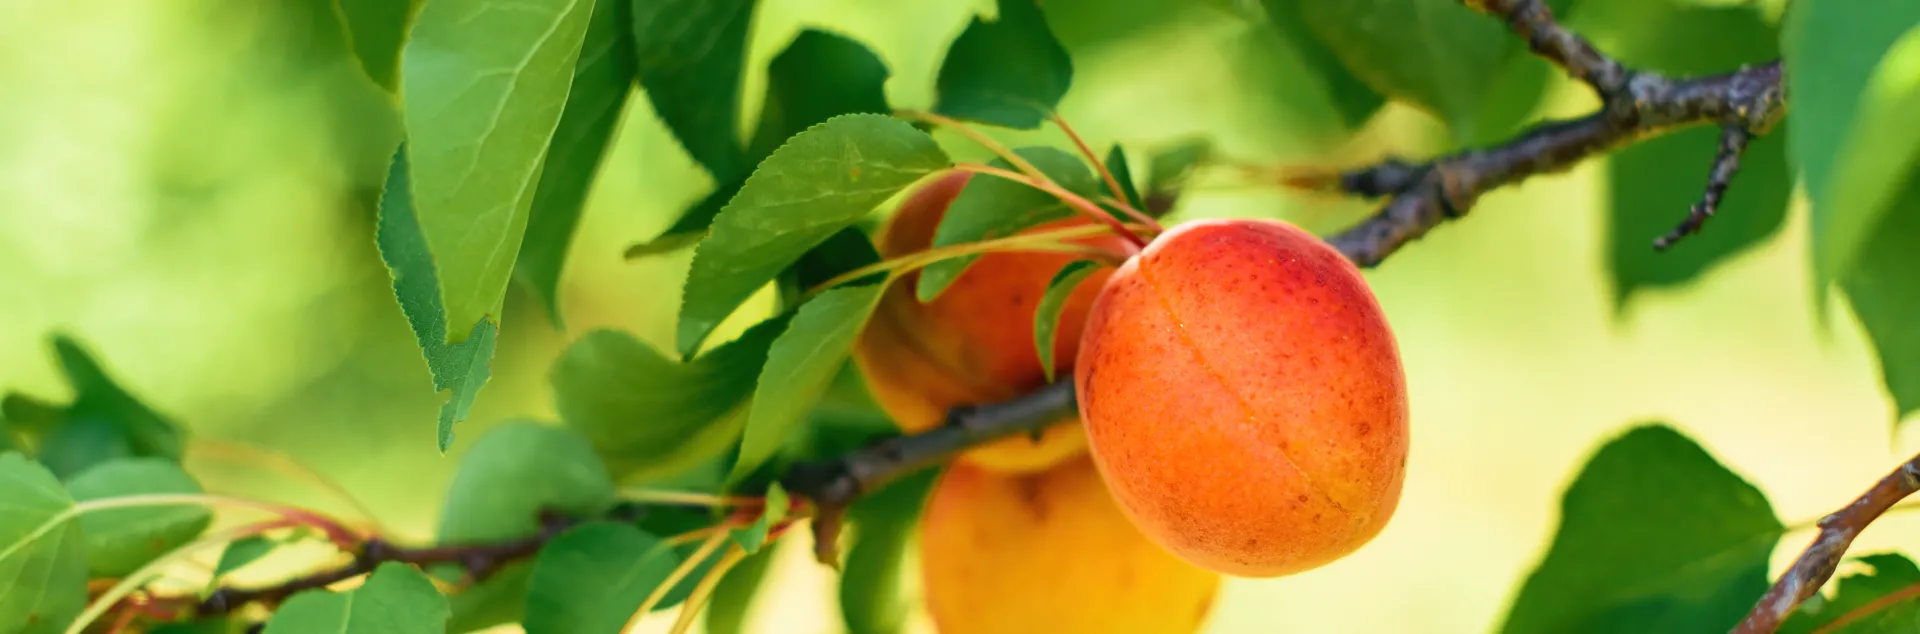
Growing Fruit Trees
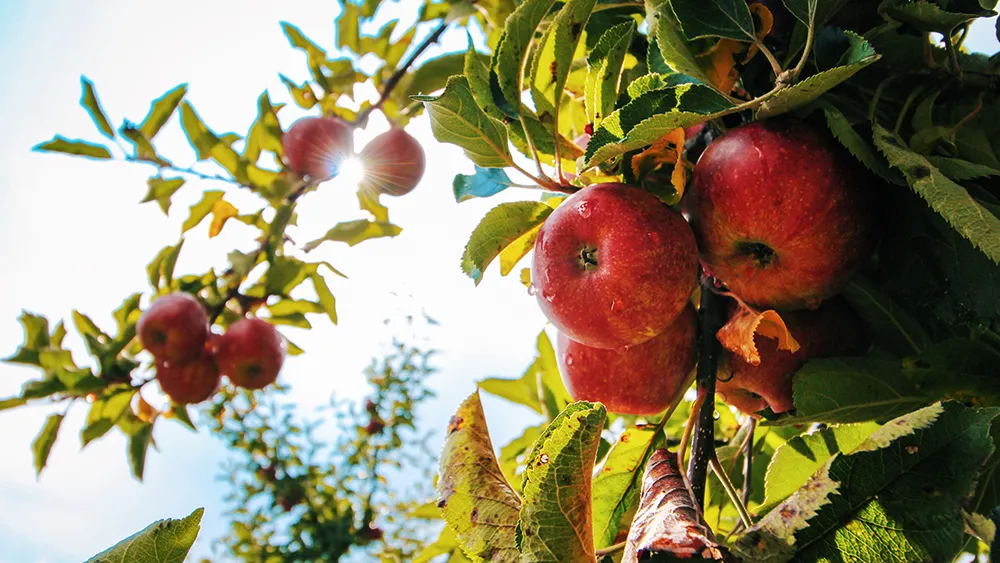
Fruit trees need suitable climates, well-drained soil, proper planting, and maintenance throughout the season. It takes some planning and work to get them established, but once you do it's a joy to pick fruit fresh from the garden. Here's how to create your very own home orchard.
Site considerations
There are many things to consider when deciding which fruit trees are a good match for your garden, including:
• Careful evaluation of your microclimate
• Chill hours available (see below)
• Soil quality
• Access to water
• Space
• Protecting fruit from wildlife
Choosing a fruit tree
The best way to assure success is to choose fruit trees that work in your microclimate, and to grow them in the conditions they need. One important consideration is the number of chill hours required. Fruit trees (except citrus) need a specific number of cumulative hours of chilling (temperatures between 32°F and 45°F) to break winter dormancy. This varies by variety.
Preparation and planting
All edible plants require proper preparation and planting, and fruit trees are no exception. Fruit trees need proper spacing to avoid crowding and other problems. To get them off to a good start, make sure you follow guidelines for proper planting and handling.
Growing instructions
Cick on the individual trees below to learn how to grow healthy trees for sweet, delicious fruit for years to come.
> Apple
> Apricot
> Cherry
> Citrus
> Fig
> Olive
> Peach
> Pear
> Persimmon
> Plum
Pruning instructions
Pruning is different for every type of fruit tree. Most fruit trees benefit from summer and winter pruning. Refer to our full Pruning Library or click on the individual trees below for detailed tips, techniques, and timing.
Benefits of pruning fruit trees
• Controls size for easier harvesting and care
• Increases strength so weight of the fruit doesn't break branches.
• Distributes sunlight evenly throughout tree
• Regulates fruit bearing by removing excess fruitwood
• Renews fruitwood to continue strong buds and flowers
• Removes undesirable wood such as dead, broken, diseased, and crossing branches.
> HOW TO PRUNE COMMON FRUIT TREES
Maintenance
Use this maintenance schedule, which provides fruit tree care by type of tree and time of year.
Irrigation
Generally speaking, fruit trees need a large volume of water -- but not every day. The correct amount of water for a given fruit tree depends primarily on the size of the tree and the heat of the day. Here's detailed irrigation advice and guidelines, including examples of how long to water using different watering methods such as drip or sprinklers.
Pollination
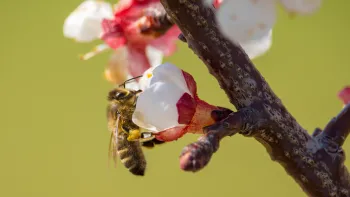
Without pollination, flowers may bloom abundantly but will not bear fruit. To avoid this frustration, learn your fruit tree's pollination requirement. This will vary depending on your tree, climate, and regional conditions.
Fertilizing
Specialized fruit tree fertilizers can be purchased at nurseries. Be sure to follow all instructions. Do not add more fertilizer to help your tree “grow faster.” Excess fertilizer could damage your tree or get washed away in storm drains.
Fruit thinning
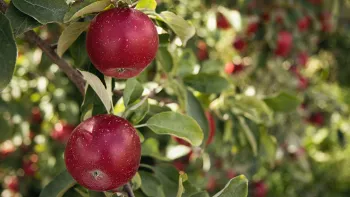
Fruit trees often produce more fruit than the branches can hold when young, and more fruit than the tree can support as it matures. Thinning fruit or removing extra fruit when the fruit is small is key to harvesting good-sized fruit. The amount of fruit to thin depends on the species and the overall fruit load on the tree.
Stone fruits produce one fruit per bud:
• Apricots and plums are fairly small, so they should be thinned to 2 to 4 inches apart on the branch.
• Peaches and nectarines should be thinned to about 3 to 5 inches.
• If excessive fruit have been set, more thinning may be required.
• If the fruit load is light, but one or two branches have a large amount of fruit, less thinning is required.
Pome fruits (apples and pears) produce a cluster of flowers and fruit from each bud:
• Thin to no more than one to two fruit per cluster, depending on the total fruit set and growing conditions.
• Retain the largest fruit whenever possible.
• When the crop is heavy, fruit should be spaced no less than 6 to 8 inches apart.
Propagation
If you eat a delicious peach and decide to plant the seed, you will be disappointed. Fruit trees require propagation by budding and grafting, which assures quality fruit plus disease resistance and other traits. Budded and grafted fruit trees are available bareroot in winter.
Pests and Diseases
Integrated Pest Management (IPM) encourages natural predators to control pests in your garden or orchard. Nature provides a balance between plant pests and the beneficial insects that control these pests. The less we do to tamper with that balance, the more likely it is to work successfully. How does it differ from organic gardening? Proponents of IPM are not opposed to the use of chemical controls, but use them only when necessary and only in amounts and with proper timing to minimize a negative effect on the beneficial bugs in the garden.
Learn more about common pests and diseases of individual fruit trees.
Harvest and storage
Ripening, harvesting, and storage requirements vary by the type of fruit. Taste and texture will be at their best if you use proper strategies. Here are guidelines for storage.
Fruit Tree Care Cards to Print & Keep!
Use Master Gardener and master pruner Susan Pearson's pruning and growing cards for specific fruit trees common in Marin. Print them out and keep them for easy reference.
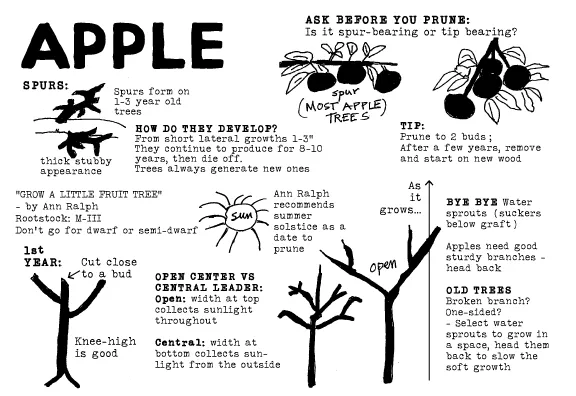
APPLE
FIG
LEMON
PEACH
PEAR
PERSIMMON
PLUM
POMEGRANATE
BACK TO EDIBLES
> What Edible Gardens Need
> Best Choices for Marin
> How to Prepare
> How to Plant
> Edibles in Containers
> Planting Calendar
> Grow & Care Sheets for Vegetables, Herbs & Fruits
> Tips & Techniques
> How to Maintain
> Fruit Trees
> Top 20 Edible Garden Problems
> Cover Crops & Soil Enhancements in the Off-season
> Conserving Water
•••••••••
Visit our EDIBLE DEMO GARDEN at IVC Organic Farm & Garden