
How to Plant Your Edible Garden
Take care to plan out your edible garden before diving in. Consider any theme or general approach to your garden, how your plants will be organized, how to invite pollinators, and whether you'll be planting your crops from seeds or starts. Most importantly, be sure you plant at the correct time. Here's how to manage it all.
APPROACH: Getting started
There are many ways to grow edibles, whether incorporated in the ornamental landscape or in a separate area of the garden.
Edible landscape
Use edibles in place of ornamentals in your landscape or integrate them within existing ornamentals. Blueberries and artichokes are beautiful ornamental shrubs. Blackberries, asparagus and raspberries make a nice hedgerow. Herbs make a lovely border.
Theme gardens
Edible flowers, ratatouille or salad niçoise garden, tea or salsa garden, etc.
Planting space & relative square foot value
• If space is tight: High-yield per square foot plants
Herbs, parsley, carrots, and beets provide the greatest yield per square foot. In other words, you get the most produce from the smallest amount of space. If space is tight, these edibles are good choices.
• If space is not an issue: Low-yield per square foot plants
Winter squash, sweet corn, watermelon. and pumpkin have the least yield per square foot. Grow these if space is not an issue or if you don't mind edible vines creeping through your ornamental beds.
Others crops are somewhere in between.
GROUPING PLANTS: How to organize your edible garden
Use the guidelines below to create a planting plan for your edible garden.
MOST IMPORTANT: Hydrozones and plant spacing
Hydrozones
Place edibles with similar water needs together. Plants with similar root depth have similar water requirements.
• Most edible plants are shallow rooting (approximately 12 inches or less). Examples include lettuce, arugula, basil, chives, garlic, kale, mustard greens, and some carrots.
• Deeply rooting plants include artichokes, asparagus, parsnips, rhubarb and tomatoes.
• Most annuals need one inch of water per week and up to two inches in hot weather. Learn how to calculate an inch of water.
• Tomatoes need less water after fruit has set.
• Perennial herbs need less water after they're established.
Plant spacing
Place crops according to size at maturity or according to spacing suggestions. Vegetables harvested before full maturity, such as beets or greens, may be placed more closely.
Plant placement
Consider:
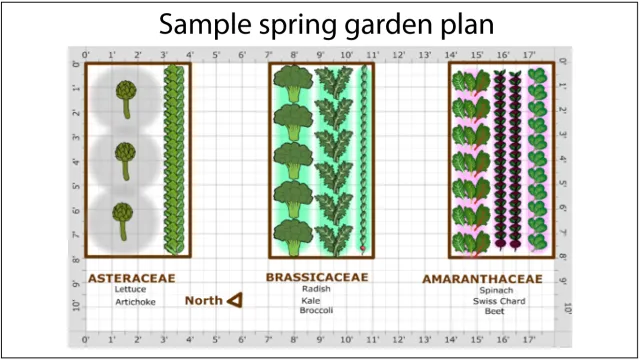
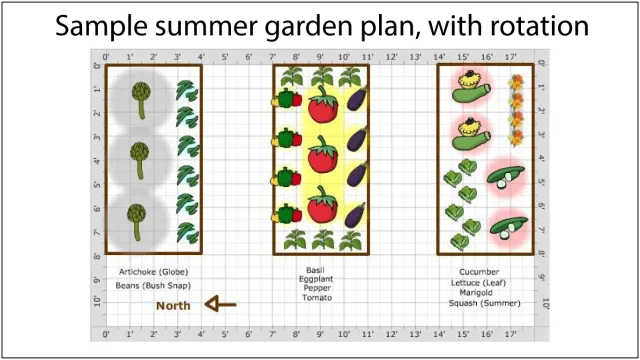
• Shade: Place taller plants on the north side of your bed/garden so they will not shade shorter plants. Plant crops that enjoy light shade, such as lettuce, in the shadow of taller plants.
• Ease of access: Group shorter plants near the front of beds so they're easy to reach.
Rotation
Group plant families together for easier seasonal crop rotation.
Frost-sensitive plants
Place frost-sensitive plants such as peas and citrus in protected areas near a structure, fence, or in an otherwise protected spot. Use cold frames to get seedlings started outdoors.
Perennials
If space allows, grow perennials such as asparagus, artichokes, berries, herbs, fruit trees, sunchokes, and walking collards in separate beds or containers.
POLLINATORS: how to attract them
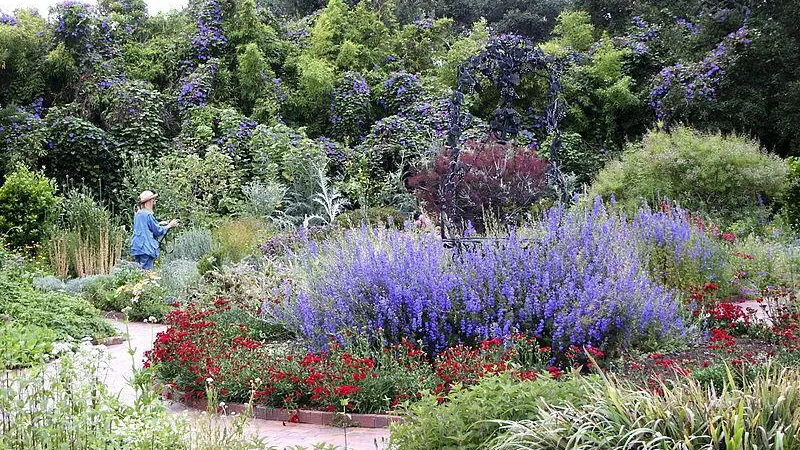
If not for pollination, our food gardens would be lovely, under-productive patches of green. In fact, pollination accounts for one out of every three bites of food we eat. That said, the need for pollination varies by crop:
| Require no pollination | Carrots, kale, and other edibles, which we eat before pollination occurs |
| Self-pollinating | Beans, peas and tomatoes |
| Wind-pollinated | Beets, chard, and corn |
| Require pollination | Brassicas, cucumbers, melons, okra, pumpkins, squash and many fruit trees Pollinated by hummingbirds, bees and other insects, and in their absence, humans! |
Use our lists of Plants for Bees, Hummingbirds, and Butterflies. These plants are easy to grow, bloom heavily, and are good company for edible crops. They create spots of color, texture, and scent. The result is so much more than an edible garden. It is a resilient, sustainable, fascinating ecosystem. Learn more about habitat gardening, pollination, and pollinators.
KNOW YOUR SOIL TEMPERATURE: Guidelines for warm & cool season crops
Edible crops are not only sensitive to air temperatures; they are also sensitive to soil temperatures. Whether planting seeds or starts make sure soil temperature is adequate:
Warm season crops need soil temperature at 60 to 65 degrees.
Cool season crops need soil temperature at about 40 degrees.
How to take your soil's temperature
• Use an instant read thermometer, the kind used in the kitchen. Insert it into the soil about 3 inches deep.
• The best time to check soil temperature prior to planting seeds and seedlings is in the morning because this will be the coolest soil temperature of the day. If you want to know the warmest soil temperature, check the soil in late afternoon.
To raise soil temperature
• Cover the bed for a few days with a dark material, such as heavy weed cloth.
Planting: Seeds or Starts?
When planting your garden, you have a choice between planting seeds or starts. Most gardens include plants propagated from both seeds and starts.
What are Starts?
Starts are plants you buy at the nursery or grow yourself from seed.
HOW TO PLANT STARTS • Harden off: If you have grown your own starts, be sure to harden them off for about a week before planting in the garden by leaving the plants outside each day for longer and longer periods of time but bringing them in at night. Starts purchased from a nursery are already hardened off. |
SEEDS: Growing your own starts
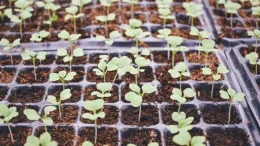
Follow directions on seed packets and decide if you are going to start the seed indoors in a container or direct sow into the garden.
Benefits of growing edibles from seed:
• Variety: Starting with seed reveals a world of vegetables that you will never find in the market or nursery.
• Cost: Growing from seed is less expensive than buying starts.
• Sharing: You can exchange different varieties with friends.
• Disease resistance: Growing from seed reduces the risk of introducing diseases into your garden.
• More control over timing: This can help when rotating crops or doing succession planting.
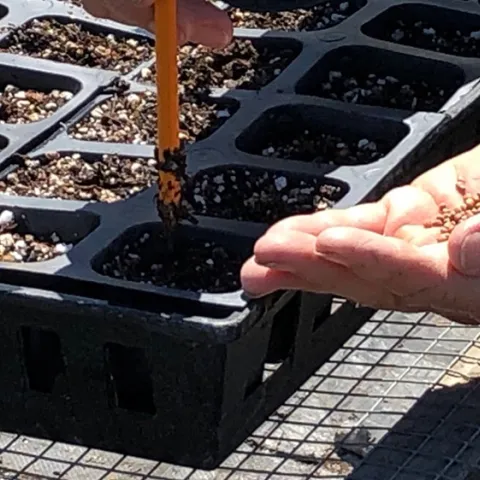
| HOW TO SOW SEEDS INDOORS or in a cold frame outdoors • Begin 3-6 weeks before planting into the garden. • Use a fine textured seeding mix • Use any kind of container that is at least 2 inches deep and drains. • Fill the container or flat with seeding mix. • Level out. • Place seeds more densely than recommended on the seed packet, as some will not germinate. • Once the seedlings are about 1-inch high, thin with scissors, giving each seedling 2 inches of space all around. • When the seedling has at least 2-3 true leaves, feed with fish emulsion diluted to half the standard strength. (Seeding mix does not usually contain nutrients since the seed uses nutrients stored in the seed.) • Transplant in the spring after danger of frost or according to the recommended planting time. |
Seed types to sow indoors or in a cold frame:
• Smaller seeds are usually started in a flat in a protected environment (indoors or out) and transplanted after a full-set of leaves has formed and the plants have been hardened off (gradually exposed to outdoor elements). An exception are small seeds that mature quickly, such as lettuce and arugula, which may be directly sown into the garden.
• Large seeds such as beans, peas or squash may be started indoors and transplanted to provide a head start on the growing season.
• Medium size seeds such as those for eggplants, tomatoes and peppers are started indoors and transplanted outdoors.
| HOW TO SOW SEEDS DIRECTLY into the garden • Plant large seeds the depth recommended on the seed packet (usually about the length of the seed). • Scatter small seeds on the surface of the bed, then top lightly with soil. • Thin with scissors to recommended planting spacing when seedlings are 1 to 2 inches tall. • Cover with tulle to protect from birds. |
Edible crops to sow directly by seed into the garden:
• Large seeds: beans, pumpkins, squash, peas
• Root crops: beets, carrots, parsnips, radishes, turnips
• Quickly maturing seeds: braising mix, lettuce, microgreens
TIMING: when should you start growing?
In the edible garden, this is a critical question that could mean the difference between success and failure. Check online for information on specific plants, or use our planting calendar and our grow sheets as a guide.
BACK TO EDIBLES
> What Edible Gardens Need
> Best Choices for Marin
> How to Prepare
> How to Plant
> Edibles in Containers
> Planting Calendar
> Grow & Care Sheets for Vegetables, Herbs & Fruits
> Tips & Techniques
> How to Maintain
> Fruit Trees
> Top 20 Edible Garden Problems
> Cover Crops & Soil Enhancements in the Off-season
> Conserving Water
•••••••••
Visit our EDIBLE DEMO GARDEN at IVC Organic Farm & Garden
December 2023: Caring for the Soil
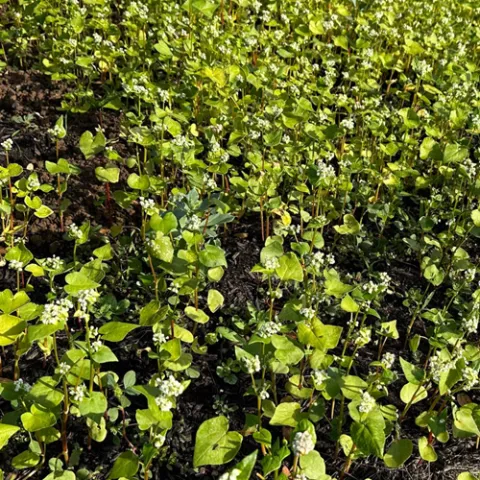
After the fall harvest was over, it was time to clean up and replenish the soil in the Edible Demo Garden. Healthy soil is fundamental to the success of the next season’s crops. Even in beds that are temporarily fallow, the soil needs to be nurtured and protected. In November, volunteers were busy with three major soil-boosting activities - spreading compost, adding mulch, and planting cover crops.
Why add compost?
The value of compost cannot be overestimated. Most edible crops are heavy feeders and leave the soil depleted of nitrogen and other essential nutrients after they are harvested. Adding a layer of compost to the soil is an earth-friendly way to help restore those nutrients and support good soil structure. Since compost is decomposing organic matter, it needs time to make the nutrients available to plants. In the Edible Demo Garden, compost is applied to all the garden beds prior to planting the next season’s crop.
What is the purpose of mulch?
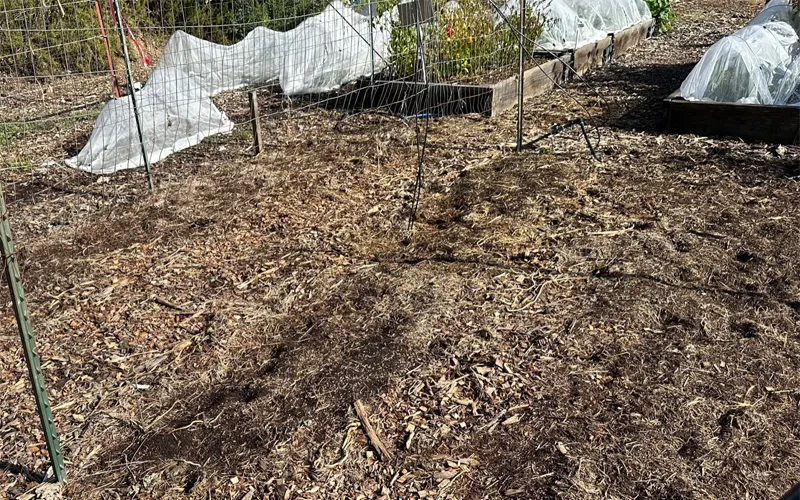
In late fall, Edible Demo Garden volunteers take apart the straw bales used to grow warm season vegetables. The used straw becomes recycled mulch. Initially, the straw was considered suitable as compost material, however, subsequent testing found it to be low in nitrogen. Although much nitrogen was added to the bales during the growing season, most of it was either taken up by the plants or washed out by watering and rain.
Why plant cover crops?
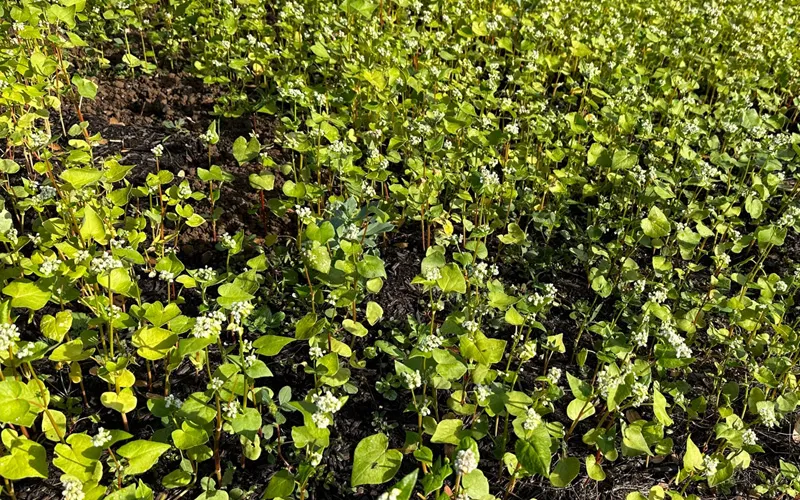
For several years Edible Demo Garden volunteers have been cultivating a large garden area known as “the back 40”. Planting a cover crop of fava beans in the fall is one of the strategies for improving the poor soil in that area. Before the fava beans could be planted in November, some light tilling of the soil was necessary to improve the penetration and decomposition of the four wheelbarrows full of compost spread by the volunteers. Prior to planting, the bean seeds were soaked in an inoculant containing rhizobacteria to maximize their nitrogen fixation effects.
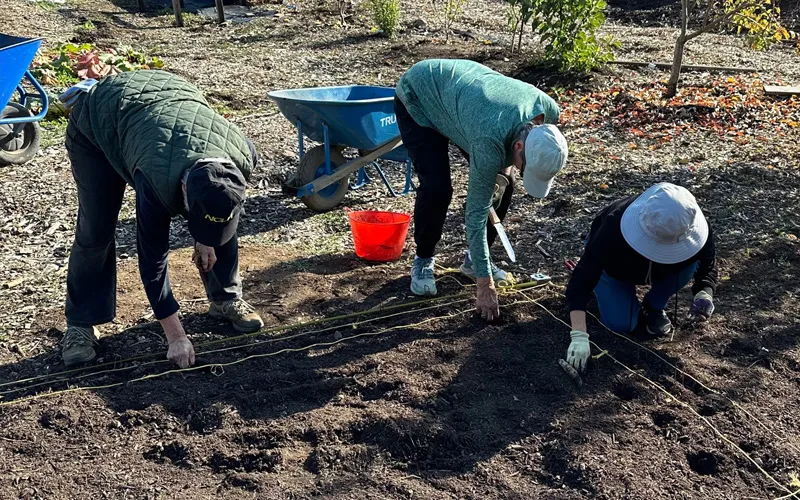
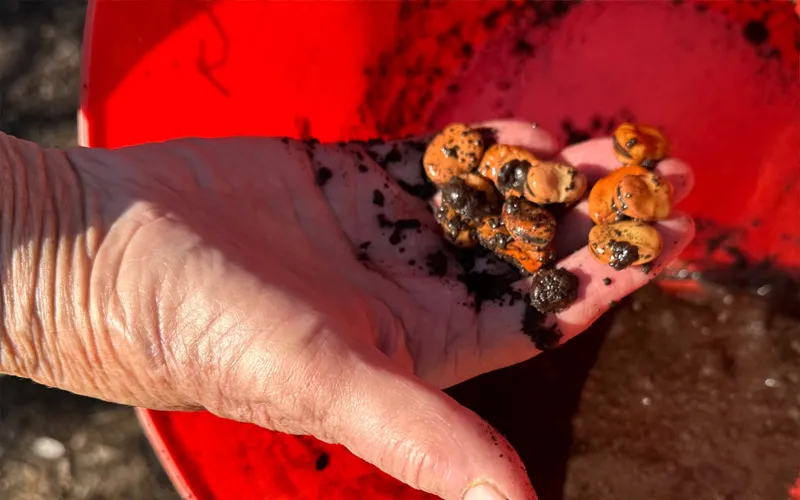
Paying careful attention to spacing and depth requirements, 150 inoculated fava bean seeds were planted in the back 40 by the volunteers. Some watering will be necessary until the rains begin, but a good crop of green manure should be available to nourish the soil in the spring.
For more information on building healthy soil, click here.
October 2023: An Abundance of Squash
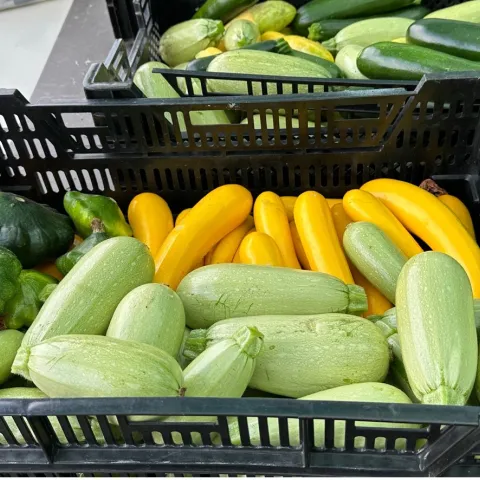
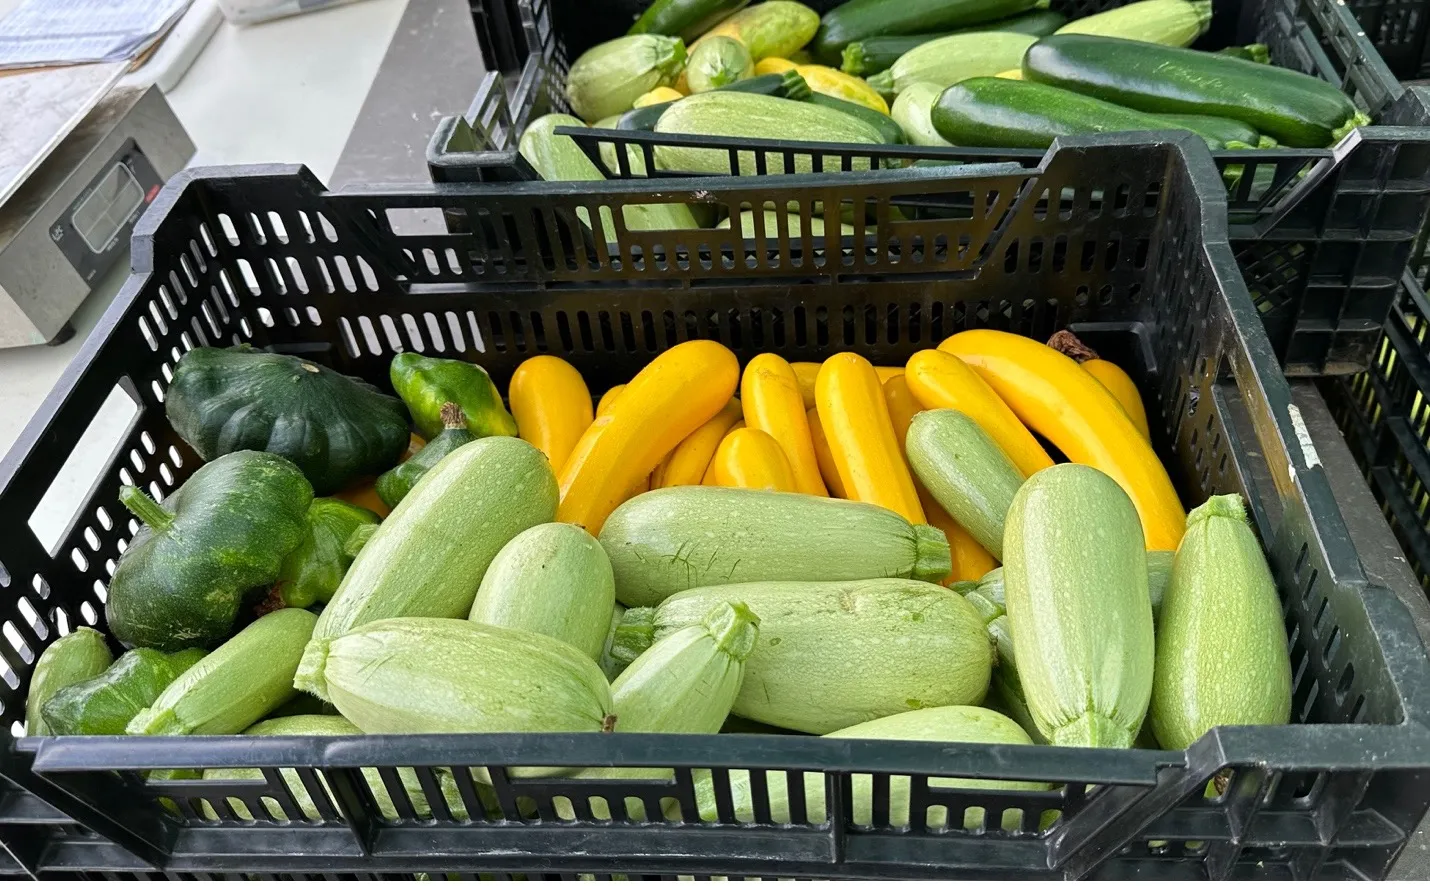
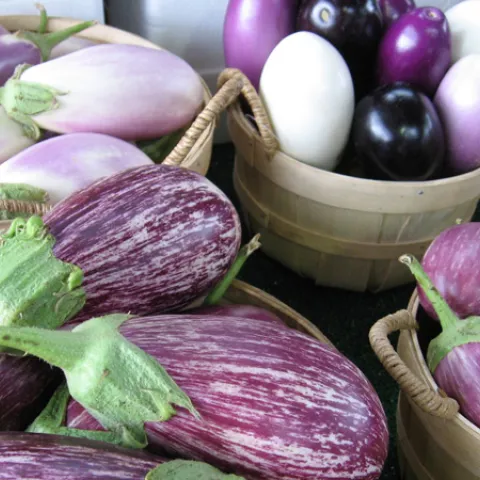
The summer harvest was in full swing in the Edible Demo Garden in September. Volunteers harvested beans, tomatoes, cucumbers, eggplant, peppers, and lots of summer squash. Although the summer squash planted in the straw bales got off to a slow start due to cool weather and creature damage, it caught up quickly. Pounds of yellow fin and magda squash were harvested throughout the summer. An estimated 45 pounds of squash were picked just last month. Soon the winter squash will be ready for harvest and the yield promises to be just as good.
How can you tell when squash is ready for harvest?
The timing of the harvests for summer and winter squashes differs in relation to the maturity of the developing fruit. Summer squash (zucchini, patty pan, yellow, crookneck) is picked before it is fully mature, and the rind hardens. Winter squash (pumpkin, butternut, acorn, delicata) should be allowed to fully mature on the vine. Here are some general harvesting guidelines for each type.
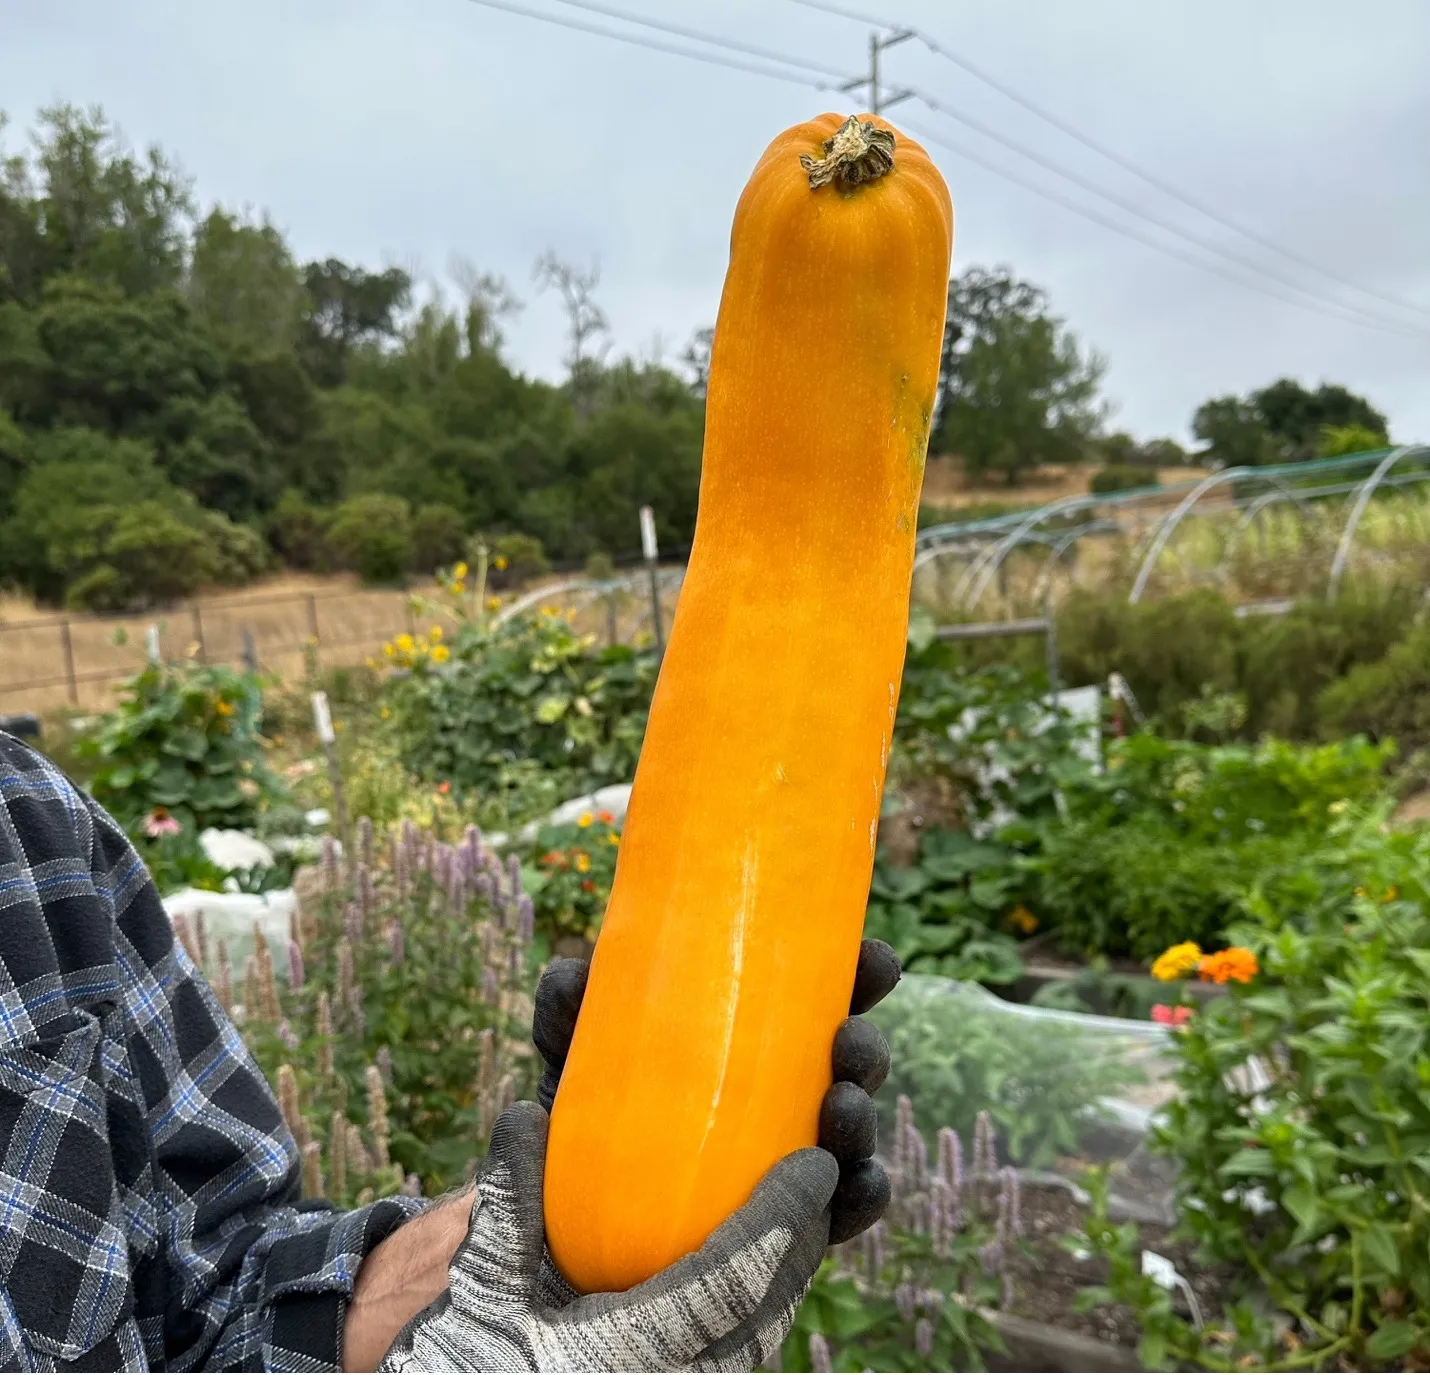
- Summer Squash: The smaller the squash the more tender and tastier it will be. Pick straight and crookneck varieties when they are 2 inches or less in diameter and 6 to 8 inches long. Pick patty pan or scallop types when they are 3 to 4 inches in diameter. Because summer squash matures very rapidly after pollination, it is important to pick often before they get too large. When summer squash become too large, hard, and seedy, they sap strength from the plant and reduce production. Sometimes finding the developing squash before they get too large is challenging. It’s easy to miss one among the vines only to find an oversized one that got away.
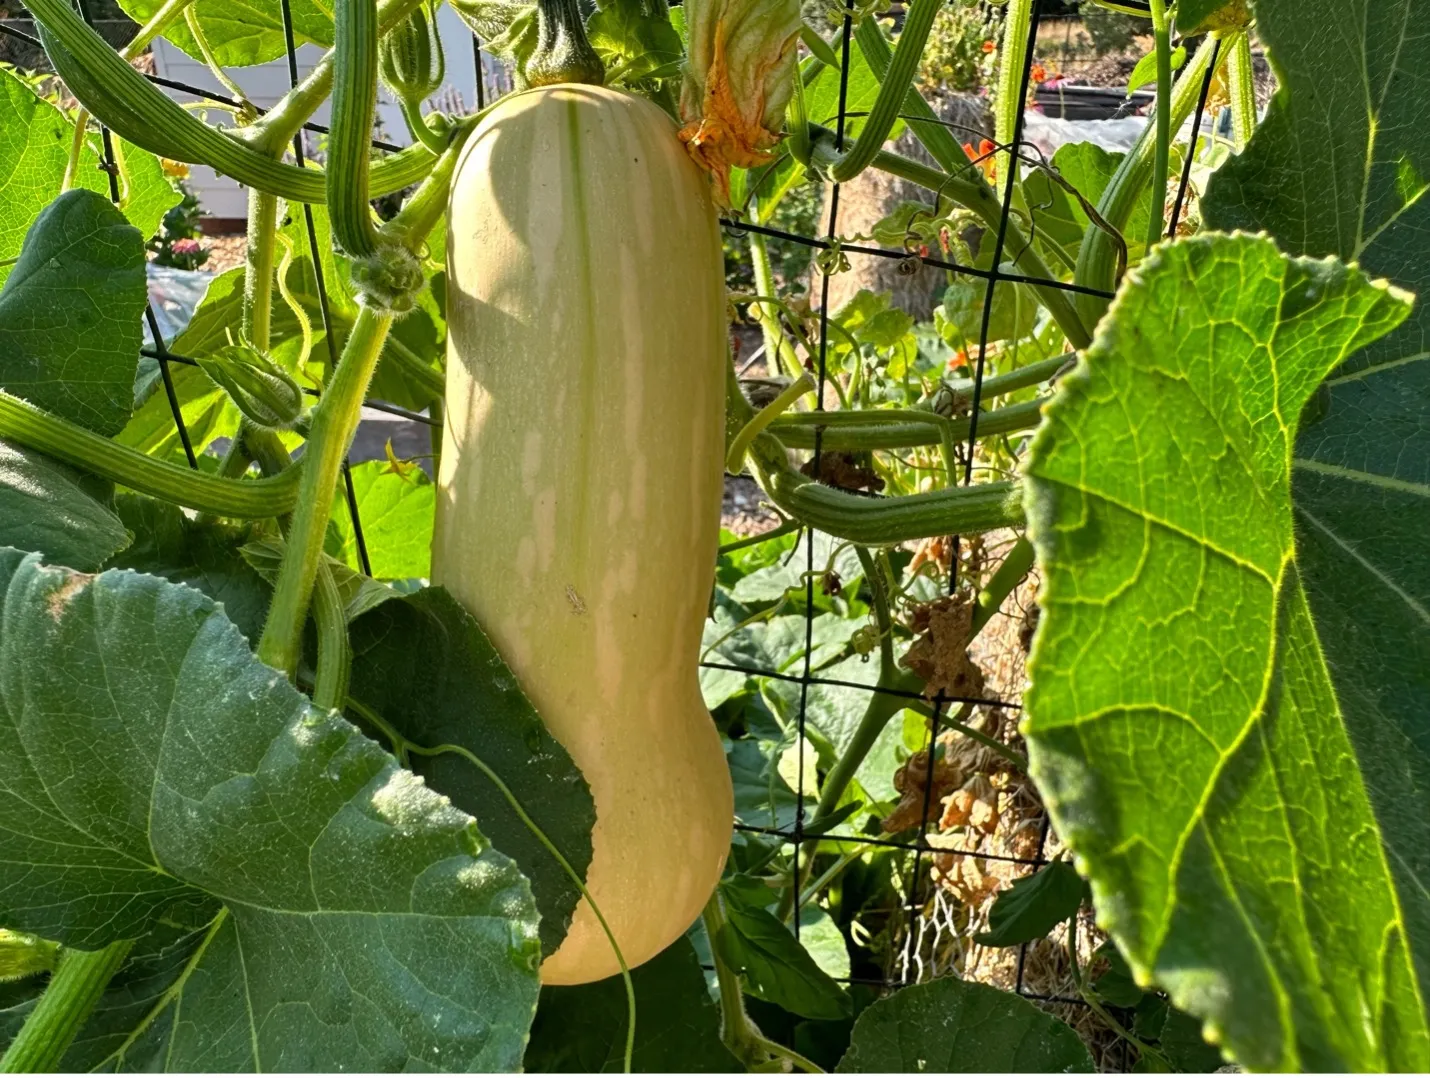
- Winter Squash: In contrast to summer squash, winter squash should stay on the vine until it is at maximum size and the shell is hard and dull in color. Wait until the color on the stem changes from green to brown, then the squash is ready for harvest. When it comes to winter squash, it is better to leave them on the vine too long than not long enough. If the vines are dying, it’s time to harvest.
To sum it up - harvesting summer squash requires vigilance and harvesting winter squash involves patience!
General Harvesting Rules:
- Harvest in the early morning hours – produce harvested in the morning tends to stay crisp and fresh longer. Plants retain moisture overnight and veggies picked during the heat of the day are more likely to wilt.
- Be gentle when harvesting – If the vegetable is not easily picked, use a knife, scissors, or pruner. Summer squash can be harvested with regular pruners, but heavy pruners or a sharp knife is best for harvesting winter squash. Leaving a short stem attached prolongs storage life. Leave 2 to 4 inches of stem intact on winter squash. Handle summer squash gently to prevent wounds to the skin.
- Pick frequently to prolong the harvest – Keep in mind that a plant’s goal is to reproduce. When fruit is allowed to fully mature, then it signals to the plant that there is no need to continue flowering and fruit production will diminish.
For more information on growing summer and winter squash visit our webpage!
August 2023: In Praise of Rhubarb
What is Rhubarb?
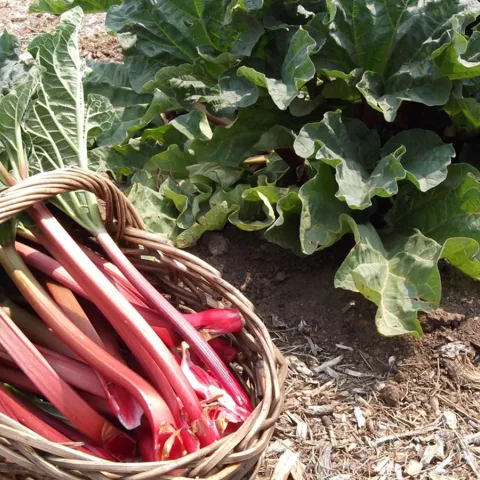
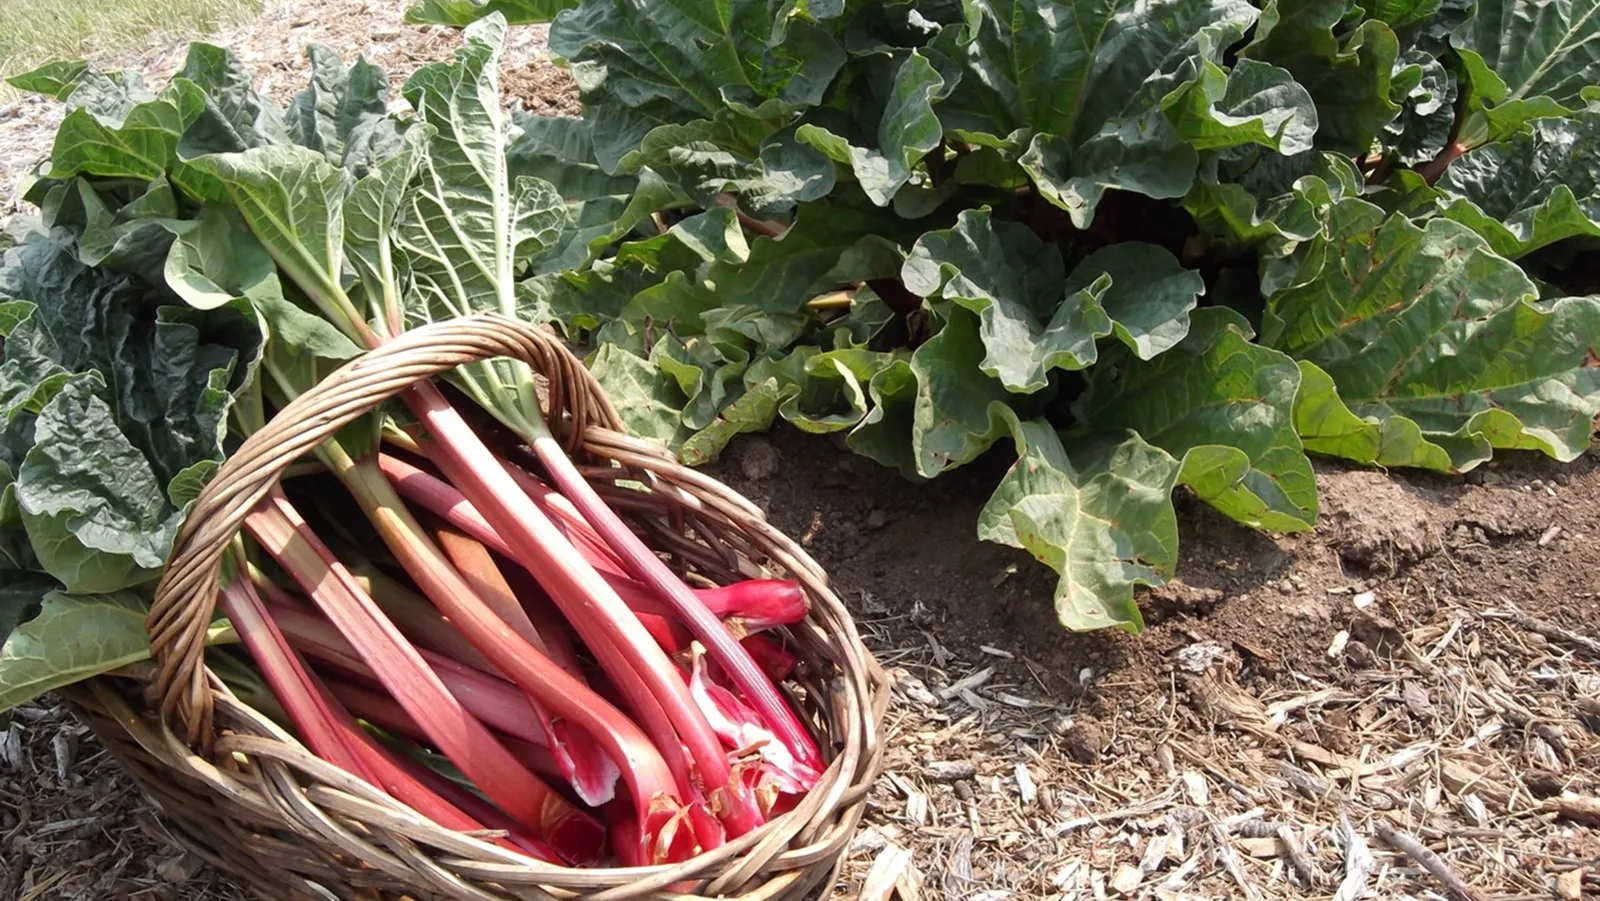
Rhubarb is a vegetable that is often prepared and eaten as fruit. The leaf stalks, or petioles, are the edible part of the plant. Originating in Siberia and China, rhubarb is a member of the Polygonaceae family, a grouping of herbaceous perennial plants which also includes buckwheat and sorrel. It was first used by the Chinese for medicinal purposes but has been cultivated for its unique tart sour taste for centuries.
Nutritionally, rhubarb is an excellent source of vitamin K. It is also high in vitamin C, calcium, and antioxidants. Eaten alone, it is low in calories, but it is often combined with fruits or sweeteners to counterbalance its tartness. The classic combination is rhubarb and strawberries often mixed as a pie filling. In fact, rhubarb’s use in baking has earned it the label of “ple plant”.
Like many edible plants, rhubarb contains oxalic acid, and this may contribute to its taste. However, oxalic acid is much more highly concentrated in rhubarb leaves, and it is at a level considered to be poisonous. Only the leaf stems should be harvested for food.
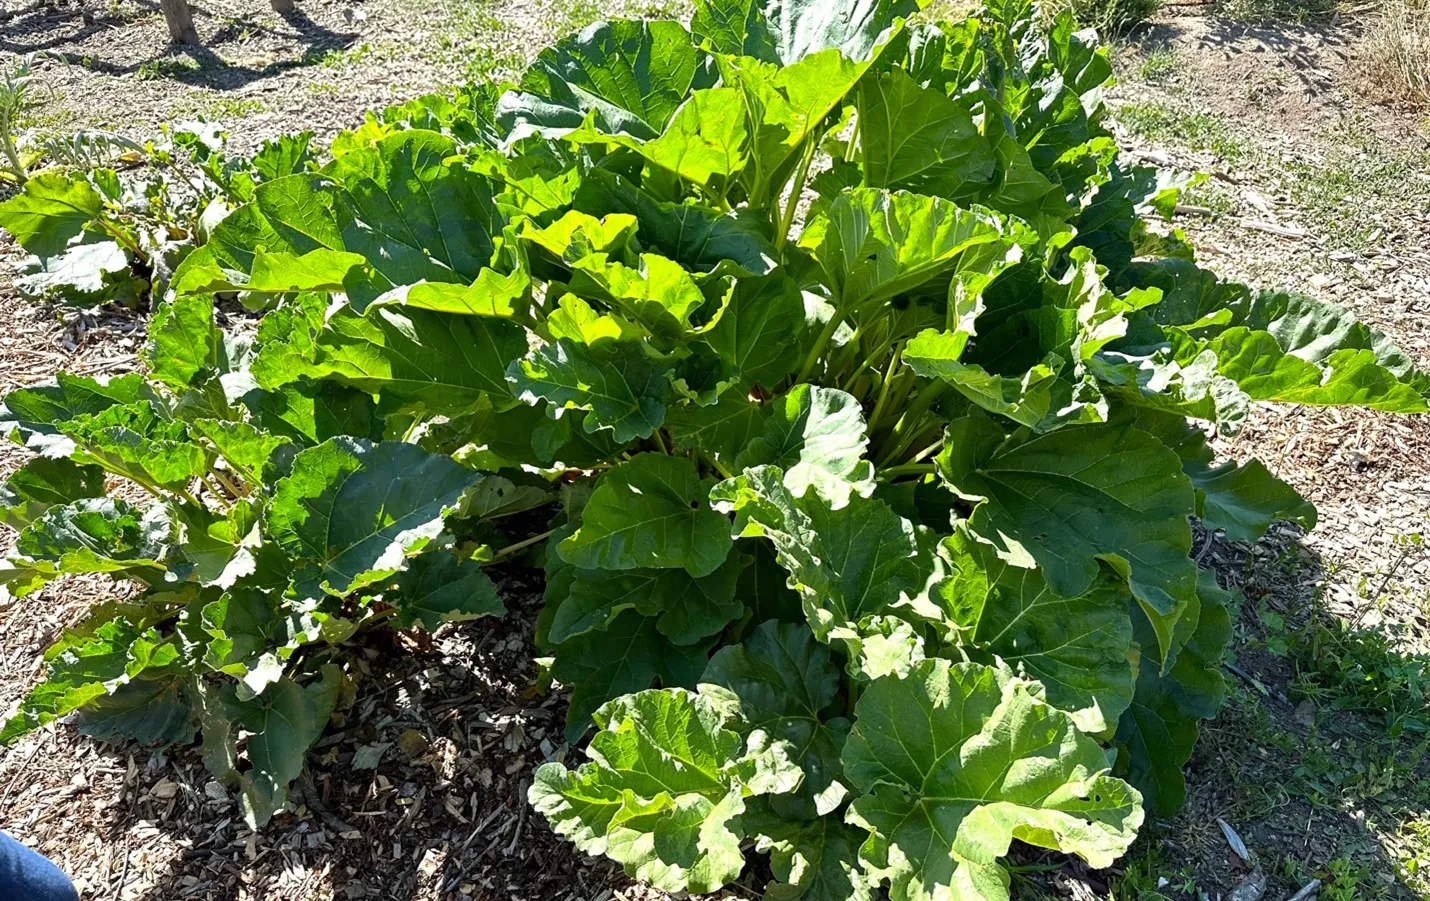
Rhubarb plants are large perennials and can grow for 5 to 10 years before they need to be divided. Rhubarb also needs space. Plants typically grow 3 feet tall and up to 6 feet wide. Therefore, choosing the right place to plant it is important. Rhubarb can also double as an ornamental landscape plant, so it doesn’t need to be confined to a designated vegetable garden.
Rhubarb grows best in full sun with some partial shade where summers are hot. It grows vigorously from early spring to midsummer and then goes dormant. It doesn’t mind cold or shade in winter when it is dormant, and it needs some winter chill to stimulate new growth and produce the thickest and reddest leaf stalks.
Fertile, well-drained soil with a pH of 6.0 to 6.8 is best for growing rhubarb. In areas with less-than-ideal soil conditions, the soil should be amended deeply enough prior to planting to accommodate the roots and prevent future drainage problems.
How to Grow Rhubarb
- Planting - Rhubarb grows from rhizomes and is started as rootstock or a division of an existing plant. Plant crowns 1 to 2 inches below the surface in soil that has been mixed with compost. Keep soil moist but not soggy.
- Fertilizing – Organic fertilizer along with compost should be added annually in the spring.
- Watering – Rhubarb needs regular water but once established, it is hardy enough to tolerate some drought conditions.
- Harvesting – It’s recommended to wait at least until the second season of growth before harvesting. Remove only a few stalks per plant in the spring of the first harvest. More stalks can be removed in the following seasons, but never more than a third of the leaves on the plant. Harvest the thickest stems when the leaves have just opened. Gently pull or twist the stems to remove them. Cutting the stems may leave a stub that will rot. The leaves should be removed from the stems as soon as they are harvested.
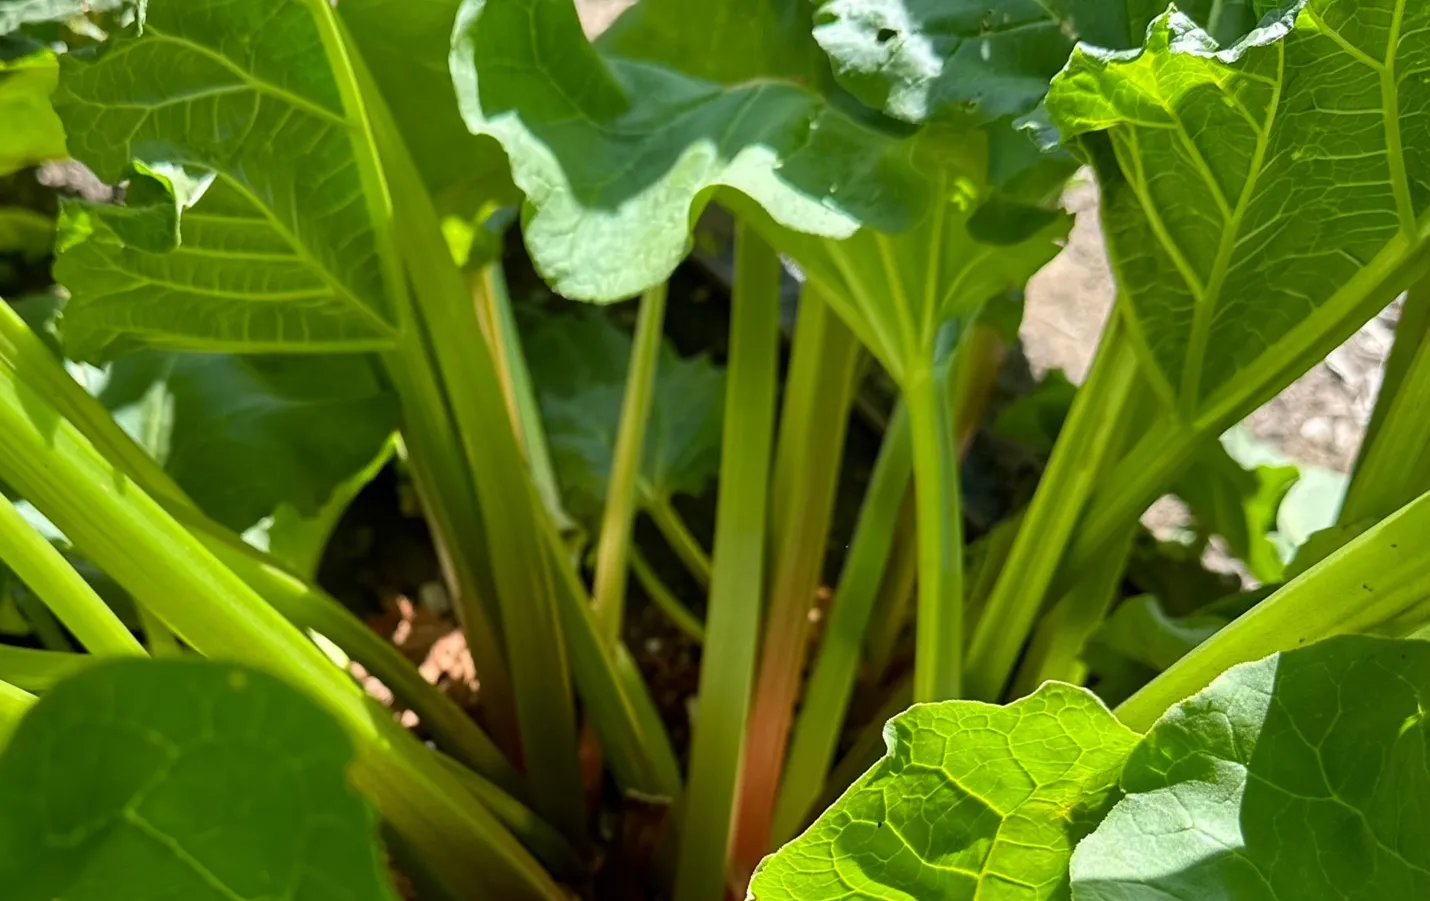
- Pests – Healthy plants attract few pests. Aphids, flea beetles, and leafhoppers can cause problems if plants are stressed. The area around the plants should be kept free of weeds as rhubarb does not grow well in a weedy environment.
Rhubarb Varieties
Not all rhubarb varieties have bright red stems. There are flavorful green varieties and others with red speckled stalks. In the milder Bay Area climate, some of the red varieties will produce paler stems since more chill time is needed for the deep red color. Varieties with low chill requirements are best suited to the region.
July 2023: Trellises for Plants that like to Climb
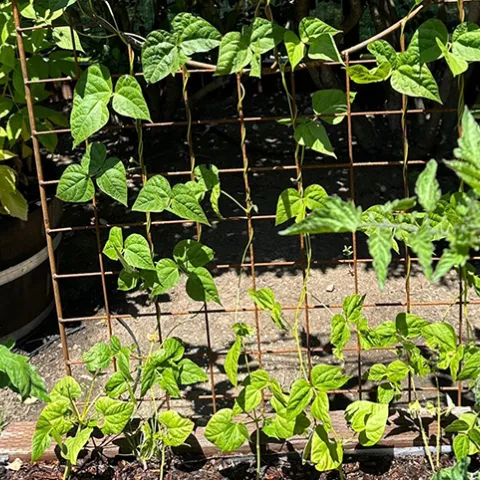
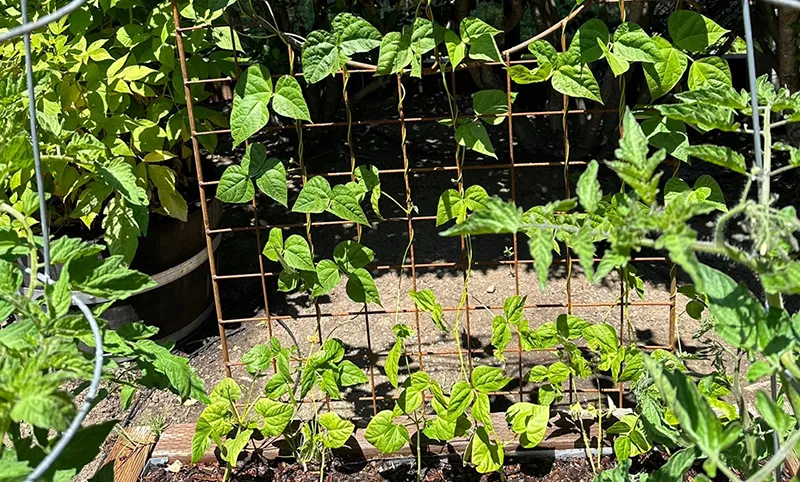
Why build a trellis?
There are many good reasons to provide trellis support for edible plants:
- Saving space. Plants that can grow vertically leave more space for ground level plants.
- Increasing production. Climbing crops have more access to sunlight and pollinators making bigger yields possible.
- Easier harvesting. Crops at eye level are more accessible for monitoring and picking.
- Esthetic appeal. Vining plants just look tidier when supported to grow upward instead of sprawling along the ground.
- Damage control. It is easier to spot and manage pest problems when plants are above ground level. Harm to vegetables and fruits from contact with the soil is prevented.
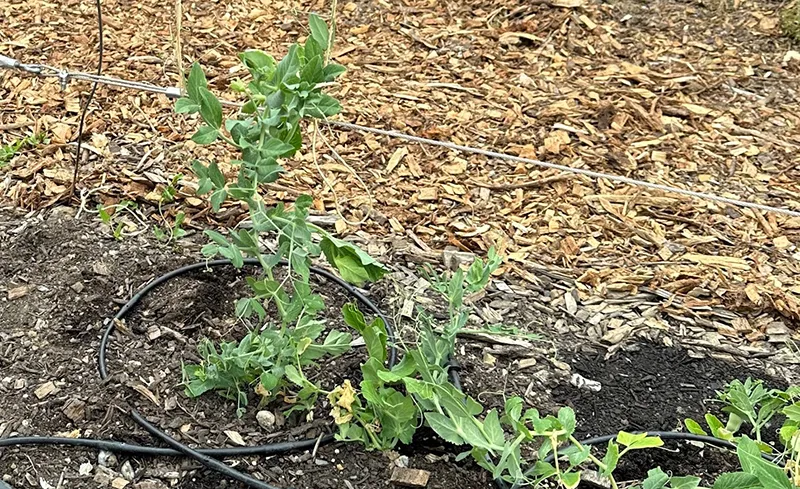
Any structure that can support upward plant growth can serve as a trellis. The options range from the elaborate ornamental trellises found in upscale nurseries to the simple repurposing of an old ladder. In the classic combination of corn and pole beans, the corn plants provide a living trellis for the beans. A-frame or tepee structures can be easily constructed using wood or bamboo poles. Wire fencing or wooden latticework are other possibilities. Two dimensional trellises that supply both vertical and horizontal support are the most versatile. While beans use only vertical supports, peas and cucumbers use both vertical and horizontal ones. Tomato cages are essentially circular trellises.
Helping plants to climb
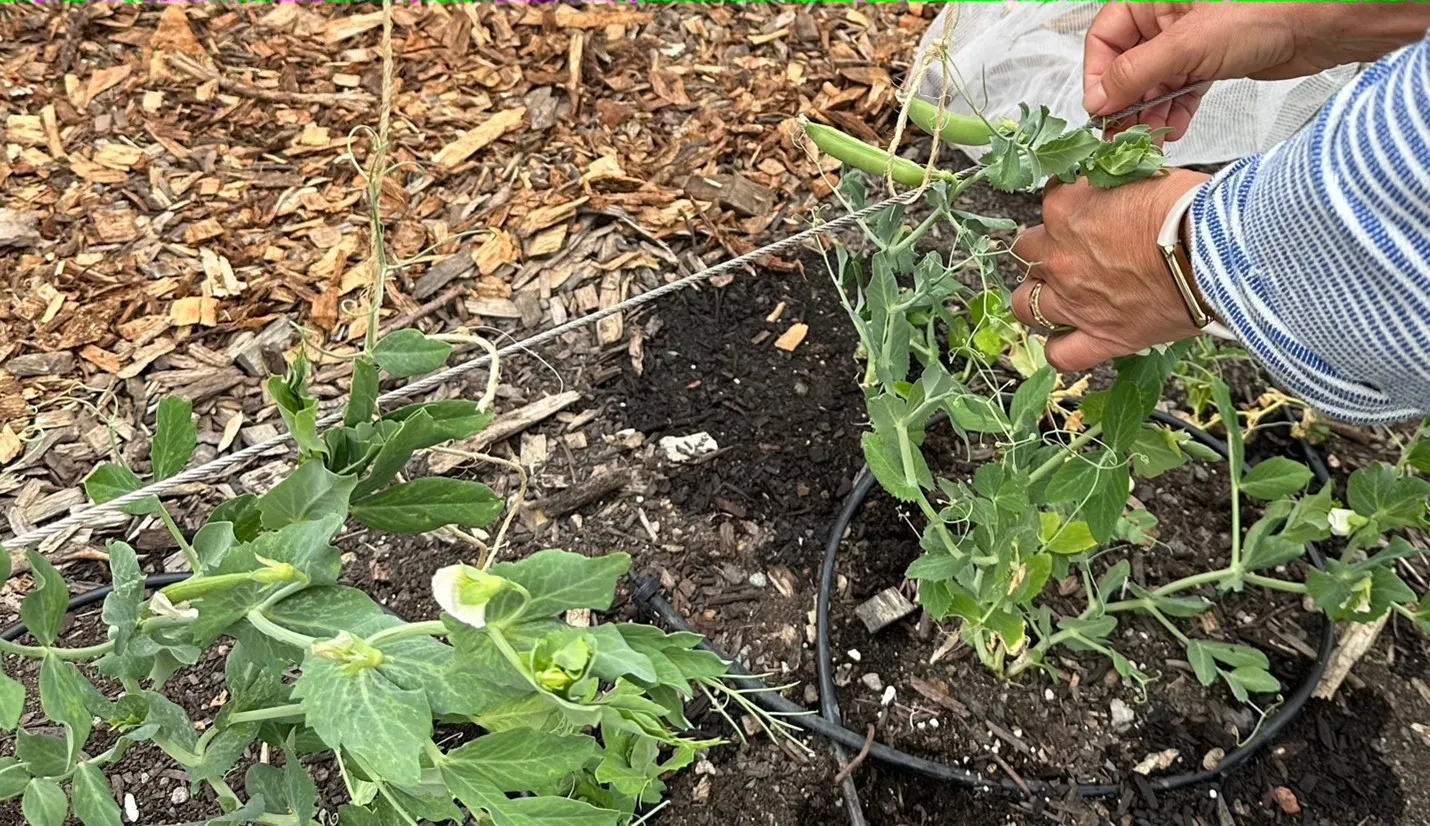
To make best use of your garden space, do not grow horizontally what you can grow vertically. The right trellis can be the answer to a more productive and attractive garden.