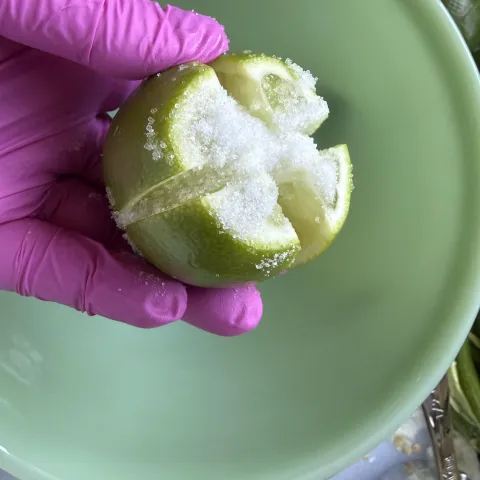
Preserved Limes: A Zesty Twist on Preserved Citrus (July 2026)
July 9, 2026
By UC Master Food Preserver Online Delivery Program
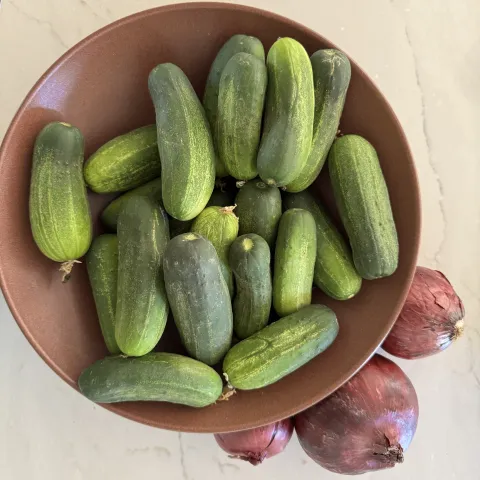
Crunchy, Sweet, and Tangy: Bread-and-Butter Cucumber Pickles (July 2026)
July 9, 2026
By UC Master Food Preserver Online Delivery Program
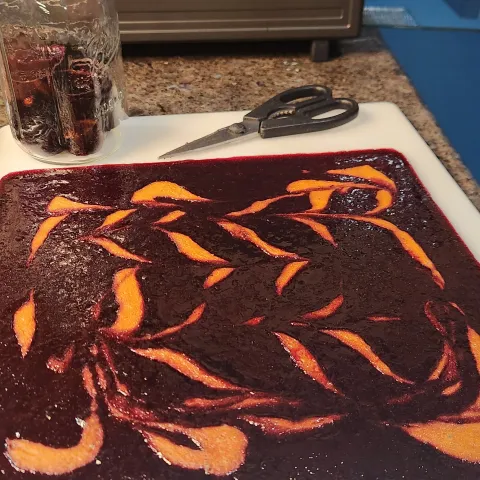
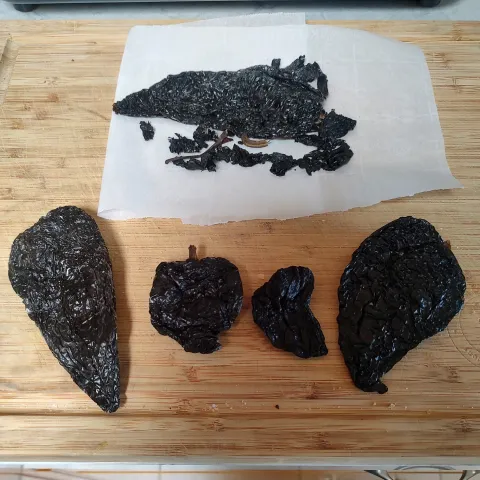
The Science of the Perfect Chew: Making Better Fruit Leather at Home (July 2026)
July 9, 2026
By UC Master Food Preserver Online Delivery Program
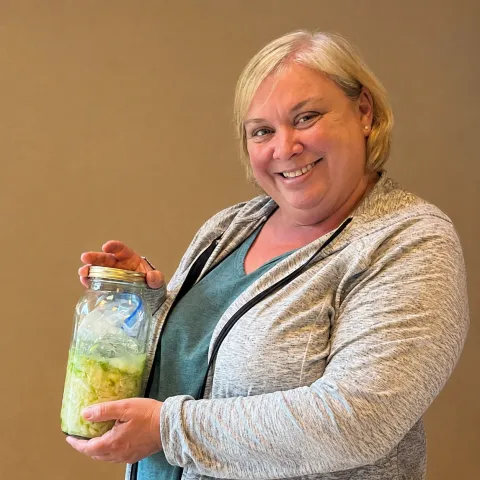


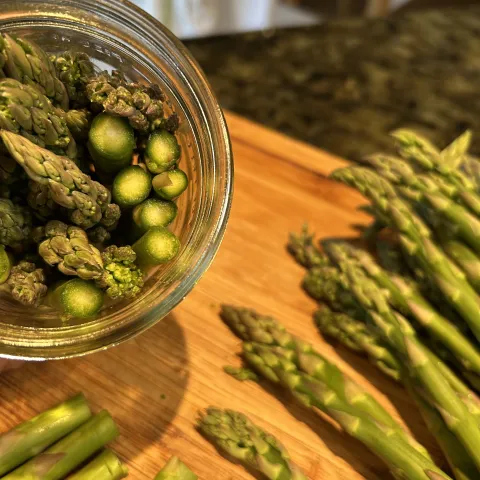
Learning Through Experience: Pickling Asparagus for the First Time (May 2026)
May 12, 2026
By Robin E Martin