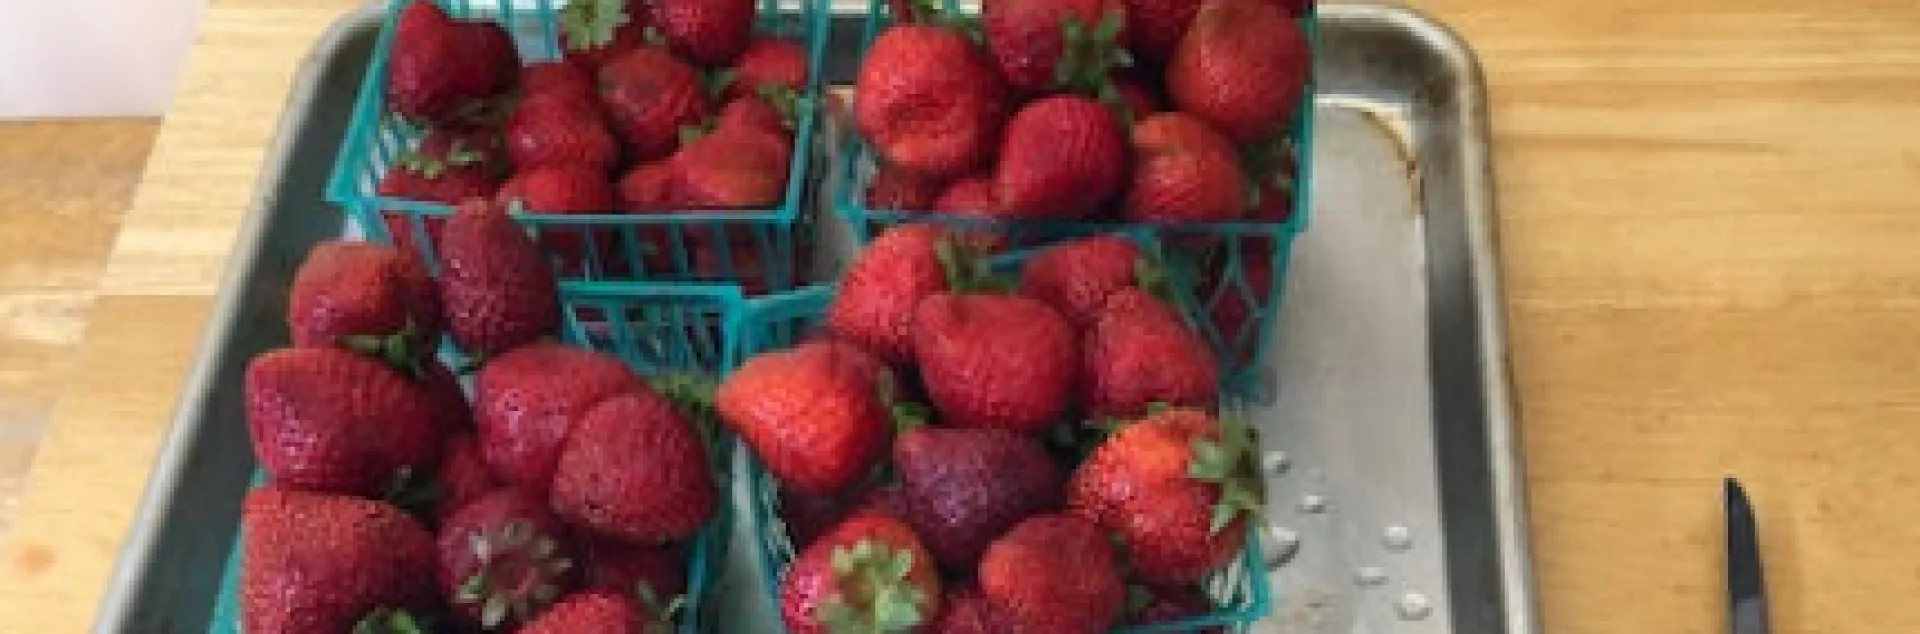
It's that time of year again when the strawberries on the Central Coast of California ripen in the fields and the markets begin bursting with flats of these juicy red berries. Why not savor the fresh delicious taste of these berries year-round by making some strawberry jam?
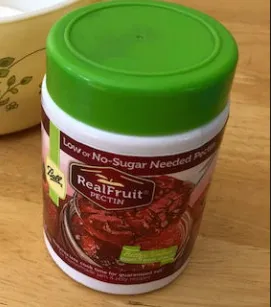
Because the strawberries I purchase are usually picked at their peak ripeness, I usually opt for a low sugar pectin when I make my jam. I do not miss the extra sugar from the regular pectin recipe since the sweetness of the fresh berries shines through.
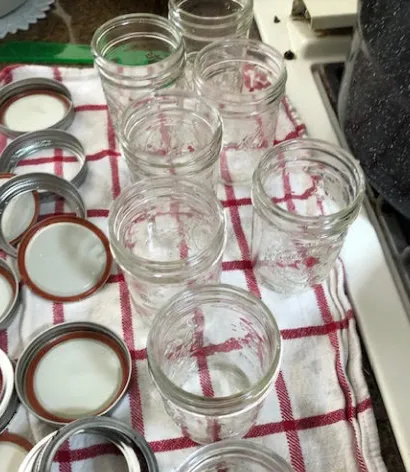
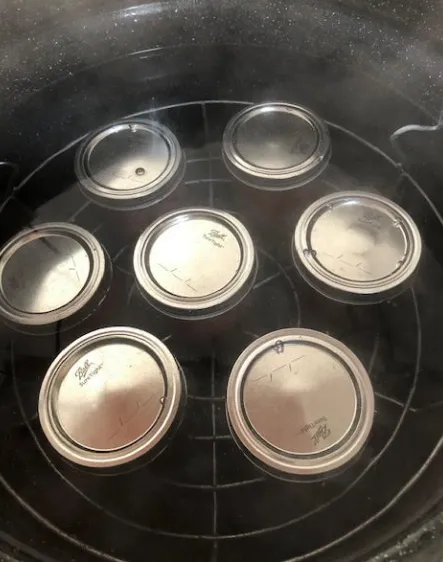
Before you begin make sure your work area is clean as well as your utensils and canning equipment. Wash your hands thoroughly in warm soapy water for at least 20seconds. Sterilize your canning jars in your water bath canner and wash bands. Use new sealing lids for each jar.
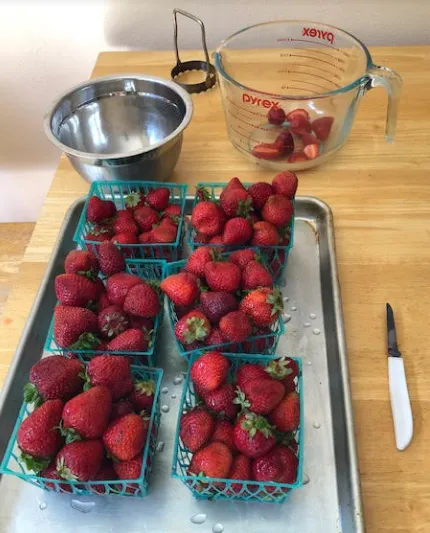
Gather your strawberries, wash, remove stems measure amount needed and roughly chop. Place measured amount into pan.
Add water or fruit juice as directed by the recipe.
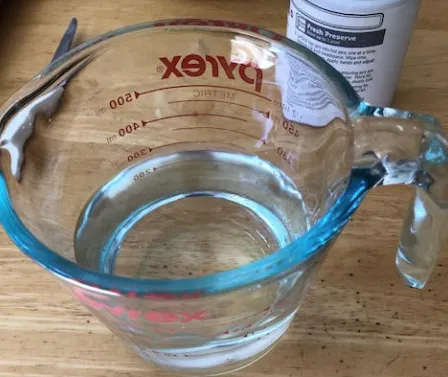
Gradually stir in pectin.
Bring mixture to a full rolling boil that cannot be stirred down, stirring constantly.
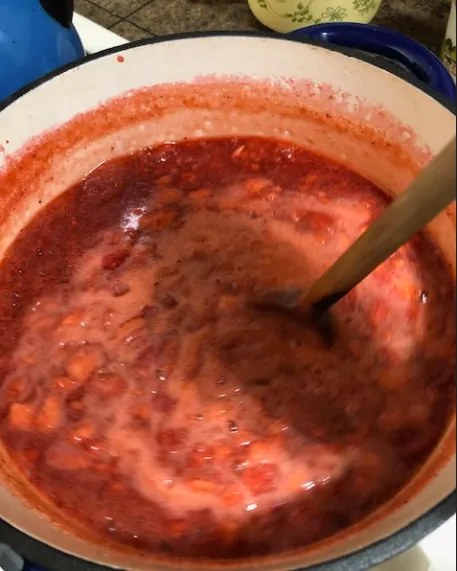
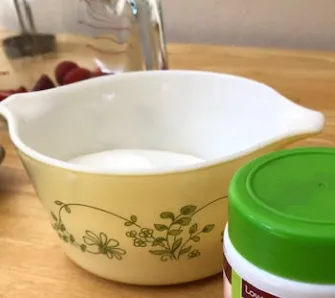
Add sugar. Return to full rolling boil and boil hard for 1 minute, again stirring constantly.
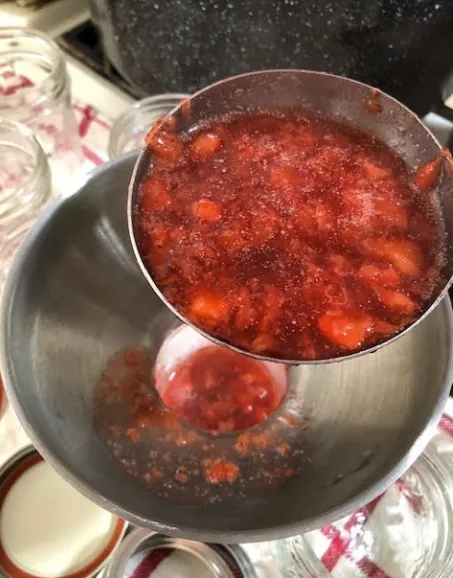
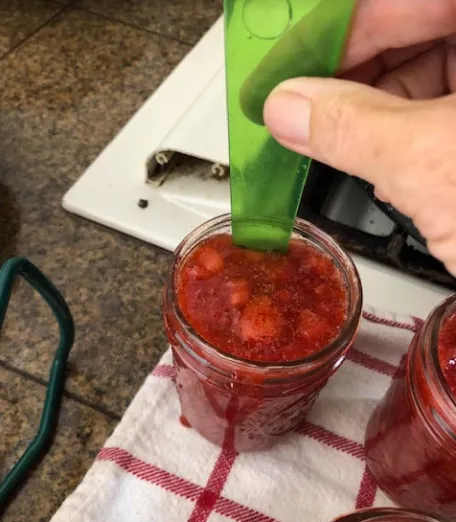
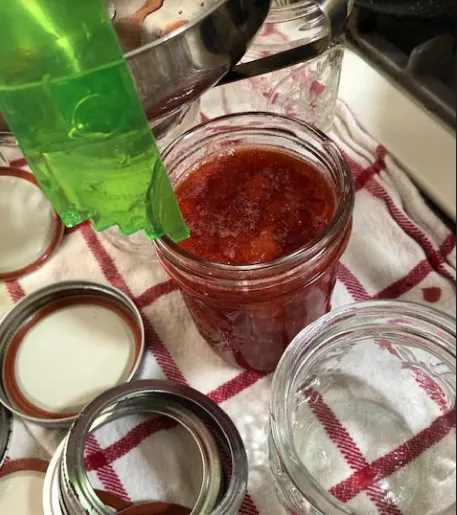
Remove from heat and ladle into jars leaving ¼ inch headspace.
Run the de-bubbler down the sides of the jar to eliminate any air bubbles, and then re-measure the headspace and adjust accordingly. Using a damp paper towel, wipe rims of jars. Apply lids and screw on bands until fingertip tight.
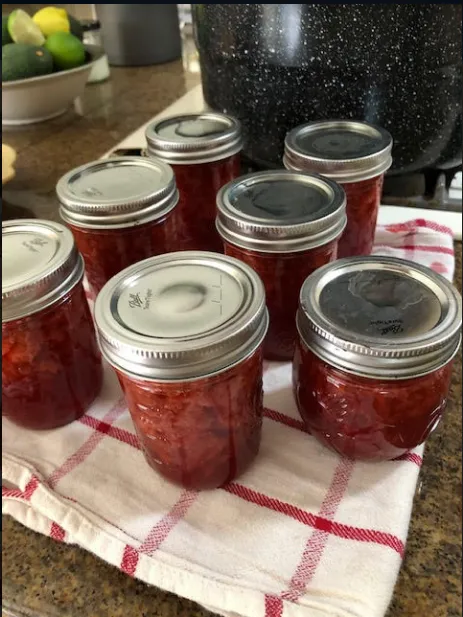
Process jars for 10 minutes in a water bath canner.
Remove hot jars and let cool on the counter untouched. Check for lid sealing after 24 hours. If any have not sealed, place in the refrigerator and enjoy right away. Please label and date jars that have sealed and place in cupboard and use within one year.
You may find the recipe for traditional strawberry jam here: National Center for Home Food Preservation | How Do I? Jam and Jelly (uga.edu) If you decide that you too would like to make a lower sugar jam, just look for Low or No Sugar Pectin to use and follow the manufacturer's directions. Enjoy this springtime fruit throughout the year!
Photo credits: Jennifer Codron