
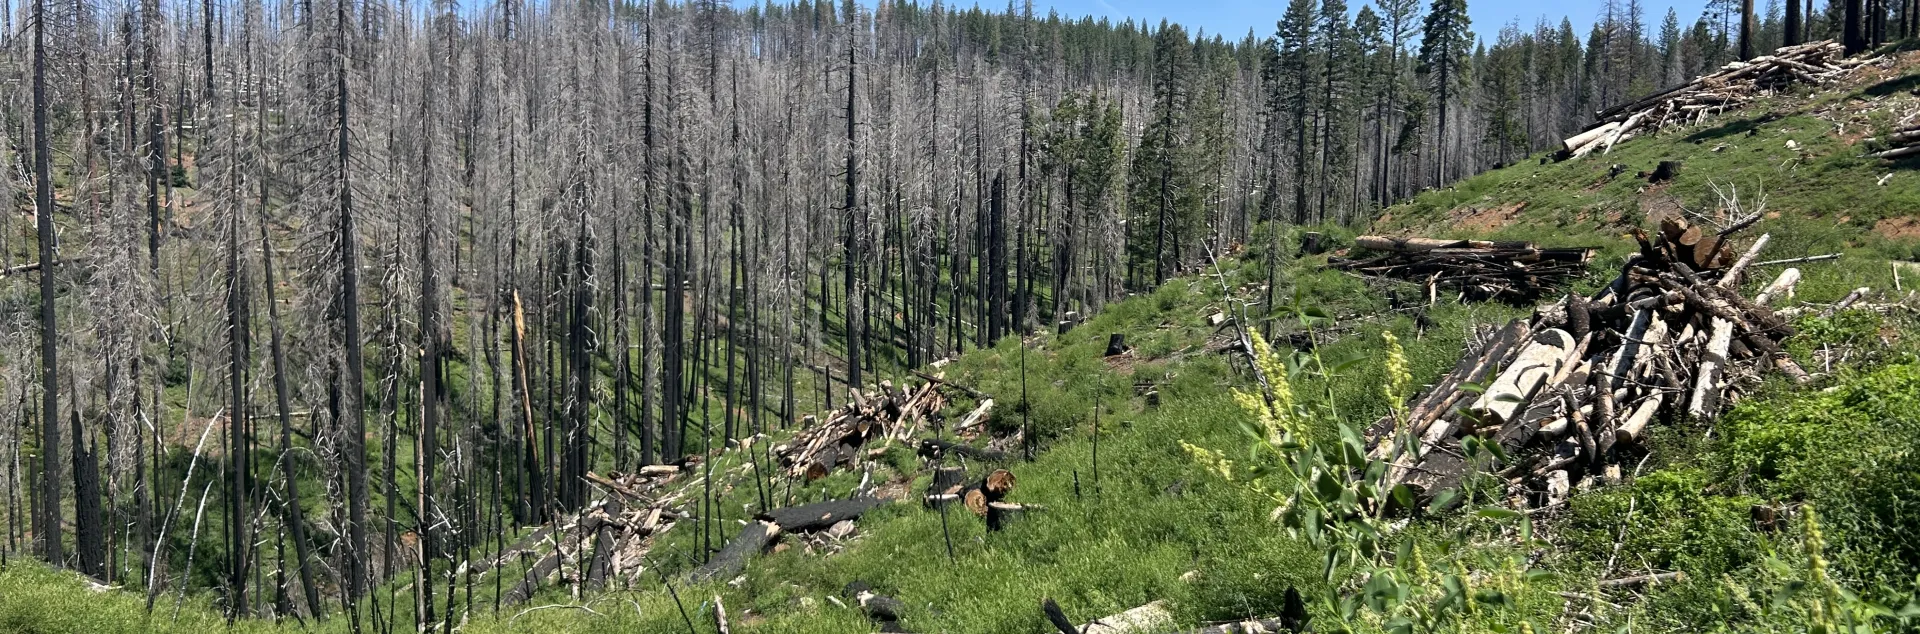
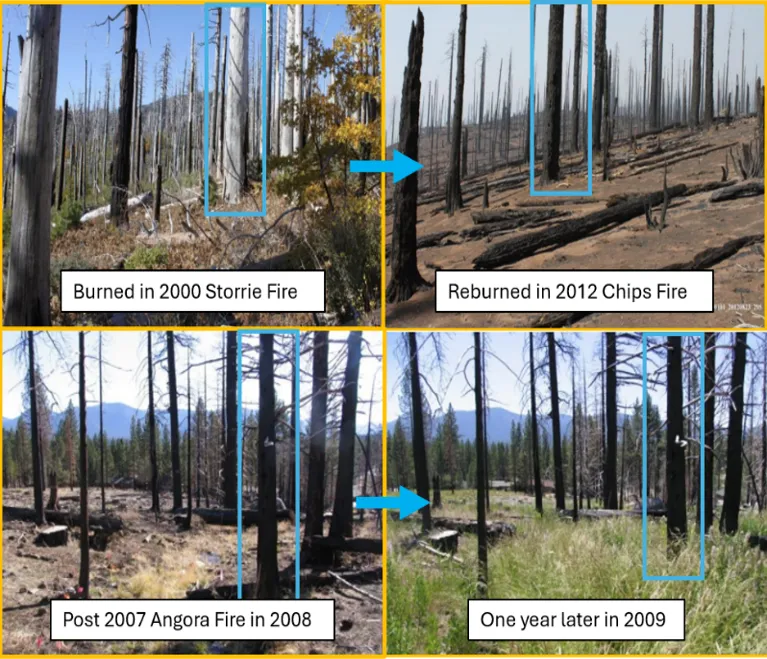
Effective land management depends on understanding how forest conditions are changing over time. Documenting environmental conditions can help managers track landscape responses over time, both to management interventions and to large disturbances like wildfire. Memory and written records often do not capture the subtle, gradual transformations that occur across landscapes. Photos can be a useful tool to help record these changes.
Photo monitoring is a systematic strategy that involves taking repeated photographs at established points to create a record of landscape conditions over time. The resulting series of photos allows for both qualitative and quantitative monitoring of environmental change, including shifts in vegetation communities, wildlife habitat, erosion and treatment effectiveness. Photographs can help record baseline conditions, track restoration trajectories, document compliance with regulations, and support decision making. Photos can be analyzed using simple visual comparison or with advanced image processing techniques.
Define Monitoring Objectives
Successful photo monitoring requires clearly defined objectives to help determine where, when and how often to take photos. Without specific objectives, photos may not record the changes you are trying to track. Common monitoring objectives include:
Vegetation change: Documenting plant community dynamics including invasive species spread.
Disturbance recovery: Tracking recovery from wildfires, floods, or drought stress.
Physical processes: Monitoring erosion rates, channel migration, or soil surface conditions.
Infrastructure: Documenting fence lines, road conditions, or functionality of culverts and bridges.
Treatment effectiveness: Evaluating effects of mastication, prescribed burning, thinning, or herbicide on vegetation.
Create a Standardized Protocol
A protocol is a method of collecting information in a consistent, repeatable and clear way. It’s important to write down the specifics of your photo monitoring plan so it can be repeated later. Each monitoring objective may require a different protocol. Photos of vegetation need to be taken in the right season to capture plants’ stages of development. Photos of erosion are often taken after storms. To capture the effectiveness of treatments, photos taken before the management intervention will need to be compared with photos in the same location at regular follow-up intervals. Include information in your protocol on the type of camera, when to photograph, in what season, how frequently, and how long you intend to monitor. For more information, see UCANR Photo-Monitoring for Better Land Use Planning and Assessment.
Establishing Photo and Camera Points
A camera point is a location where a camera is set up to take photos. A photo point specifies the camera point where the photo is taken, as well as the orientation of the camera. Multiple photo points can be established from one camera point. Make sure that the chosen photo and camera points will capture the anticipated changes. Consider the following (Hall, 2002).
1) Identify a suitable site. Select elements in the landscape for monitoring. For example, a hillside with a drainage to evaluate soil erosion or an area with a vantage point to track growth of planted seedlings.
2) Establish camera points and orient photo points. Select camera points that capture the full scope of the landscape changes you will be monitoring. The best ones allow for multiple photo points, i.e. angles, to be photographed. It’s important to anticipate how vegetation may grow so that your future photos are not obstructed by regrowing trees. In some situations, taking a photo in predetermined directions, such as a cardinal direction, will limit bias.
3) Mark photo and camera points. Photo and camera points should be marked r with a physical marker (rebar, plot pole) and GPS location for future relocation (See UCANR Mapping Forest Features for more info.
4) Identify a witness element. Choose a unique tree, fence post, culvert, etc., that helps to locate the monitoring area and the camera and photo points. Write down the distance and direction from the witness element to the camera point.
Data Processing and Analysis
Store images using consistent file naming and organization. If using a tablet or smartphone, consider using Survey123 APP or Avenza to create databases or maps that integrate photos, GPS data, and notes. Depending on the methodology (See table below), detecting change with photos involves employing comparison like before-and-after analysis or image processing tools.
Table: Comparison of Photo Monitoring Equipment
Method | Overview | Applications | Advantages | Considerations |
Digital Single Lense Reflex (DSLR) Cameras | High-resolution images, control over aperture, shutter speed, & light (ISO) | Detailed studies requiring high image quality | Superior image quality / versatility; able to use interchangeable lenses | Bulkier and requires knowledge of manual camera settings |
Smartphone/ Tablet Cameras | High accessibility, convenience, and improving image quality depending on device | Quick documentation, connections to applications | Easy to use, can capture high-quality images; equipped with GPS for precise location tagging | Limited battery life, storage capacity, images may have lower resolution |
360-Photos | Captures panoramic images that cover the entire surrounding area from a single point | Large areas such as forests or open fields | Provides a holistic view, offering more context than traditional photos | Requires specialized cameras, may involve more complex data processing |
UAV (drone) Imagery | Captures images from above, covering large areas quickly and efficiently. | Large areas, unreachable by foot | Provides high-resolution, creates imagery for geospatial analysis | Highest-cost equipment and expertise in drone operation and regulations |
Find the printable version of this fact sheet below. Note that the pdf is for print purposes ONLY.
