
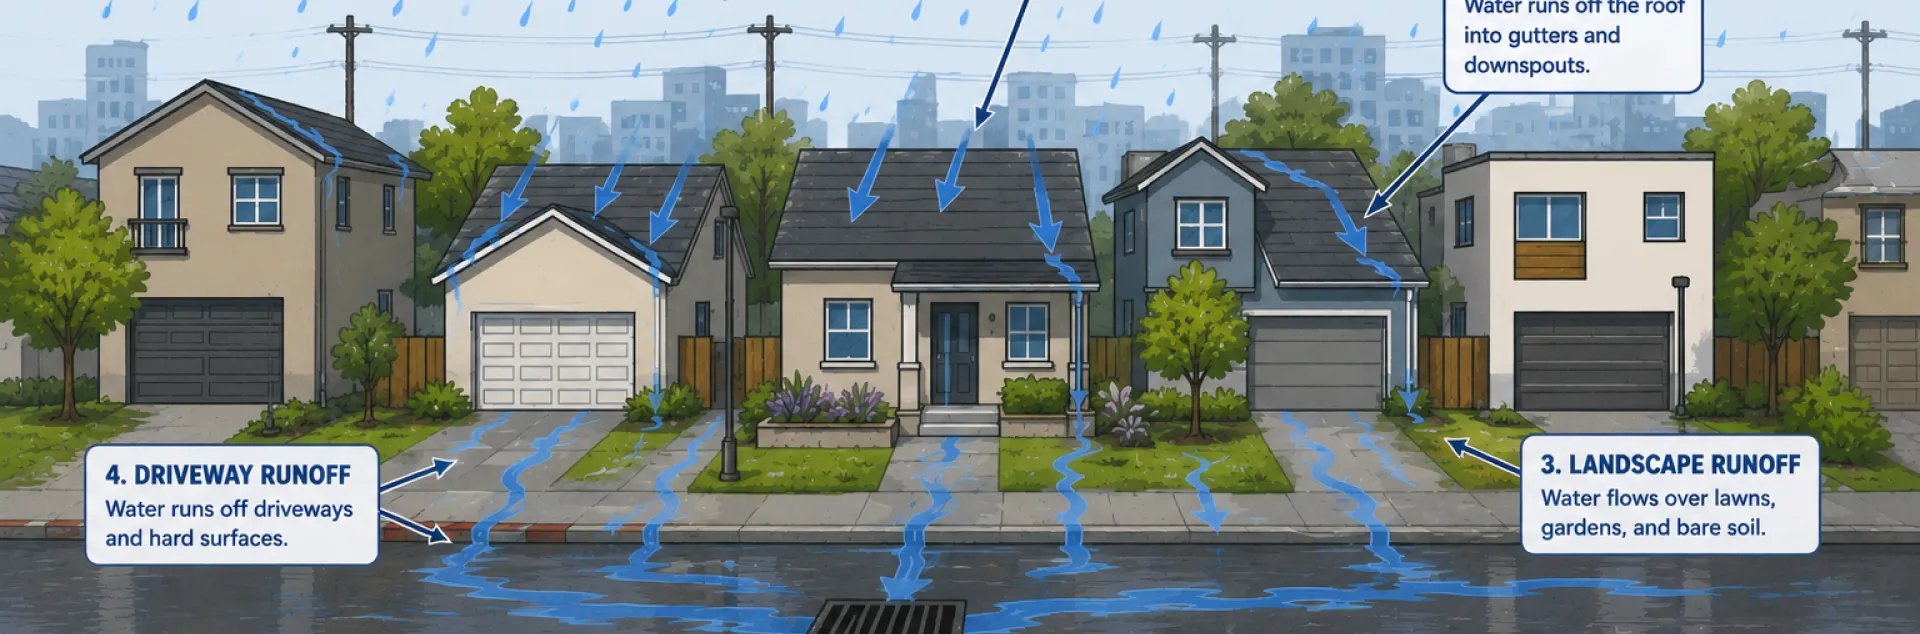
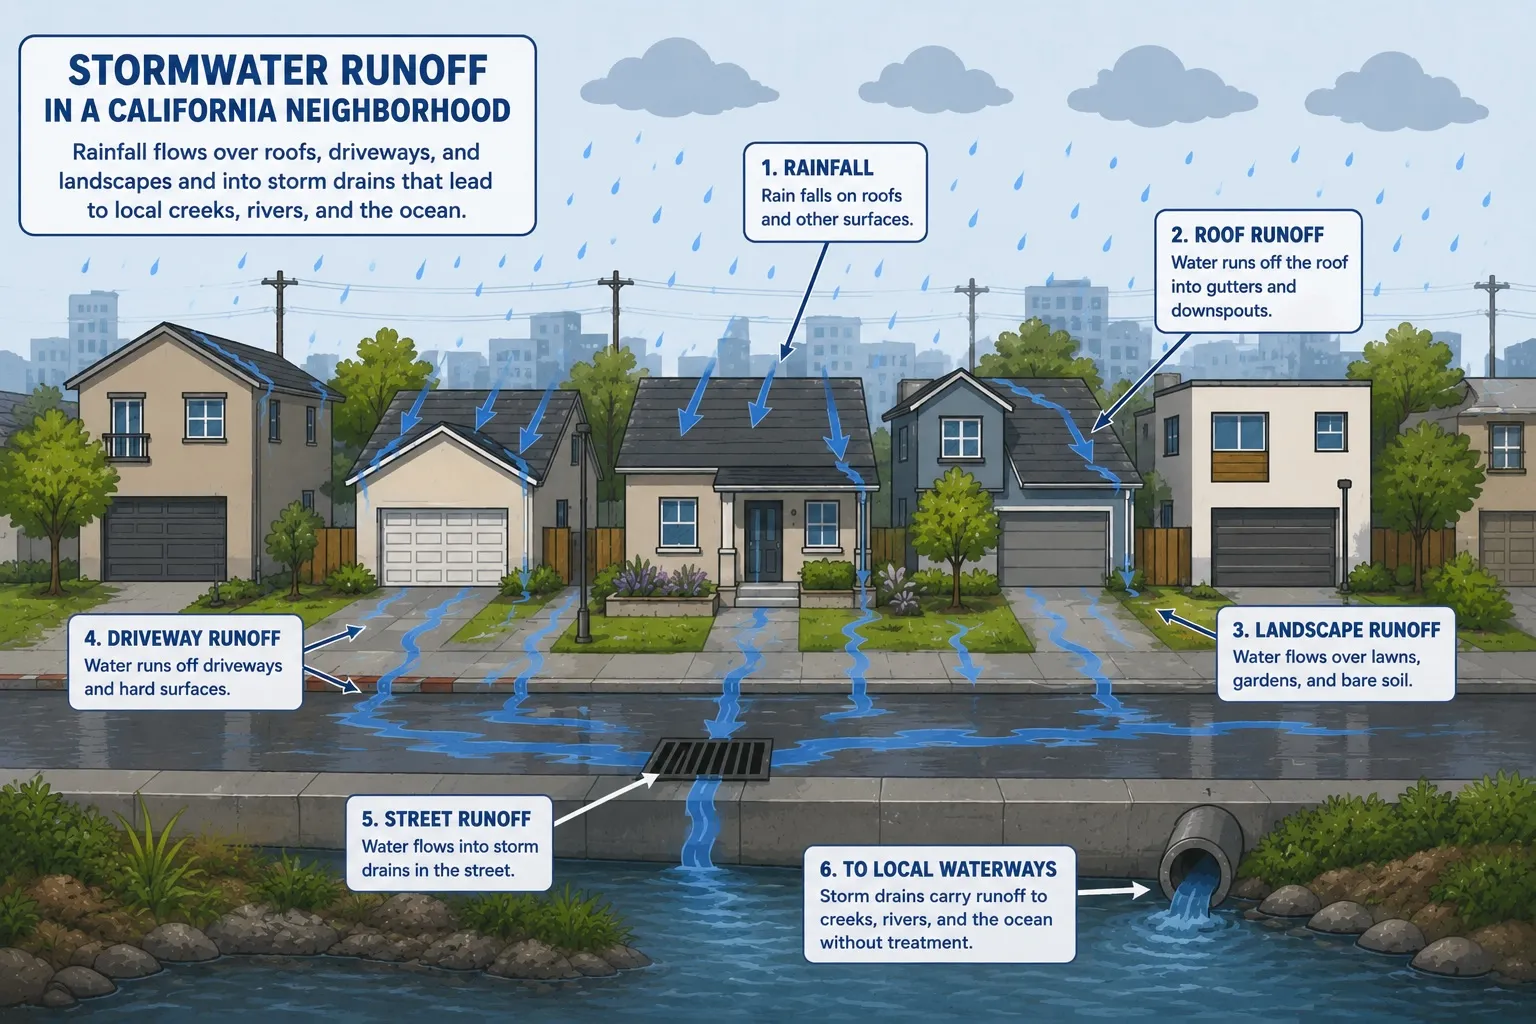
Why manage rainwater? Why not let it fall and drain where it wants? Unfortunately, when left to drain into the street and storm drains, the water from strong winter storms can overwhelm the storm drainage system, cause floods, and cause soil erosion. We also lose the chance to replenish local soils and aquifers with that runoff. Managing rainwater can mitigate damage and improve our gardens.
Why Manage Rainwater?
The San Francisco Bay Area has a mediterranean climate, so our rainfall is not distributed evenly throughout the year. We have long, warm, dry summers and shorter, cool, wet winters. California’s rain distribution is in fact even more uneven than the area around the Mediterranean Sea.
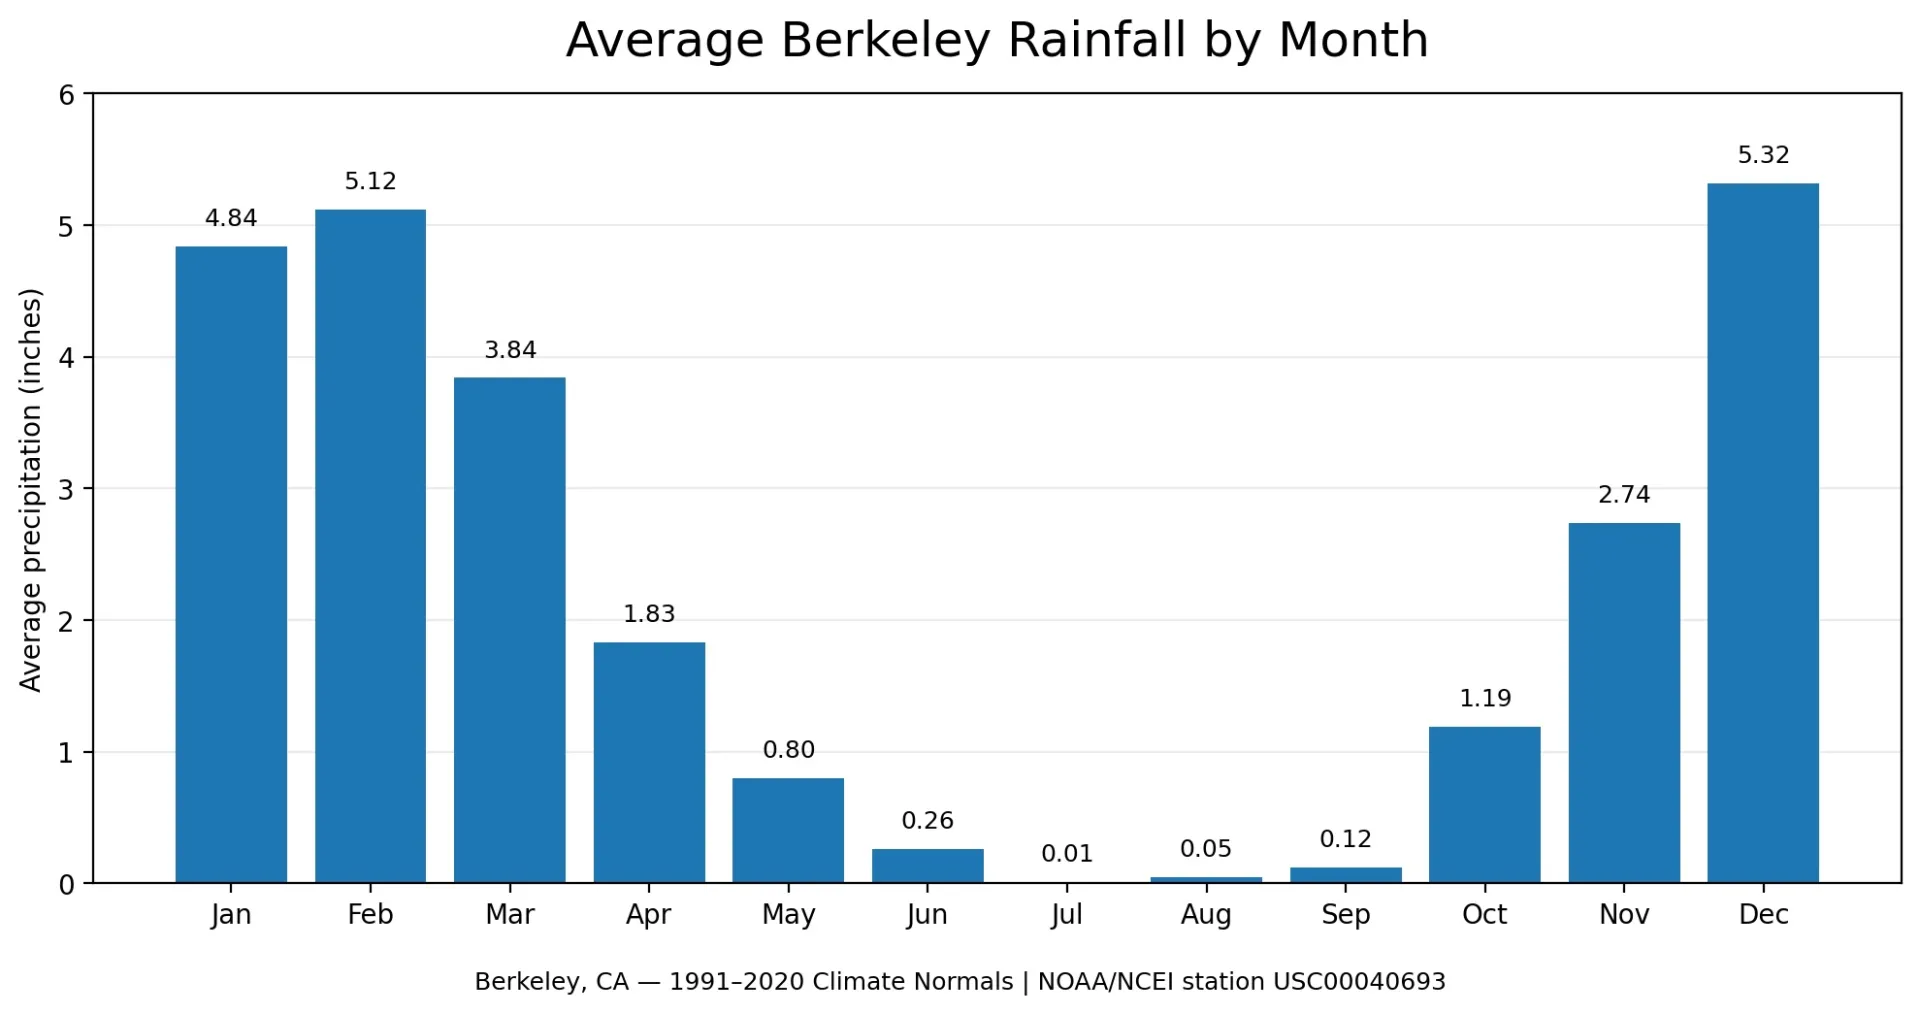
85% of our rainfall occurs in winter, while the winter share in other mediterranean climate regions averages 65%. We also experience high variability in the amount of winter rain from year to year. We have “boom or bust” cycles, with very wet and very dry years. All of this leads to occasional, unpredictable, and strong rainstorms.
Climate experts predict that as global warming (the gradual rise in the Earth’s average land temperature) continues, our largest winter storms will likely become more intense, and potentially more damaging. These “atmospheric rivers” contribute on average 40% of the Sierra snowpack and can also produce heavy rainfall and substantial flood risk.
Rainfall that comes in large storms can cause flooding and soil erosion and can overwhelm storm drains. Rainwater pooling around our foundations can be damaging and no one wants muddy puddles standing in the garden, so modern houses and driveways are engineered to clear the runoff. But there are ways to capture that rainwater and either store it or sink it into the soil without causing puddles and soggy soil. Keeping the rainwater on your property can reduce erosion, increase soil moisture, filter pollutants (fertilizers, pesticides, animal waste, dirt, garbage, chemicals, oil, and bacteria), recharge the local water table and help relieve over-tasked city storm drains.
Techniques for keeping and using your rainwater onsite can be summarized by the slogan: Slow it, spread it, sink it, store it!. This blog post discusses techniques to do that, suitable for use in a home garden:
- Increasing the permeability of your outdoor surfaces
- Storing rainwater in barrels or tanks for future irrigation use.
- Swales and rain gardens.
Increasing Permeability
Rain falls (or is drained) onto both the soil and plants in your garden and on constructed surfaces (driveways, paths, patios, etc.). Permeability of each of these can be increased. When you improve the permeability of your outdoor surfaces, you both slow and sink your rainwater.

Soil Permeability
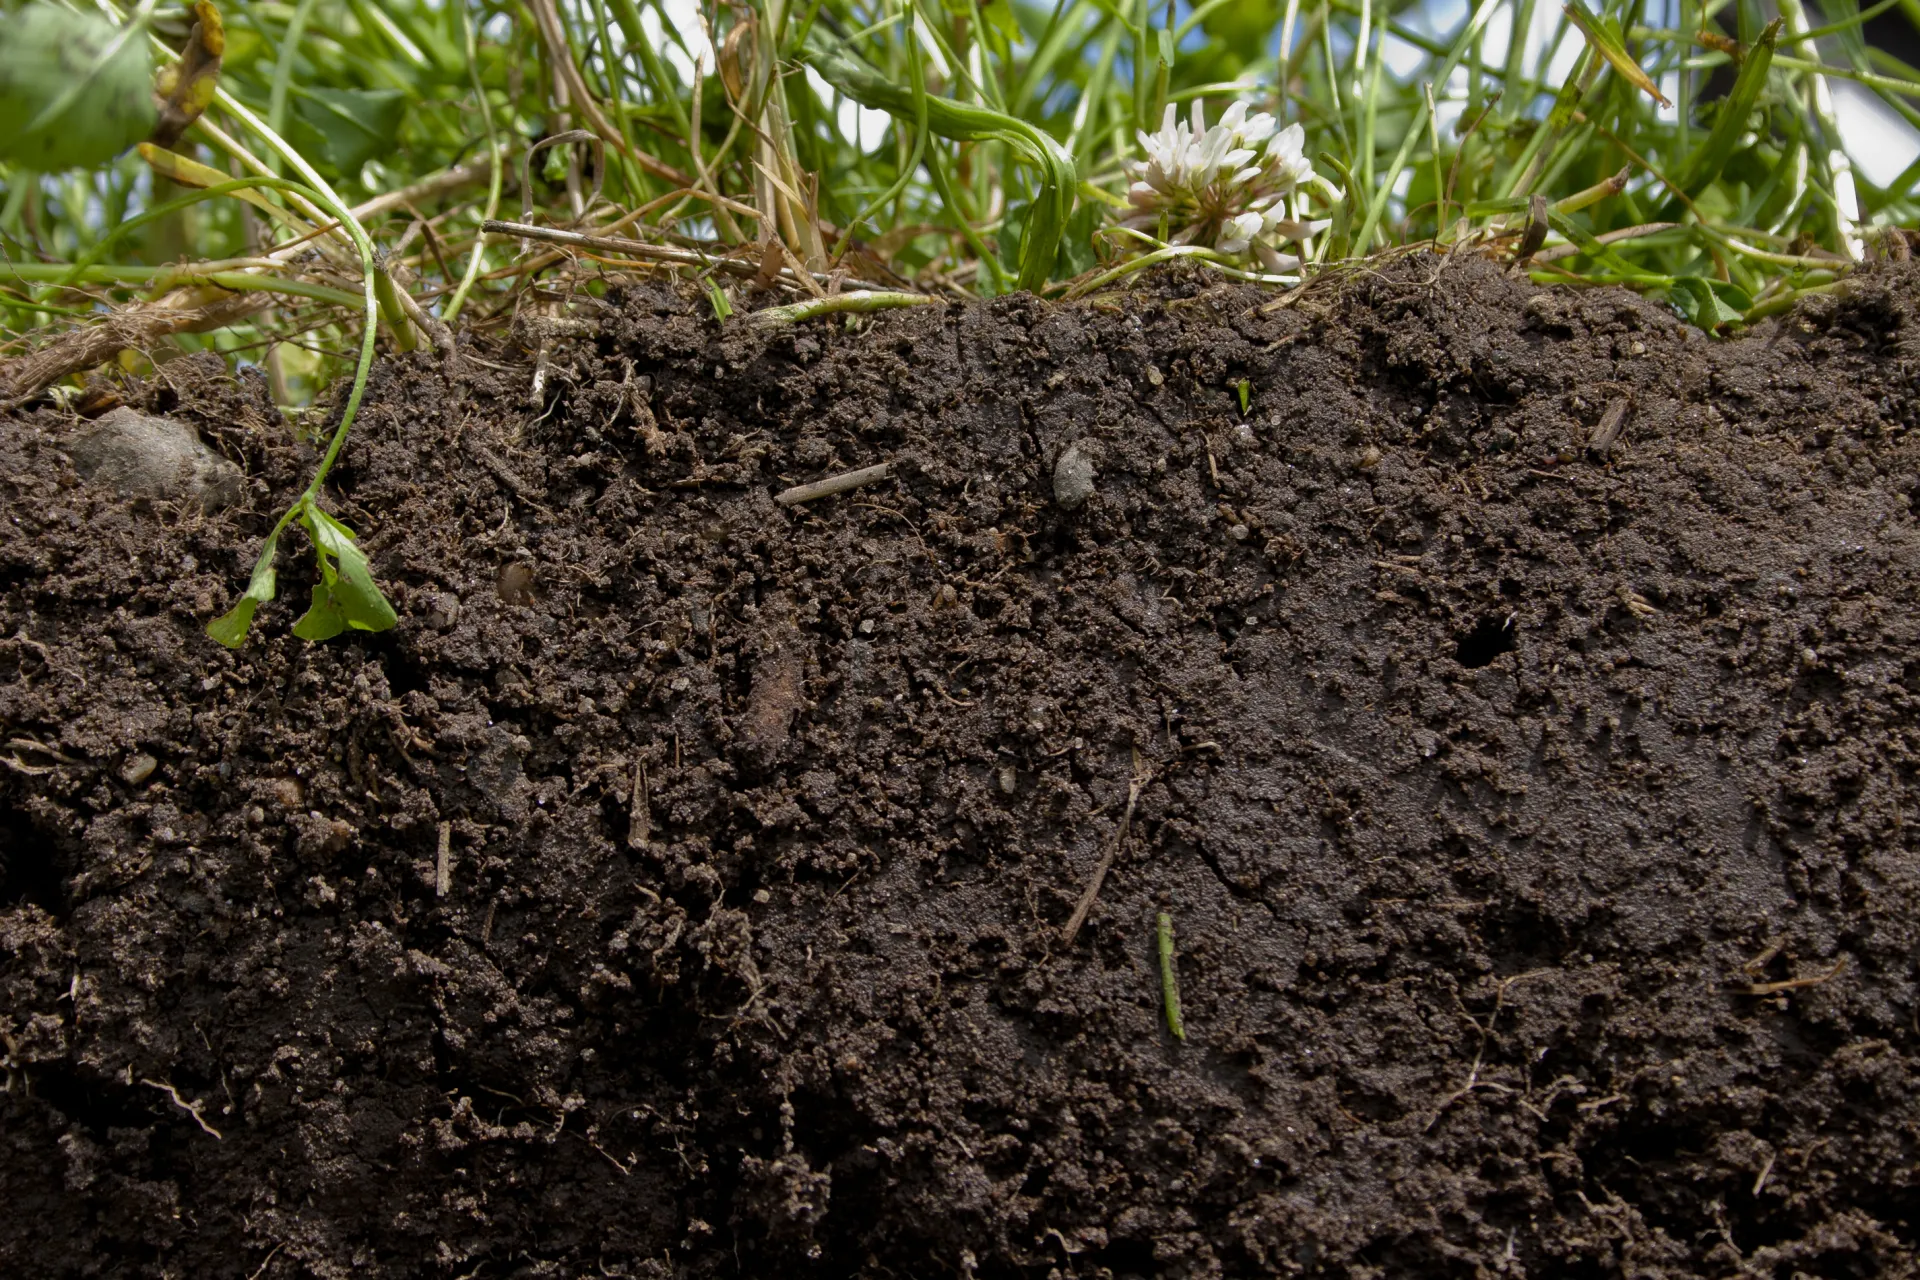
Soil permeability means the ease with which water (as well as air and roots) can move through the soil. It is influenced by the size of the particles that make up the soil; the spaces between the particles in the soil, which are called pores (how large are the spaces and how many are there); and how the soil particles clump into aggregates (which can increase the size of the pores). Gardeners can’t greatly influence the size of the particles - clay soil has fine particles, sandy soil has larger particles. But they can influence the other factors. Here are techniques to increase soil permeability:
- Add organic material, preferably finished compost. These materials help create larger pores, giving water more room to pass through. As organic matter breaks down, the decomposition increases the quantity of microorganisms in the soil, which improves the structure as well. Adding 2 to 3 inches of finished compost to the soil at regular intervals, and lightly turning it into the first few inches of the soil is an effective way to increase permeability.
- Avoid soil compaction.
- Soil compaction occurs when soil particles are pressed together, so that the pores through which water, air and roots move are highly reduced. Compaction can be avoided by:
- Minimizing soil disturbance.
- Avoiding working soil when it is wet. If the soil is moist enough to form a loose ball but dry enough not to stick to your tools, it is considered moderately moist and acceptable to work.
- Designating pathways and sticking to them.
- Adding organic material and mulching as described above.
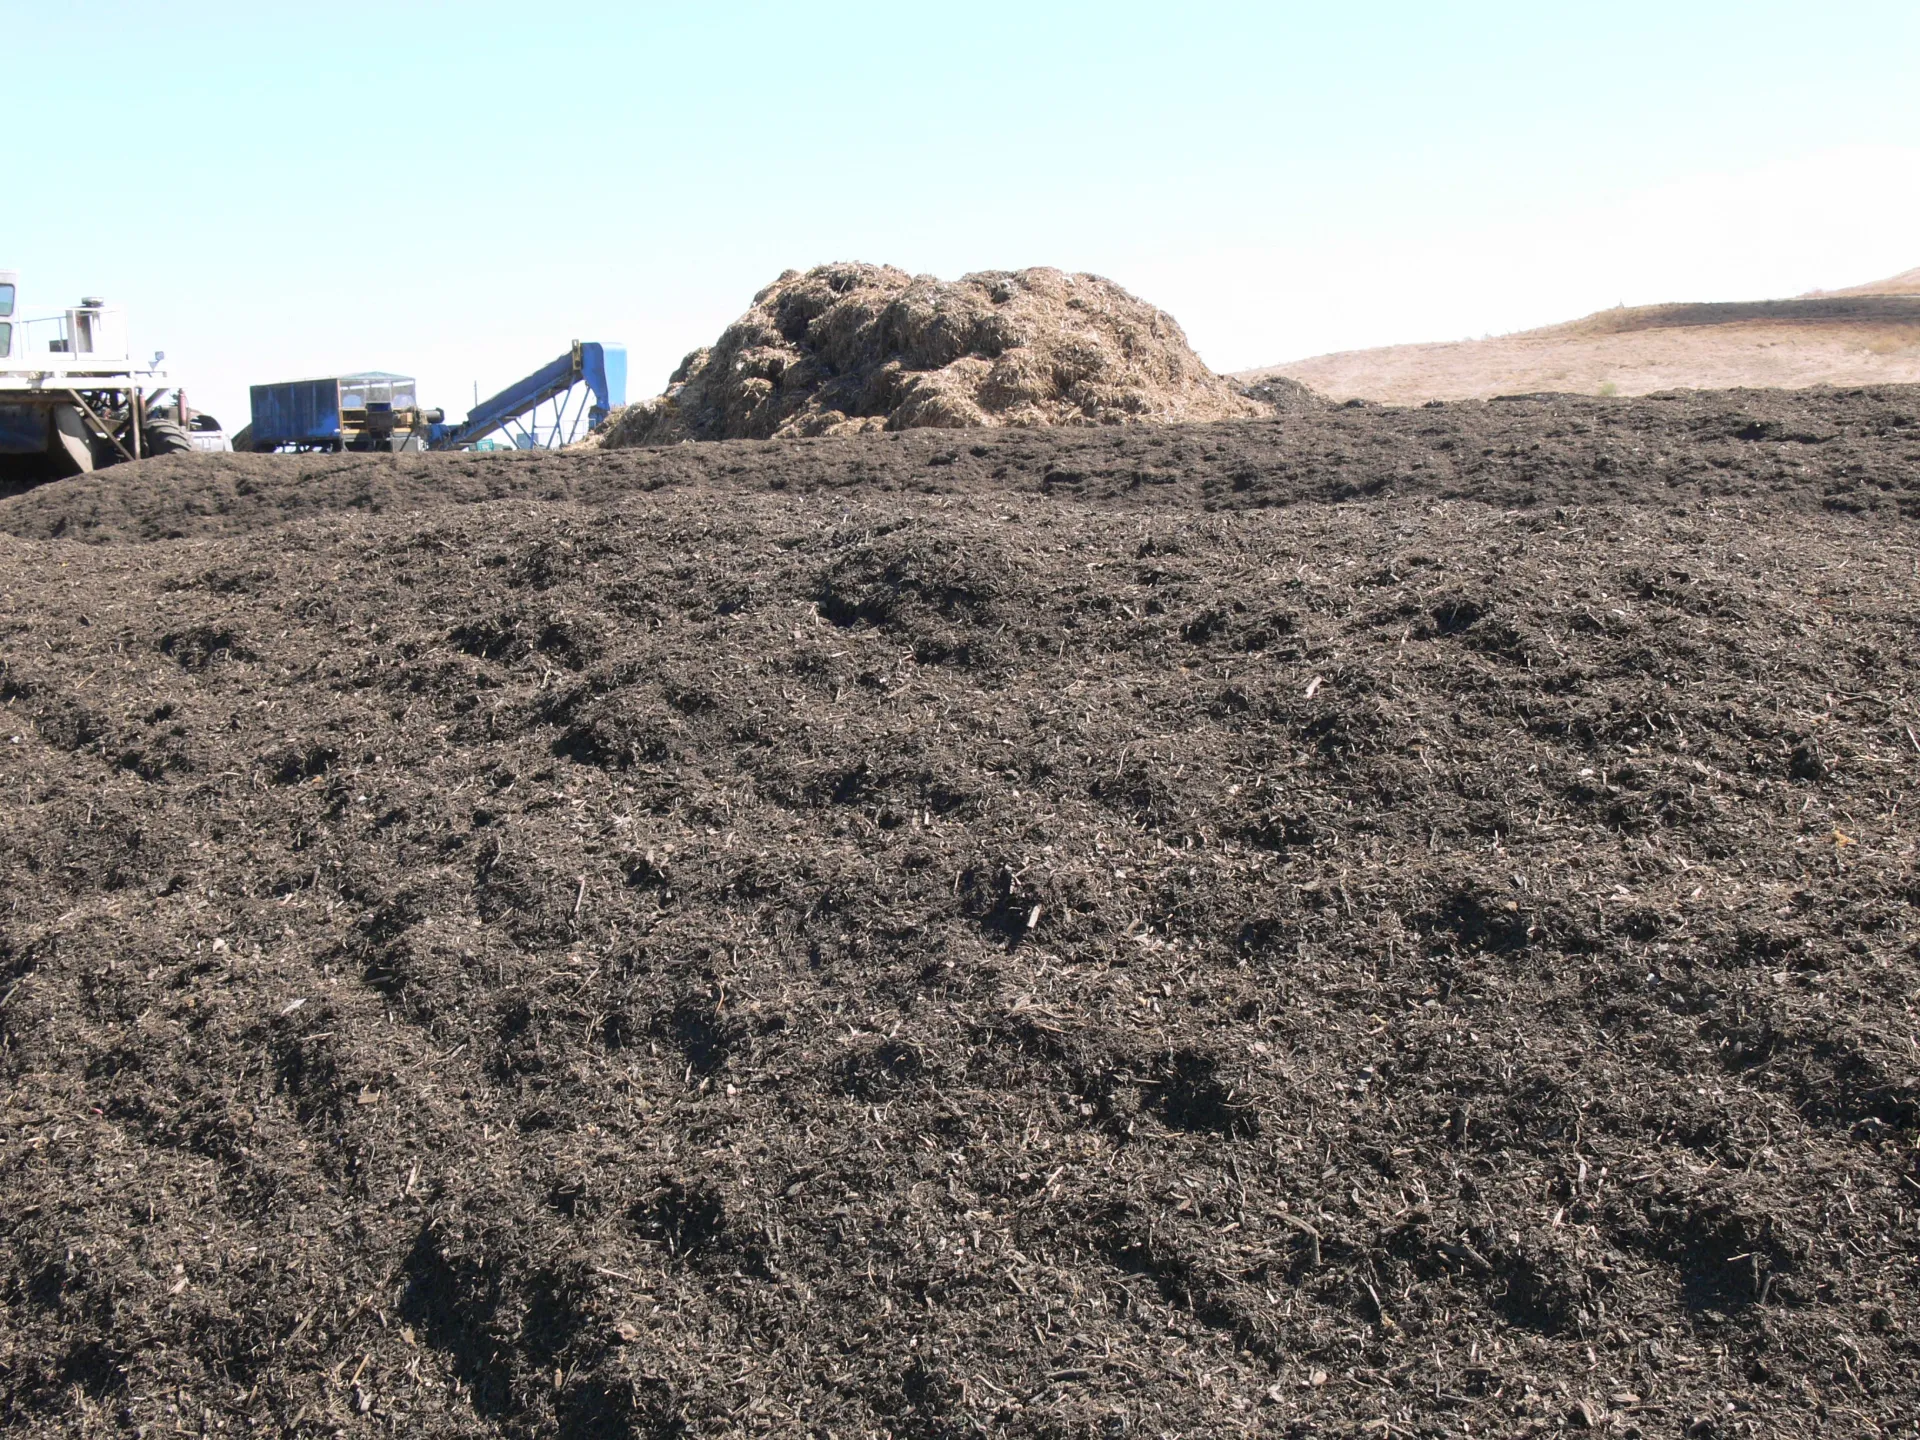

Compaction can be reversed, at least to some degree, but it takes patience. Adding compost, aged manure and other decomposed organic matter once or twice a year is generally an effective way to “loosen up” the soil. While it's generally best to avoid disturbing the soil, for significant compaction, you may need to dig into the soil and mix the organic material into the first few inches of the soil. As discussed above, only work on the soil when it’s not too wet. Repeated applications of organic material will continue to improve the soil. For lawns, aerating the lawn by removing small cores get more air, water and nutrients into the soil.
Hard Surfaces
Traditionally, the hard surfaces in our gardens are primarily made of a solid, hard surface like traditional asphalt, conventional concrete or standard brick which does not allow water to pass through them. These are the surfaces off which most of the rain in our yard typically flows into storm drains or the street. In addition to the pollution, flooding, erosion and waste of water we have already discussed, impermeable surfaces can also lead to the formation of stagnant water puddles, where undesirable insects may breed.
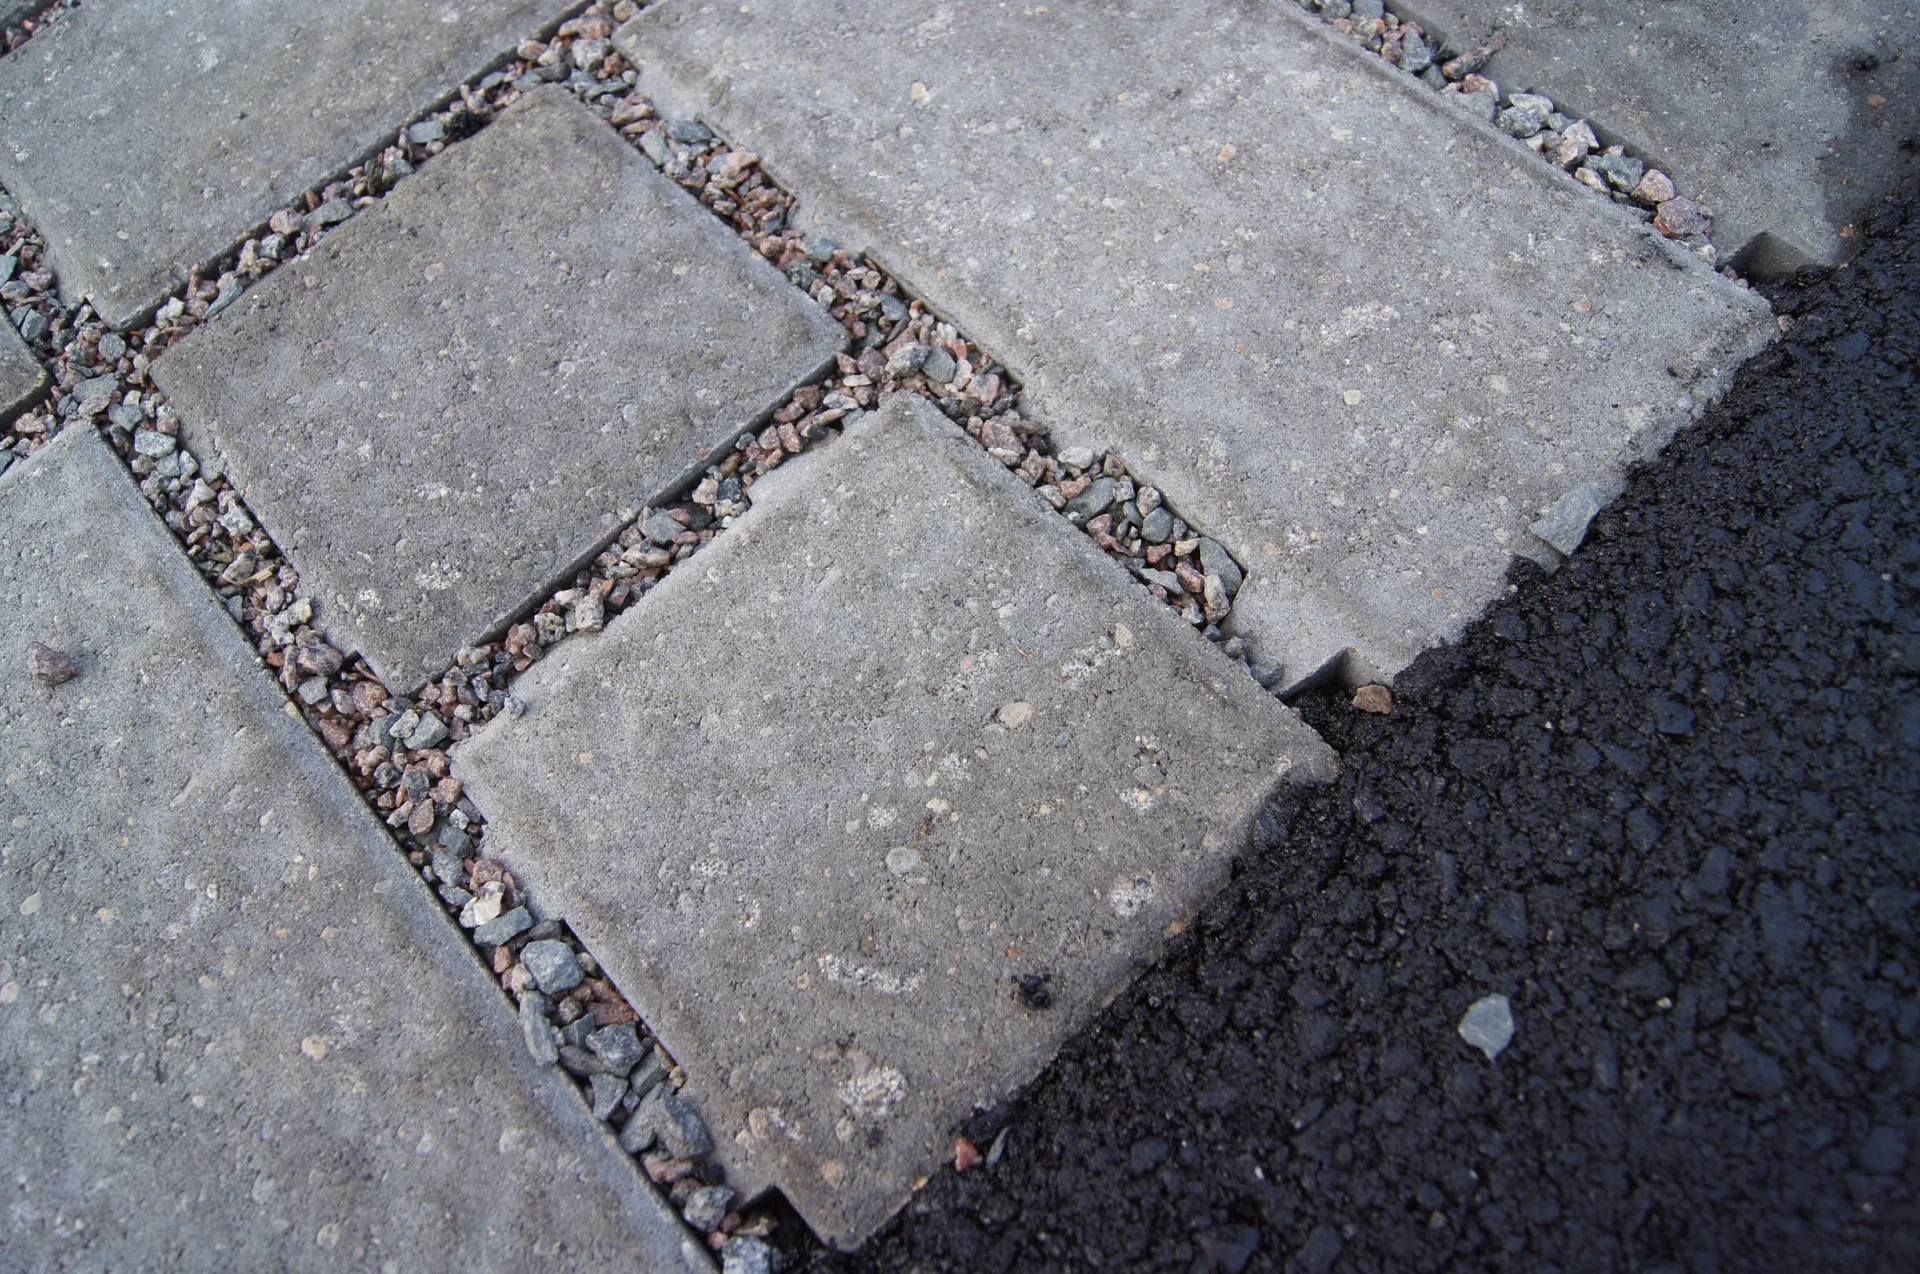
Hard surfaces can instead be made of permeable materials, such as porous asphalt, pervious concrete and permeable interlocking concrete pavement. Porous asphalt and pervious concrete are versions of traditional asphalt or concrete with reduced sand and fines to allow for greater porosity and infiltration. Permeable interlocking concrete pavement (PICP) consists of manufactured concrete pavers with small openings between permeable joints that contain highly permeable, small-sized aggregates. All are installed, like traditional pavement, on a crushed stone aggregate bedding layer and base. For areas with less traffic, concrete grid pavements (concrete units with cells that typically contain topsoil and grass) are sometimes used. These grid units can infiltrate water. Permeable pavements are not suitable for locations with very high loads and volumes or where toxic materials are handled. More information from the US EPA on permeable pavement at this link.
Storing Rainwater for Future Outdoor Use
Because the vast proportion of our rainfall falls in the winter, irrigation is required in order to grow food and keep many other plants going through the summer. Many, but not all, mature native plants planted in appropriate sites can get through the summer with little to no irrigation, but newly planted natives need supplemental water at least through their first summer until the rains come. California natives that are native to riparian areas will also need summer irrigation.
A surprising amount of rainwater falls on our roofs, and it can be harvested and stored until needed for irrigation in the spring and summer. Berkeley’s average rainfall (keep in mind that few years are average!) from October to April is over 20 inches per year. If all that winter rain was collected from an average 1000 square foot Berkeley house, it could yield over 12,000 gallons in an average year. East Bay MUD provides this method to calculate estimated rainwater catchment volume.
There are many factors involved in putting in rainwater storage. This post summarizes the process, highlights some issues and provides resources, but is not a detailed guide.
Generally rain can be gathered from roofs of any material, but asphalt shingles might leach toxins, so water gathered from asphalt shingle roofs should not be used on vegetable gardens.

First Consider
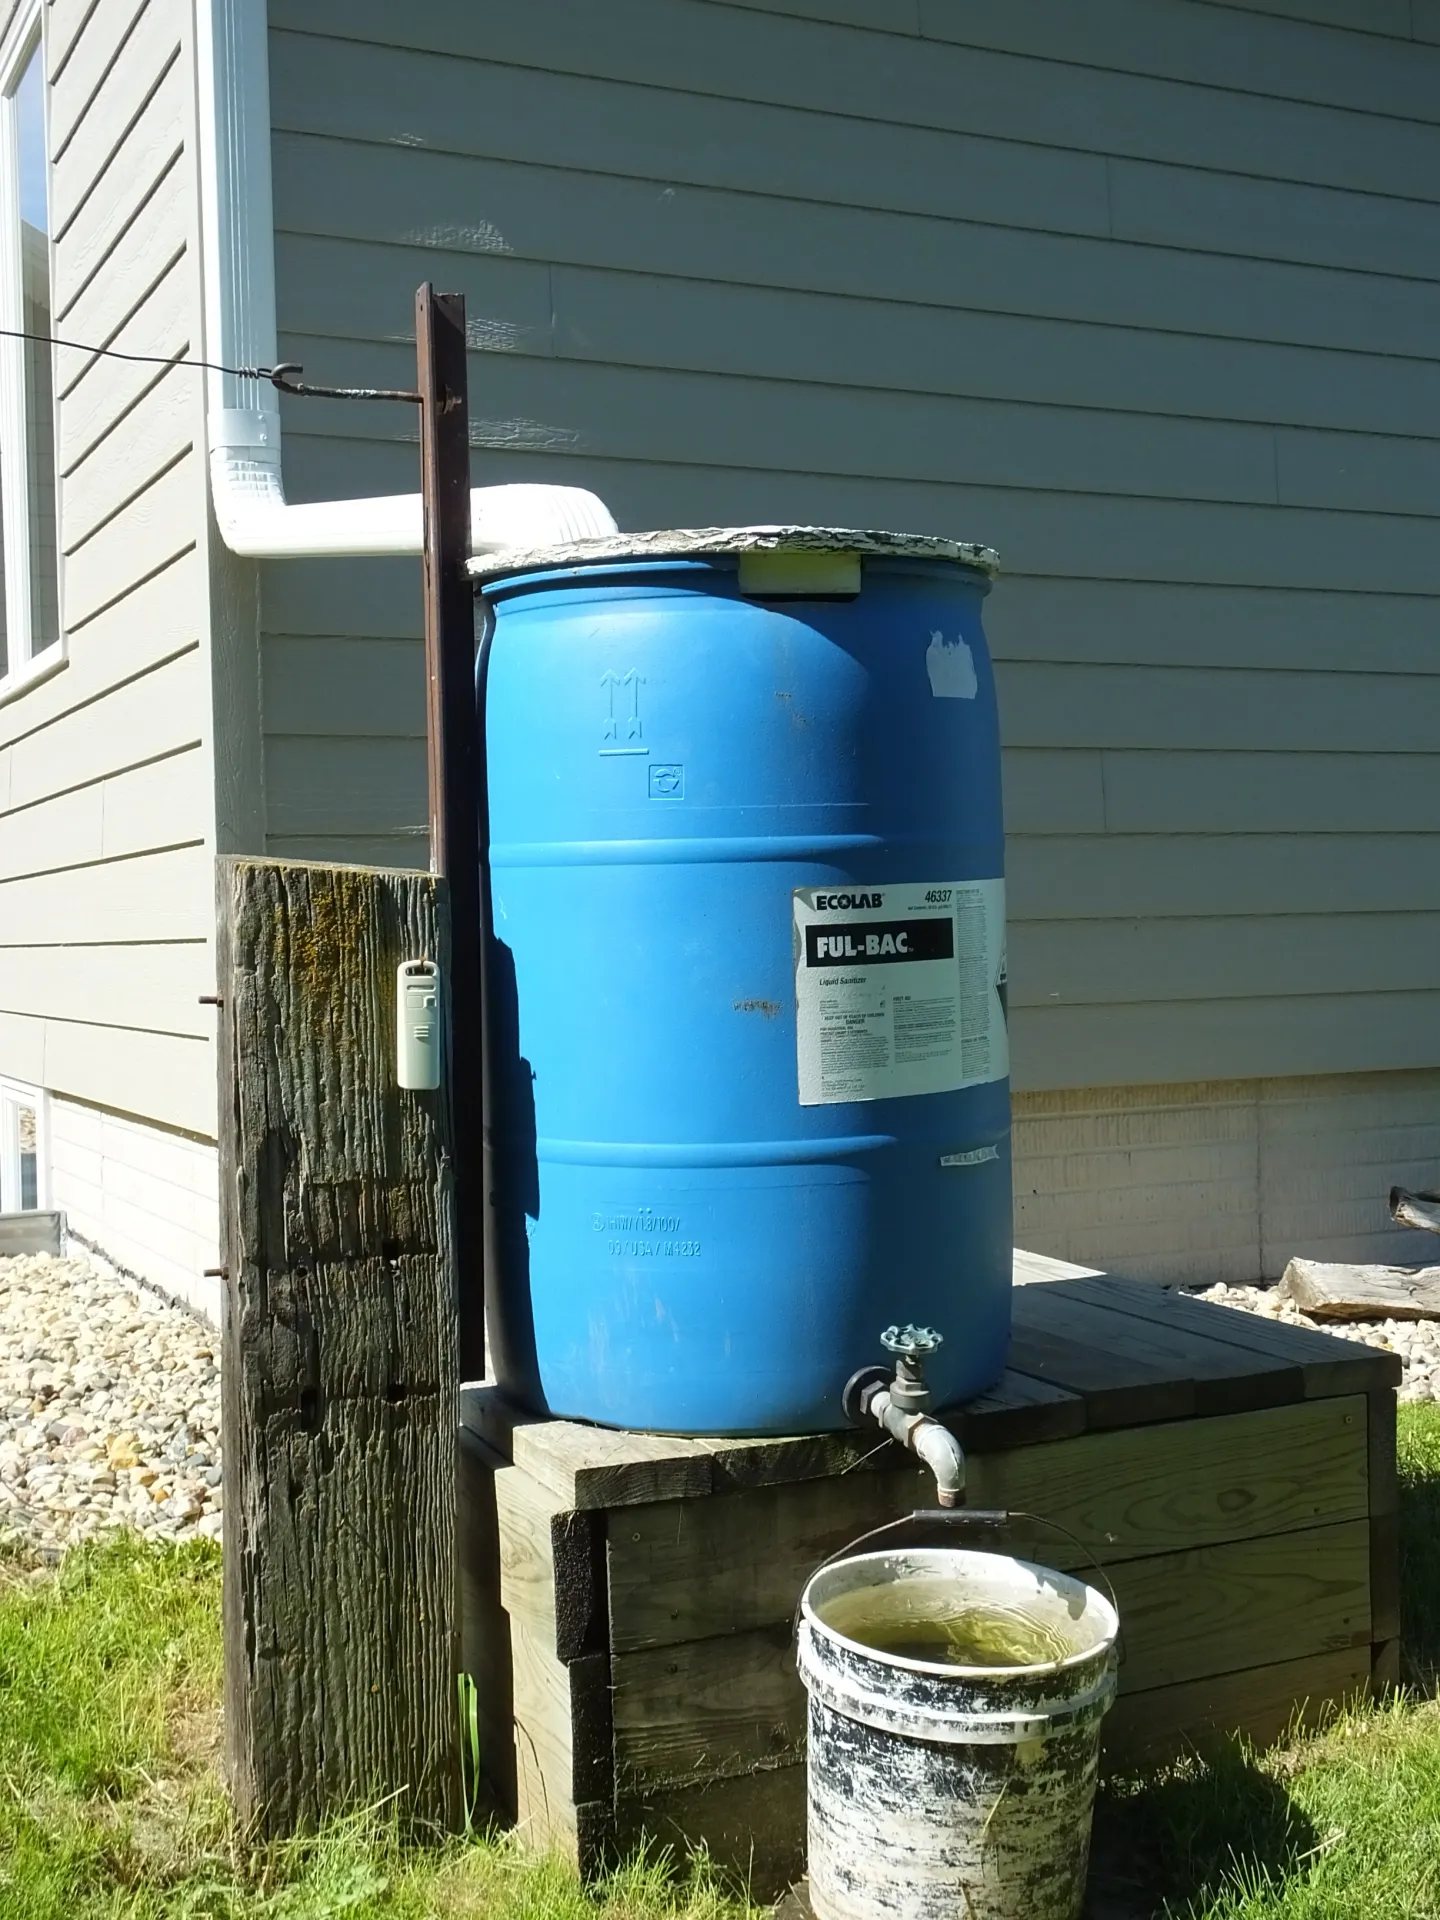
The first step in a rainwater harvesting project is to determine where to put the barrel, tank or cistern (in this post, all these are referred to as a barrel). Water from the roof is generally collected from either a new or existing downspout, so it's simplest to place the barrel near one. A level and secure platform is needed to hold the barrel. The type of foundation depends on the size of the barrel. In addition to a sturdy base, wall strapping may be advisable to prevent tipping in the case of an earthquake. If your barrel has an outflow valve near the bottom, placing the barrel on a raised platform or concrete blocks will ease access to the valve.
The size of the site you’ve chosen will greatly impact the size of the barrel you acquire. You can find rainwater catchment kits in hardware stores and online. If you choose to create your own, East Bay MUD suggests that he best rain barrels:
- Have thick walls to withstand different temperatures.
- Have an easy outlet nozzle for landscape irrigation.
- Should be opaque to inhibit algae growth.
- Should be securely covered to prevent children and pets from falling inside and prevent mosquitoes from breeding in the tank.
- Should be screened to keep out debris.
Other aspects of a rainwater system to consider:
- The first rain of the season cleans the roof of everything that has accumulated since the last rain, which in the Bay Area can be many months. A first flush diverter creates a bypass for the first few gallons of rain in the season.
- Before it enters storage, the rain should go through a screen to remove leaves and debris.
- Maintenance is required - including regularly checking the system, inspecting and clearing the screening and once a year draining the barrel and scrubbing the inside.
- A pre-planned overflow system is needed. In a wet winter, rain barrels will likely overflow. Discharging overflow to an adjacent landscape or a rain garden is an excellent way to maximize stormwater retention on your property, but to prevent erosion, you may need a way to spread and slow the discharge.
Using Swales, Dry Creek Beds, Berms, and Rain Gardens
.jpg)
Swales (together with their accompanying berms) and rain gardens slow and sink the rain so that it stays in your soil, recharging the soil moisture, nourishing your plants and minimizing the flow of stormwater to the street. The following post highlights the reasons to use these features and important considerations, but doesn’t provide detailed instructions.
What Swales and Berms Do
A swale is a channel that directs stormwater away from structures and across the landscape while slowing its movement so it can infiltrate into the soil. To do this, the channel must be shallow and gently sloping (2% slope is recommended). Swales use rocks or vegetation to slow the water. A berm is a raised ridge of soil constructed alongside or downslope from a swale. Ideally, berms in your home garden should be no greater than 18 to 24 inches high to increase stability. You may need less height, depending on how much water is involved. Properly constructed, swales and berms together slow stormwater runoff, increase the amount of water that filters into the soil, filter some sediment and pollution, reduce soil erosion and help relieve the burden on storm drain systems.
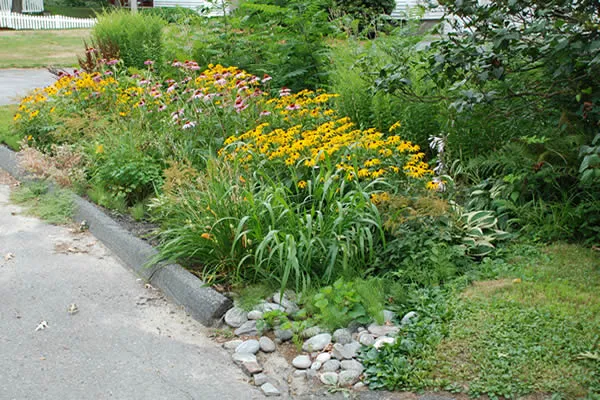
Typically, swales are planted with grasses and other vegetation or lined with rock; they can also be lined with rock on the bottom and planted on the sides and top. If planted, the plants need to tolerate both winter wet and summer dry. Typically, the plants that can tolerate the most water are planted in the deepest part of the swale. A dry creek bed is simply a rock-lined swale. It functions the same way as a vegetated swale but uses the rocks to slow the water and resembles a natural stream channel when dry.
Rain Gardens
A rain garden is designed to collect runoff from swales, roofs, driveways, patios, or your lawn. Unlike a pond, a rain garden is intended to temporarily hold water after storms and allow it to soak into the ground, typically draining within a day or two. The rain garden should be lower than the rest of the area. There have been recent reports in the Bay Area of exotic, fast-breeding mosquitoes, so fast drainage is even more important than previously. Rain gardens are typically planted with species that tolerate both winter wetness and summer drought. The deepest portion experiences the greatest moisture, while the surrounding berm and upper edges are progressively drier, allowing a diversity of plants to be used.
Plants for Swales and Rain Gardens
Consider native plants for your rain garden. Many natives tend to have deep and extensive root systems, holding the soil and allowing water infiltration. Native grasses are particularly important.
Plants to consider from the Master Gardeners of Butte County
- For the banks of a swale or rain garden: Sedges and rushes (Carex and Juncus species); Yerba buena
- Anchoring grasses: Deer grass, Native fescues and creeping wildrye
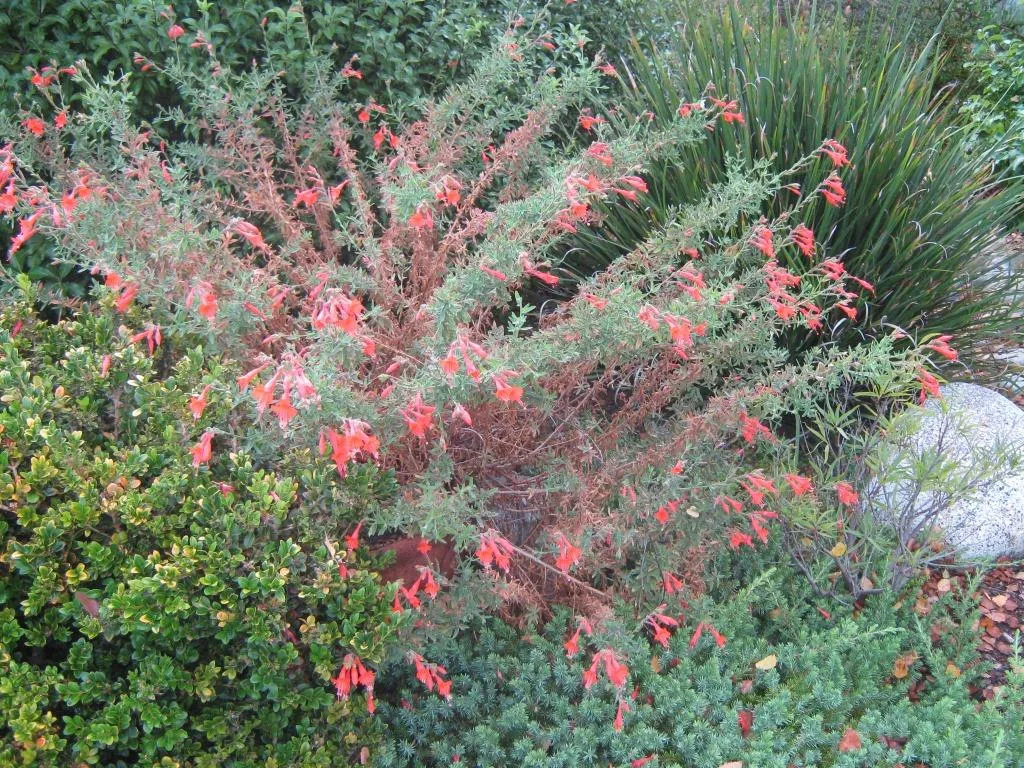
- Perennials that tolerate winter moist and summer dry conditions: Douglas Iris, California fuchsia (photo above) , Prostate manzanita, Yarrow
While some of these techniques require more space that small urban yards provide, others are more accessible. If you have in-ground soil, no matter how small, you can take actions to increase its permeability and if you have hard surfaces, you can explore permeable pavements.
Resources for Additional Information
Permeability
Composting Basics UC Master Gardener Program of Sonoma County
Managing and Amending Soil UC Master Gardener Program
Basic Soil Maintenance UC Master Gardener Program of San Francisco and San Mateo Counties
Rain catchment and storage
Rainwater Harvesting East Bay Municipal Utility District
Graywater Management Greywater Action
Swales and Rain Gardens
Rain Gardens: A How-To for Homeowners (pdf) Wisconsin Department of Natural Resources and University of Wisconsin–Extension
Rain Gardens: A Sustainable Solution for Stormwater Management University of California Agriculture and Natural Resources
Coastal California Rain Gardens (pdf) University of California Agriculture and Natural Resources
Slow it Spread It Sink it Creating a Rain Garden in Your Home Landscape UC Master Gardener Program of Butte County
Plant Suggestions for Your Rain Garden UC Master Gardener Program of Butte County